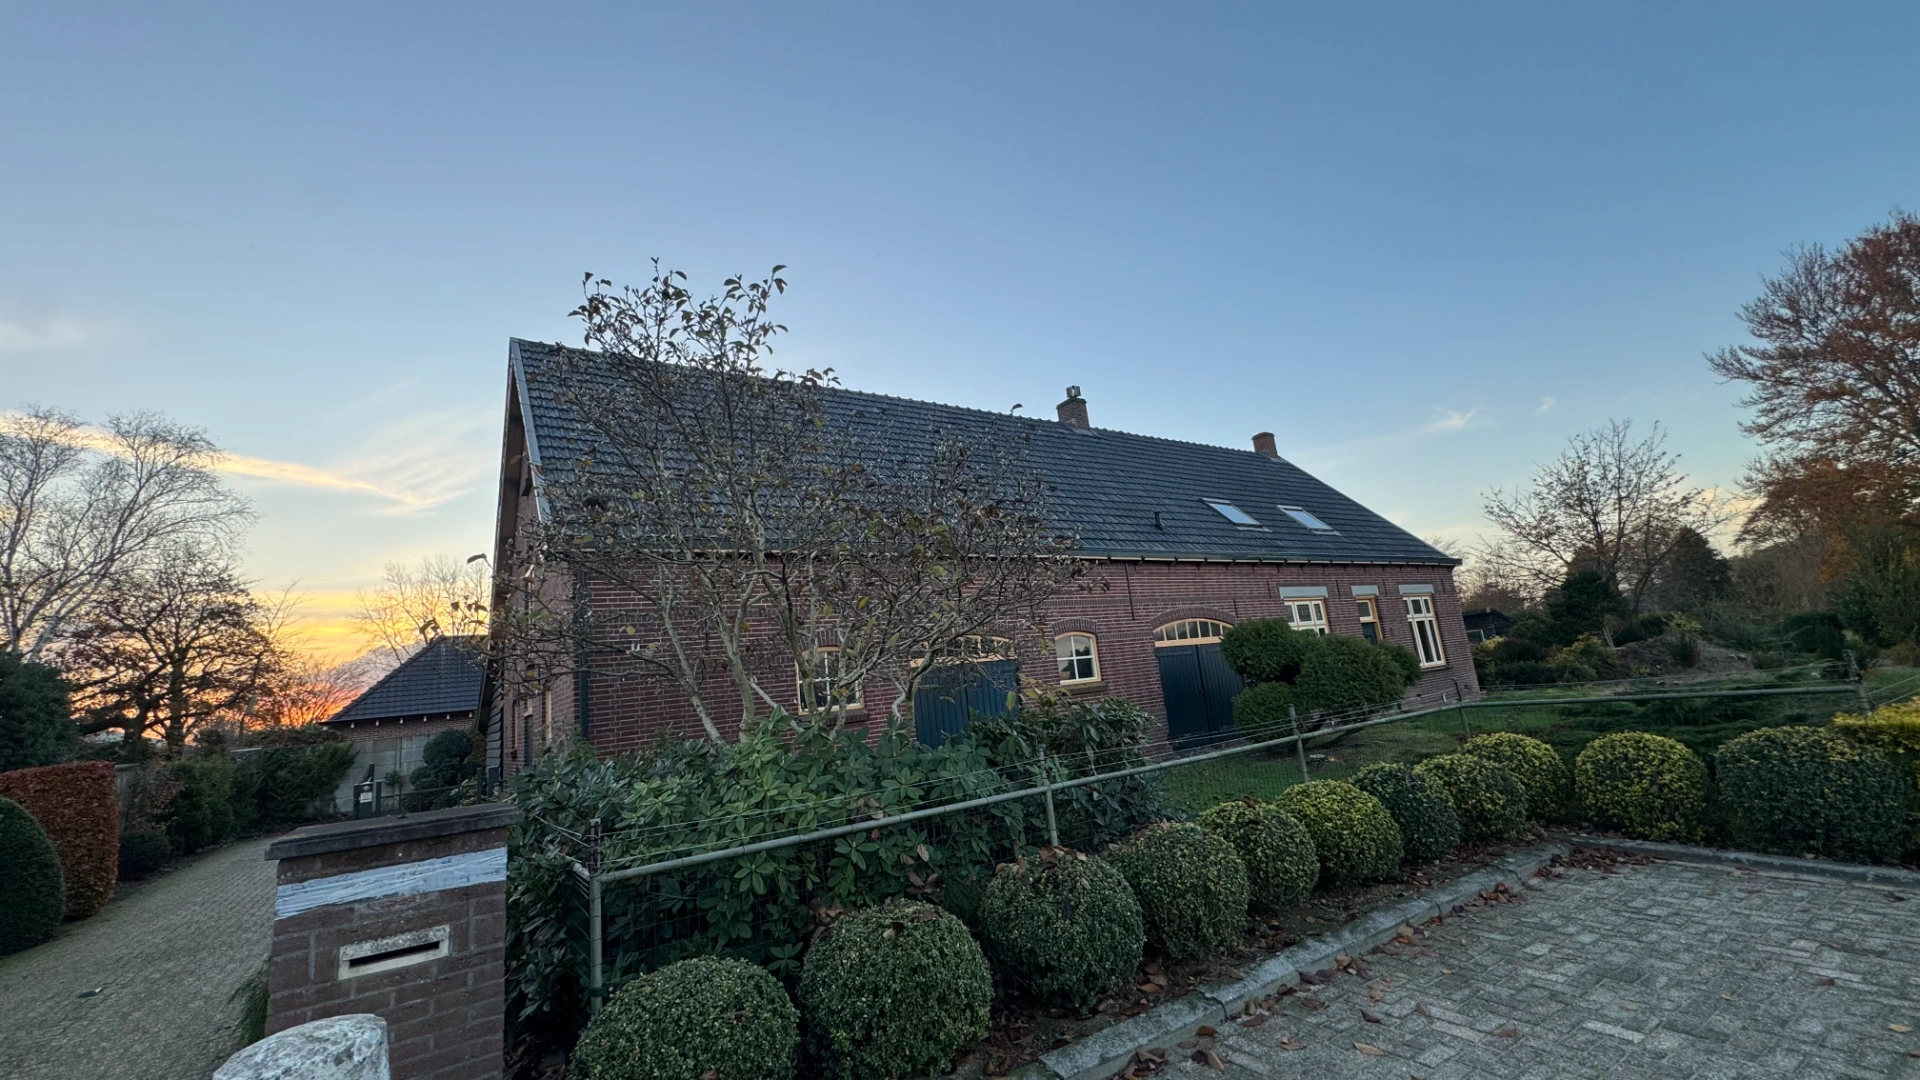
Paul & Marieke’s house renovation in Rijsbergen — Part 1: Roof & attic
Opening up and repairing damaged timber
Rebuilding the dormer
Rooflights and timber windows
Insulating the roof and gable edges
The first part of Paul and Marieke’s renovation renewed the roof, dormer and attic and prepared the future upstairs layout.
07HWR / PROJECT
Project timeline
March–May 2026
Before & after
BeforeAfter
Paul & Marieke’s house renovation in Rijsbergen — Part 1: Roof & attic
Opening the old linings exposed damaged timber around leak-affected areas. The new layout also called for roof openings, a rebuilt dormer and better insulated spaces.
02 / Step by step
The project in phases
Phase 1
Demolition & Site Preparation
The roof and attic work started by opening the old finishes and removing redundant installations. Damaged timber and the chimney became accessible before the new construction was closed.
We removed the required old linings, an additional wall and the chimney. Damaged boards at leak-affected areas were replaced. With the structure accessible, we prepared the new roof openings and dormer junctions before closing the interior again.
The first stage concentrated on the roof and attic, establishing the base for the later upstairs renovation. Opening the old finishes made leak-affected timber accessible. Replacing damaged boards at this point meant the renewed interior would not simply conceal the old damage.
Chimney removal and the additional wall demolition changed what was exposed and how the next construction could connect. These were part of preparing the building, before insulation and decorative finishes returned.
Why this matters
Hidden damage is most accessible while the structure is open, before the new finish.
Phase 2
Roof Structural Reinforcement (Timber System)
The offer separated strengthening the timber roof from demolition. Rafters and the framing around new openings needed a sound base before rooflights and the dormer could be fitted.
Phase 3
Electrical Preparation & Re-Wiring
Cable routes, outlets and switches were coordinated with the roof and room alterations while the structure remained accessible. This keeps wiring from being trapped behind newly completed linings.
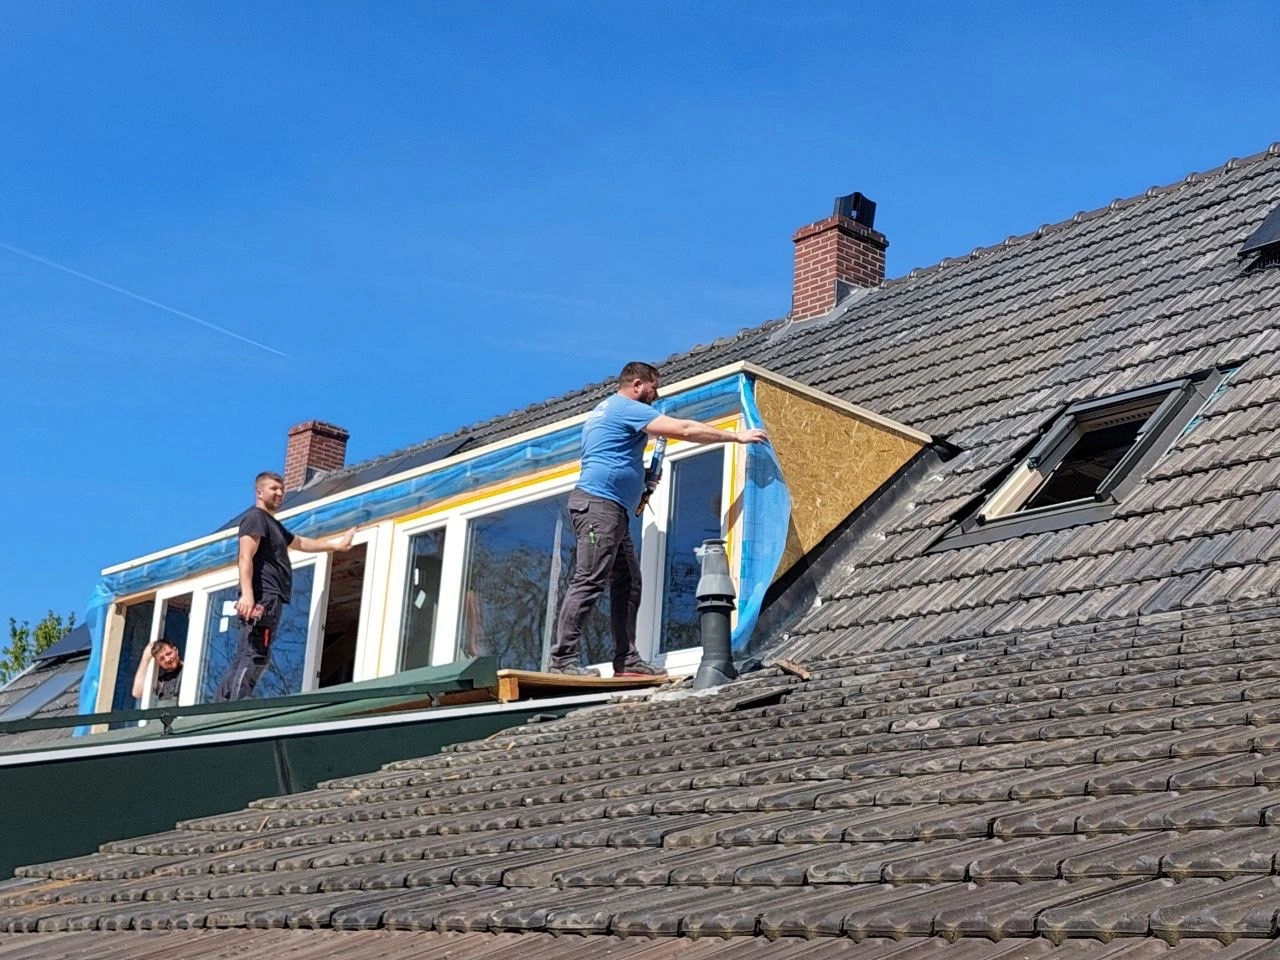
The dormer was a separate construction package: timber framing, the raised facade, exterior timber finish and the flat roof with EPDM. Its junctions had to connect the new work to the retained roof.
The dormer received a renewed timber structure, roof decking and EPDM covering. Edges and junctions were finished with flashing and seals. Exterior cladding and paintwork formed part of this phase, bringing the roof, windows and dormer facade together.
The dormer work connected several layers: supporting timber, a roof deck, waterproof covering and the exterior finish. EPDM forms the weather-resistant roof covering, while the edge details connect that covering to the rest of the dormer. A renewed top surface alone would leave those connections unresolved.
Working on the dormer as a whole also brought its cladding and windows into the roof renovation. The painted exterior and lined interior are the visible sides of the same construction.
Why this matters
Water needs to drain from the roof without entering at edges or junctions.
Phase 5
Roof Window Installation
The clients purchased the rooflights; HWR made the roof openings and installed them. The installation included the junction between each frame and the surrounding roof.
Phase 6
Dormer Windows, Storage Door & Window Installation
The dormer glazing and the storage door and window were kept separate from the rooflights. Timber Naturo 80 frames with triple glazing formed part of the updated window package.
Paul and Marieke purchased the rooflights themselves. We formed the roof openings and installed the units with their roof connections. Timber Naturo 80 windows with triple glazing were used for the dormer and kitchen, coordinating the glazing with the surrounding construction.
The rooflights were supplied by the owners, and our work covered their installation and the necessary roof penetrations. This distinction matters: choosing the units and fitting them into an existing roof are separate parts of the project. The surrounding construction must connect with the opening as well as the window itself.
The Naturo 80 timber windows with triple glazing formed another part of the renewal. Window frames, roof edges and interior reveals meet here, so the glazing work continued into the surrounding finishes.
Why this matters
Installing a window also means detailing its connections to the roof, insulation and interior finish.
Phase 7
Roof Insulation
The final roof insulation specification changed from the original offer to 130 mm stone wool. Insulation and the airtight lining were coordinated around the timber and openings.
We installed 130 mm stone wool in the roof and 50 mm stone wool at the gable edges. Membranes and taped junctions formed part of the build-up. Metal profiles and hangers supported the interior lining. Existing solar-panel cabling was disconnected and reconnected as part of the work.
Stone wool filled the roof and gable-edge areas, while membranes and tape addressed the junctions between individual sections. The 130 mm roof insulation and 50 mm gable-edge insulation belonged to different parts of the build-up. The interior profiles then created a support for the lining.
For the new rooms, this hidden work is important to comfort: insulation needs continuity around edges, not just coverage across the large central areas. The roof work also required attention to the existing solar-panel wiring.
Why this matters
Insulation needs attention at edges and penetrations as well as across the main roof area.
Phase 8
Edge-Wall Insulation
The gable-edge walls had their own insulation stage. The final recorded thickness was 50 mm, separate from the thicker insulation in the roof slopes.
Phase 9
Drywall Framing & Cladding
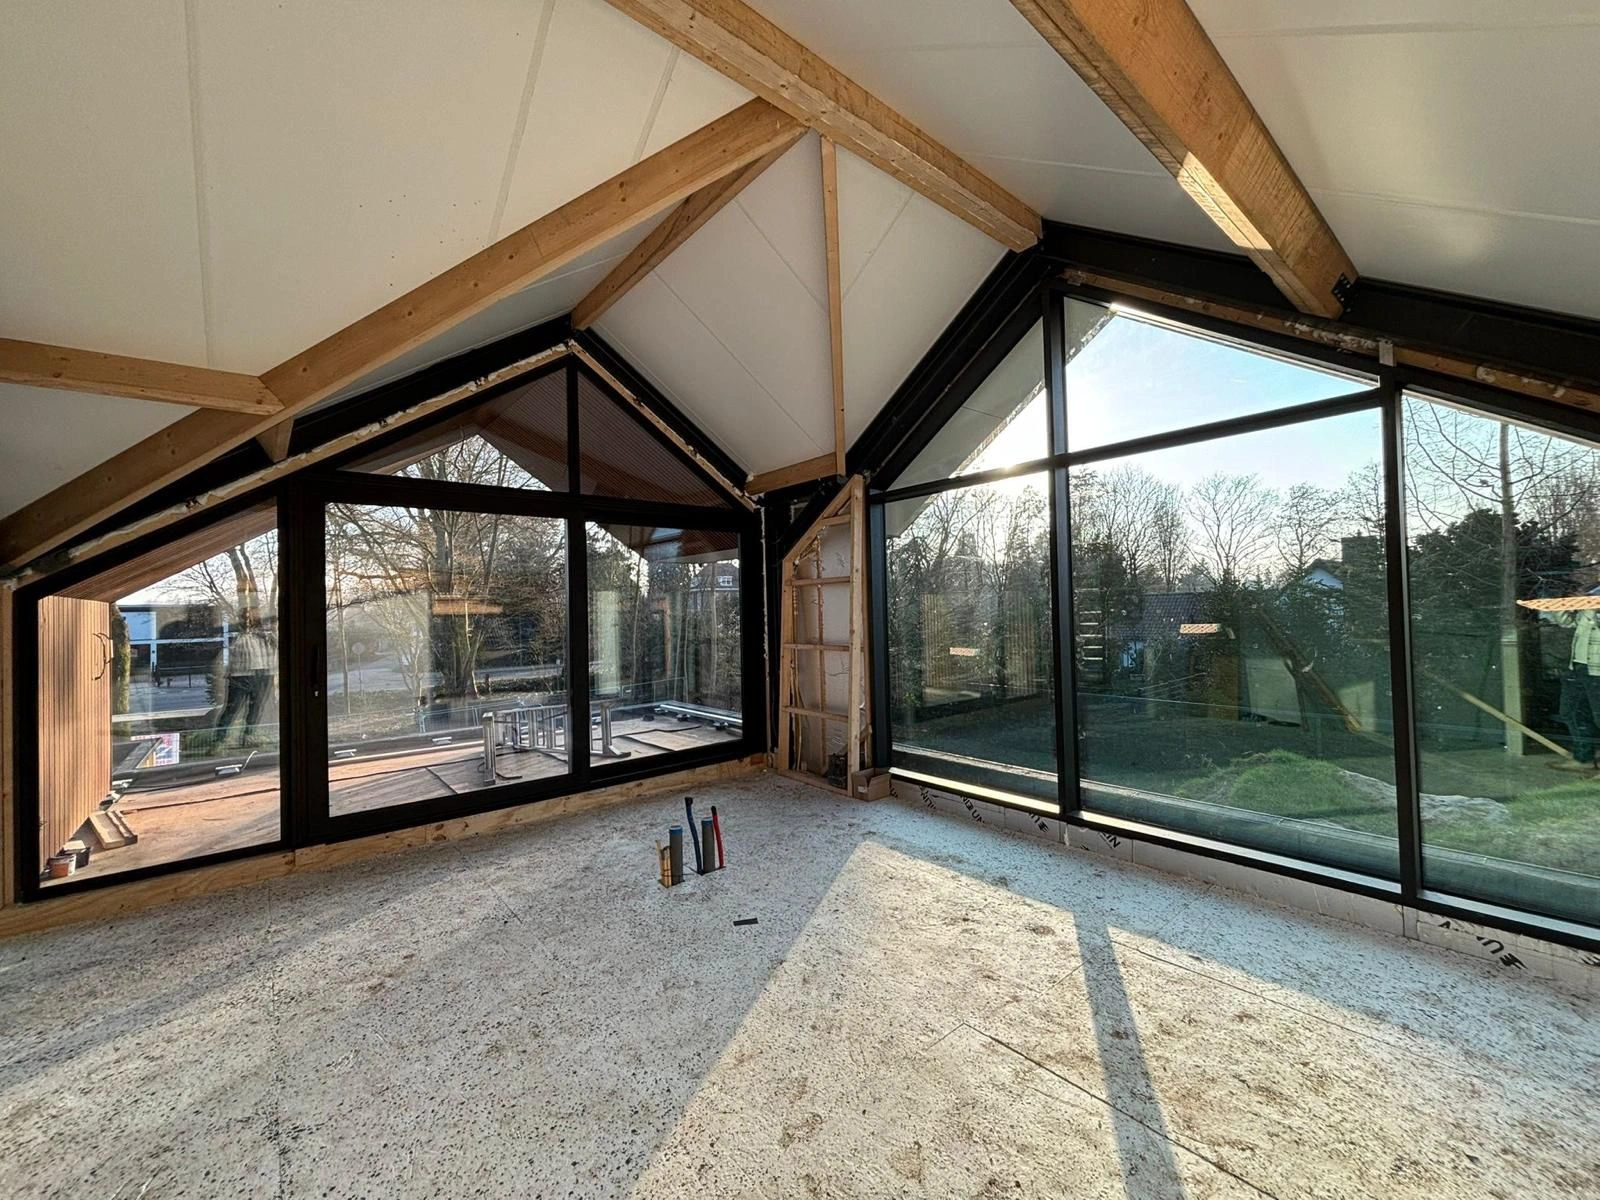
Framing and plasterboard closed the insulated construction. Additional partitions and ceilings originally associated with Part 2 were brought forward, preparing the next part of the renovation.
Some partitions and raised ceilings were brought forward into this first stage. We installed new frames with acoustic insulation and used OSB and plasterboard where required by the selected finish. This prepared Part 2 for the bathrooms, services and remaining finishes.
Bringing selected partitions and raised ceilings into Part 1 gave the next stage a defined starting point. Acoustic insulation, OSB and plasterboard each have a different function within those walls: filling the cavity, providing a backing where required and forming the finishable face.
The project was deliberately divided into linked stages. Part 1 addressed the roof and much of the underlying construction; Part 2 develops the bathrooms and upstairs rooms; Part 3 concerns the ground floor. These pages follow that sequence without presenting future work as already finished.
Why this matters
A phased renovation works better when each stage prepares the next.
Phase 10
Plastering
Joints, corners and transitions were reinforced and finished after the boards were secured. This stage creates a continuous surface over the separate boards and their junctions.
Phase 11
Final Cleaning & Handover
The roof and attic package ended with removal of protection, waste clearance and the finishing checks for Part 1. The upstairs rooms and bathrooms continued under the separate Part 2 project.
THIS PROJECT / THEIR EXPERIENCE
What the client says
Reviews appear here when the client chooses to link their experience to this project.