Phase 1
Demolition & Site Preparation
This stage covers opening the stair area and removing the partitions and finishes required for the upstairs layout. Some preparation had already been brought forward into Part 1.
HWR / THE TRANSFORMATION
Explore the transformation. Choose a chapter, swipe through the details, or open the photo wall.
We are collecting the images for this stage.
Swipe to explore · Tap full screen for the details
Rijsbergen / Ongoing
From the prepared upper floor to usable rooms, two bathrooms and two toilets. This stage combines new water distribution, electrics and heated wet areas.
September–October 2026 · Expected completion in October
The new bathrooms needed connections through the existing house without unnecessarily opening the recently renovated rooms below. Bedrooms and wet areas also needed different floor build-ups.
02 / Step by step
Phase 1
This stage covers opening the stair area and removing the partitions and finishes required for the upstairs layout. Some preparation had already been brought forward into Part 1.
Phase 2
The two toilets required coordinated drainage and venting: one route uses a roof penetration and the other an accessible AAV air-admittance valve. Dedicated manifold branches serve the new sanitary facilities.
We investigated the existing sewer connection and formed additional routes, including excavation. The toilets received 110 mm drains. One route is vented through the roof; the other uses an air-admittance valve behind an accessible hatch, keeping it reachable for future attention.
The two toilets required different solutions for their drainage ventilation. One route has a roof penetration; the other uses an air-admittance valve with an access hatch. The hatch matters because a concealed service component still needs to remain reachable.
The excavation and investigation of the existing connection show why new toilets cannot be planned only from their visible position in a room. Their pipes need a workable route back into the existing drainage system.
Drain ventilation helps manage pressure changes in the waste pipes. It is separate from ventilation of the bathroom itself.
Phase 3
Existing wiring and junctions were reviewed against the new room layout. New outlets, switches and bathroom connections belong to this stage before walls and ceilings are finished.
Hot and cold water are distributed through manifolds to dedicated connection points. New multilayer pipes connect the bathrooms and toilets to the central supply. The electrical work includes a distribution board, new circuits and connections for sockets, switches, mirrors and lighting.
Dedicated branches from the sanitary manifolds serve the new connection points. This brings the hot and cold distribution into a defined arrangement rather than treating each fixture as an isolated extension of an old pipe. Multilayer pipe routes then connect the rooms to that distribution.
Mirrors, lighting, sockets and switches also depend on their final positions. The electrical work is coordinated with the new walls and sanitary layout before those surfaces receive their finish.
Dedicated routes make the installation easier to follow. They are established before walls and floors are closed.
Phase 4
The new partitions and ceiling framing define the upstairs rooms. Board joints need secure support, with openings coordinated for doors and service routes.
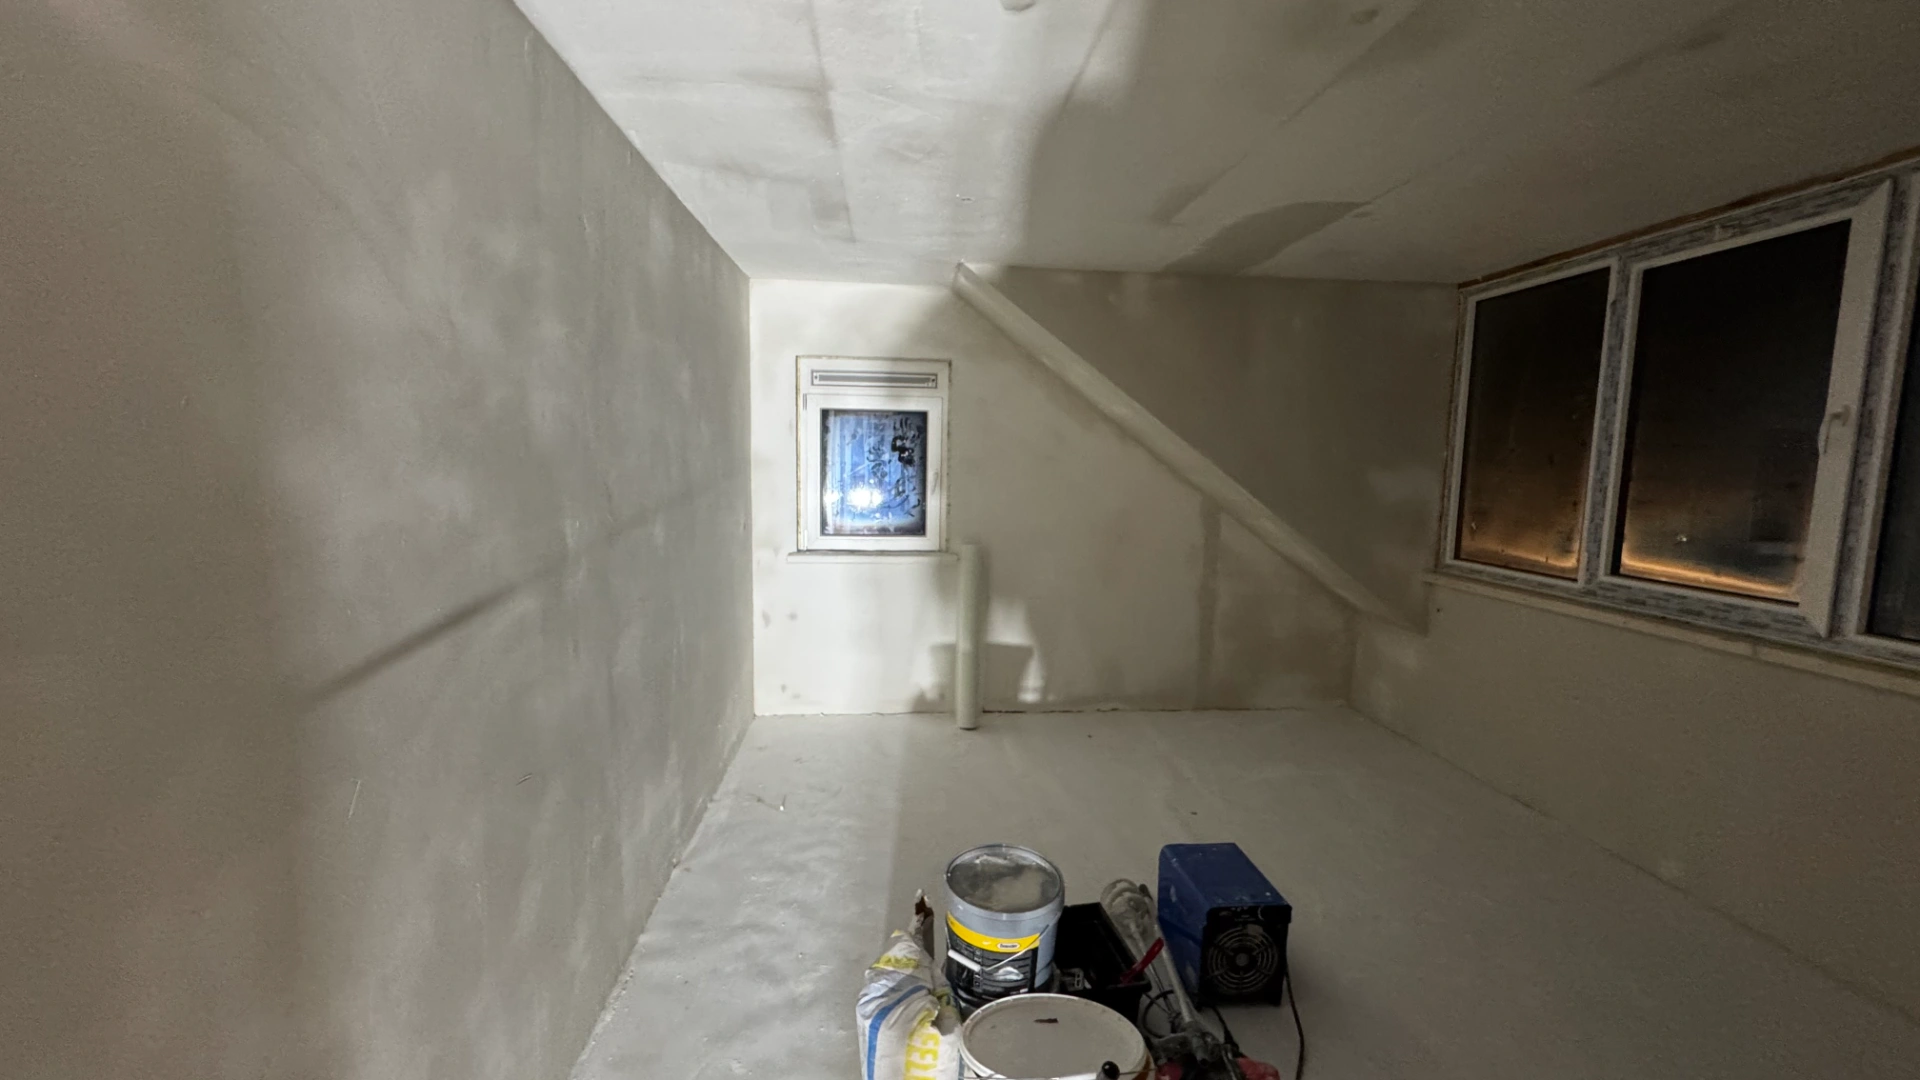
Some walls and raised ceilings were already in place after Part 1. This stage develops the remaining plasterboard construction, service boxes and window junctions. The layout determines the positions of doors, lights and sanitary connections.
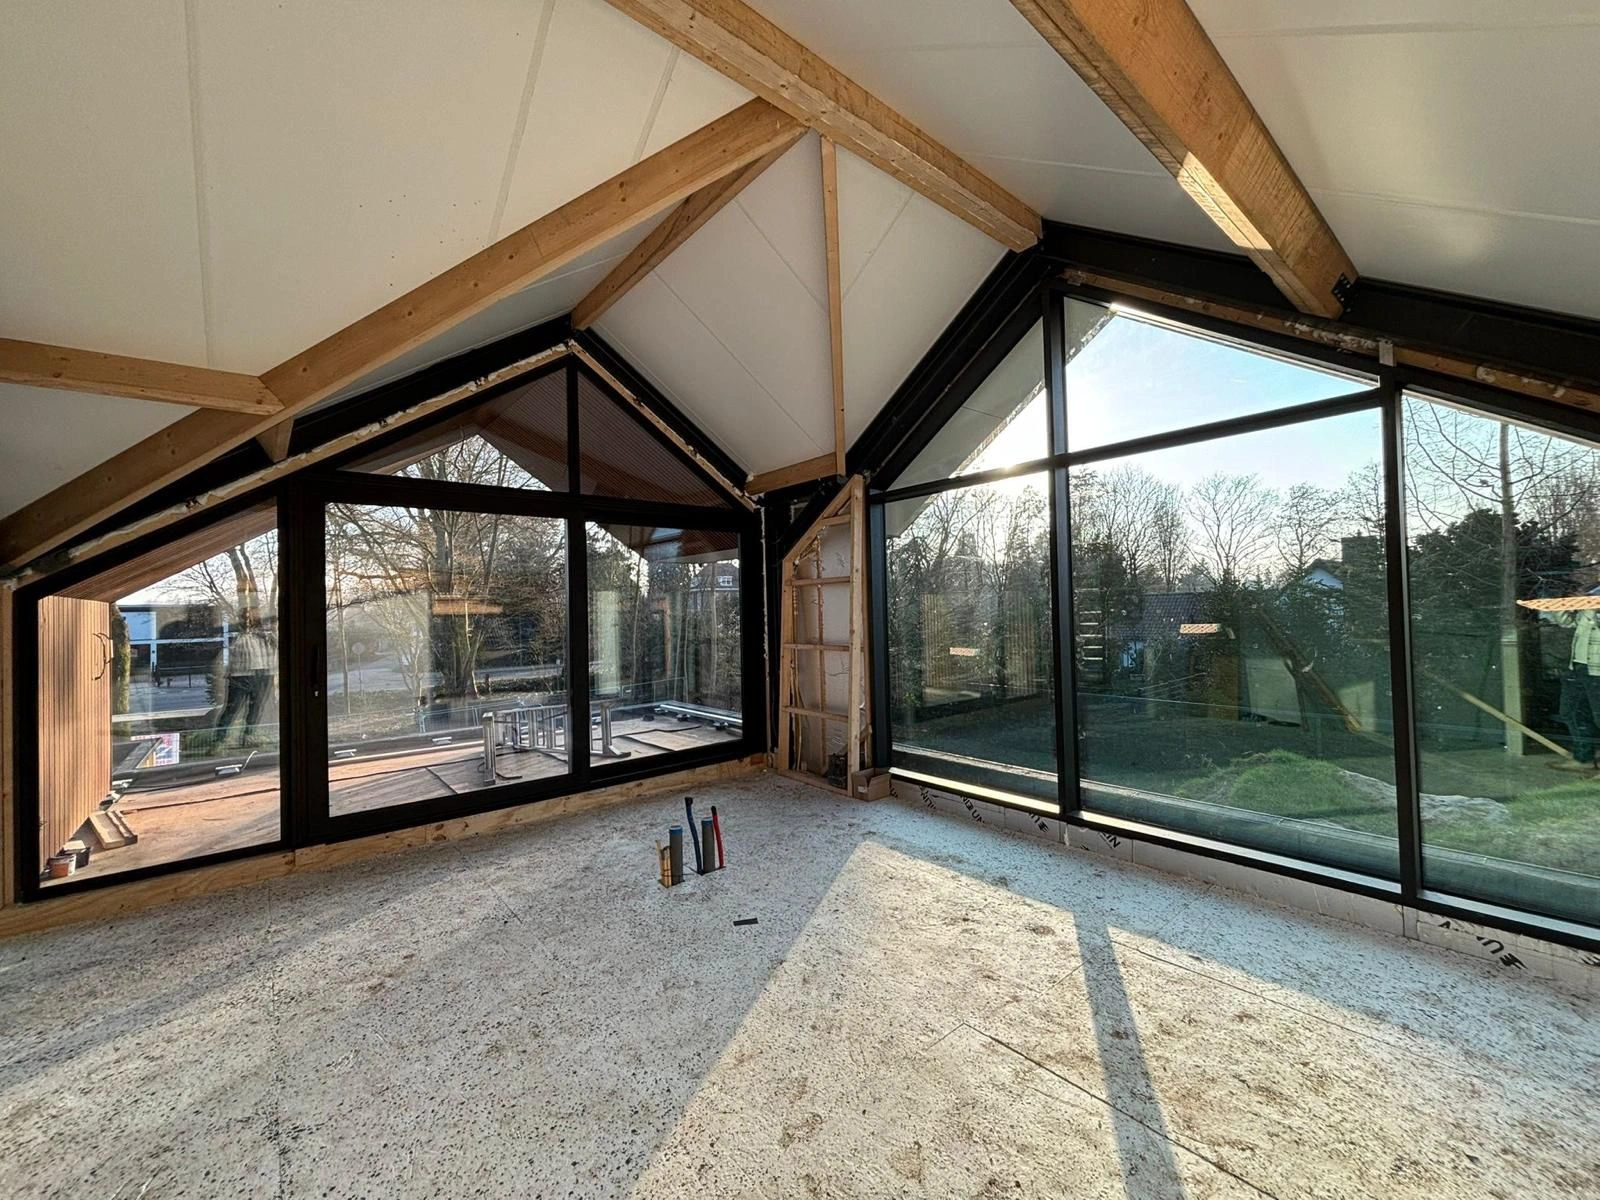
Part 2 builds on the roof, dormer and selected partitions completed during Part 1. The upper floor now needs the service routes and finishes that turn that prepared structure into usable rooms. Doorways, window reveals and service boxes are part of the remaining plasterboard construction.
Working in linked stages allows the roof enclosure and room construction to be described separately from the bathrooms and fittings. The visible progress here rests on the earlier structural preparation.
Building on the first stage keeps the new rooms coordinated with the prepared structure.
Phase 5
HWR prepares the dry floors with insulation and OSB. The wet areas have their own reinforced floor build-up, heating and screed. The clients will install the wooden floor themselves; that finish is excluded from HWR’s work.
In dry rooms, we prepare the existing timber base and add PIR insulation and OSB, using insulation thicknesses suited to the available height. Paul and Marieke will lay their own wooden flooring and skirting. Bathroom and toilet areas receive insulation, water-based heating, reinforcement and screed.
The dry-room and wet-room floors have different construction needs. In the dry rooms, PIR and OSB prepare the base for the owners’ wooden finish. In the wet areas, insulation, heating pipes, reinforcement and screed form the base for the sanitary finishes.
Installing the final upstairs wooden floor and skirting was removed from HWR’s scope at the clients’ request. Preparing the supporting build-up remained in our work, so this change did not cancel the insulated base.
A wooden finish and a tiled wet room each need an appropriate base.
Phase 6
Plasterboard joints, transitions and the specified surfaces are finished as their own phase. This prepares the new room divisions for the subsequent decorative finishes.
Phase 7
The two toilets, concealed frames and washbasin connections form a separate sanitary stage. Their locations must match the drainage routes established earlier.
Phase 8
The bathrooms and toilets receive the agreed wet-area finishes, waterproof junctions and tiles. Water-based towel radiators accompany the heated wet-area floors. The clients chose opening rooflights for bathroom room ventilation.
The two bathrooms and two toilets have now taken shape. Waterproofing, tiling and connections are finished as one coordinated package. Details include small-format tiles and accent areas, mirrors, lighting and two water-fed towel radiators. The bathrooms have opening rooflights, which the owners have chosen to use for room ventilation.
Small-format tiles and accent sections introduce many visible joints and corners. They need to relate to the sanitary fittings, mirrors and lighting so the room does not feel like separate pieces fitted afterwards. The water-fed towel radiators are part of the heating installation.
The owners chose the opening rooflights for room ventilation. That is separate from the roof vent and air-admittance valve serving the toilet drains: one concerns air in the room, the other air in the drainage system.
The tile pattern is visible, but the connections, waterproofing and services behind it also shape everyday use.
Phase 9
New and reused doors are fitted to the changed openings. Frames, hinges and latches must work with the new partitions and final floor levels.
Phase 10
Changed scope: the clients will install the wooden flooring and skirting themselves. This original phase remains in the story so the change is clear; HWR provides the prepared floor build-up.
Phase 11
Final removal of protection, cleaning and completion checks close the upstairs package. The planned finishing period is October 2026; the separate ground-floor project follows afterwards.
Work continues on the remaining plaster finishes, doors, edges and connections. This stage started in September 2026, with expected completion brought forward to October. The owners will then take care of their chosen wooden floor finish.
The remaining phase connects the completed sanitary areas to the rest of the upper floor. Plaster junctions, door edges and service boxing are small in area but visible throughout the rooms. Finishing them gives the individual work packages a coherent appearance.
The September–October phase is still shown as ongoing. The next linked project concerns the ground floor, while the owners’ own wooden flooring remains a separate finishing step upstairs.
Agreeing who installs the final floor layer allows the preparation to suit that handover.
Your renovation
Tell us about your home and your ideas. We will discuss the scope and the next step with you.
April–May 2026
Explore this project
May 2025
Explore this project