
Phase 1
Site Preparation & Protection
The retained parts of the home needed protection and a workable route for materials and demolition waste. This preparation is a separate stage before opening the ground floor.
HWR / THE TRANSFORMATION
Explore the transformation. Choose a chapter, swipe through the details, or open the photo wall.
 Result / HWR
Swipe to explore · Tap full screen for the details
Nijmegen / Completed
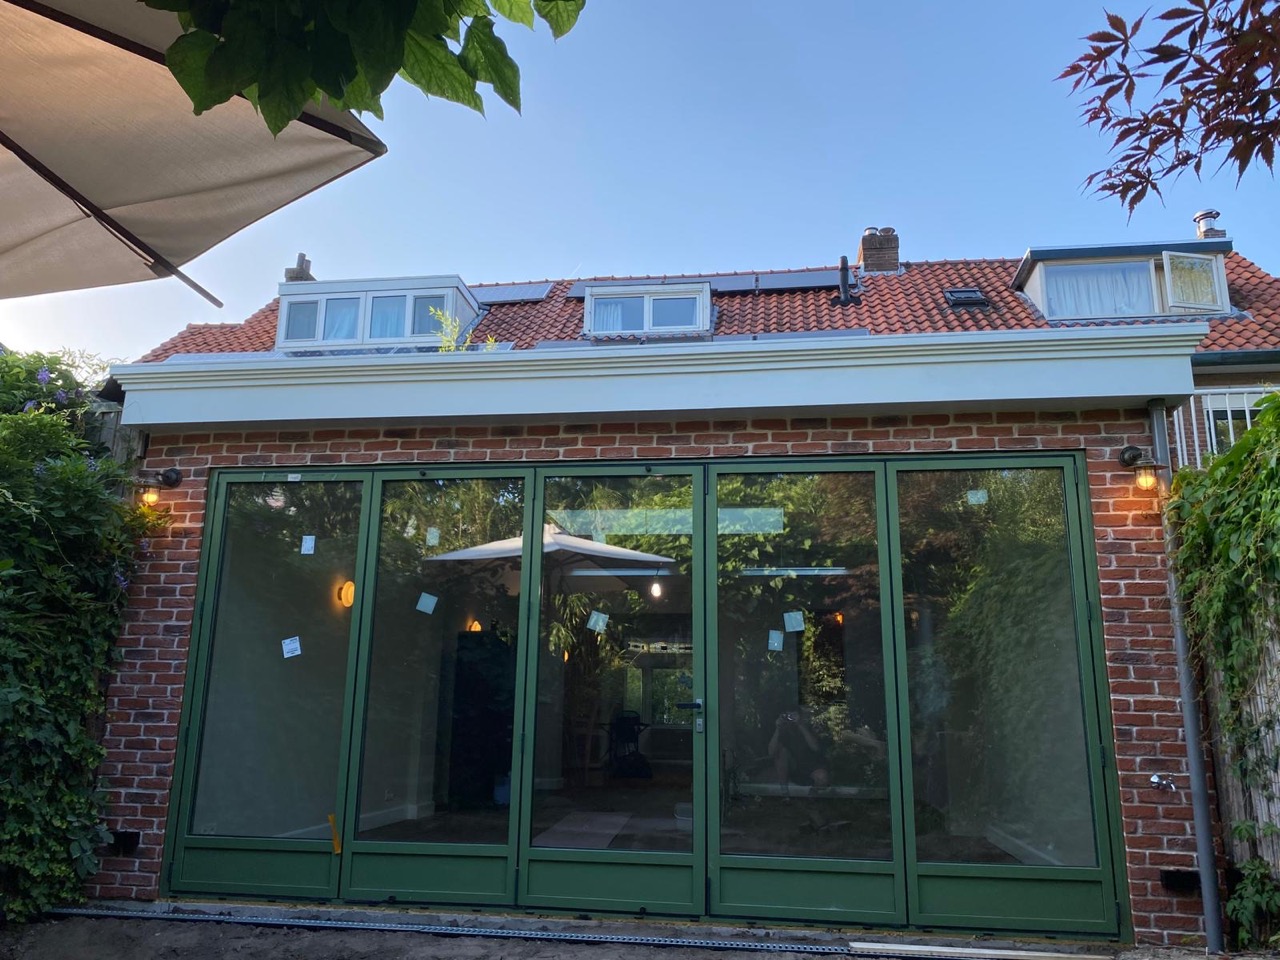
A new extension and one continuous ground-floor level, with an insulated heated floor and a wide Cortizo opening to the garden.
March–April 2026 · Follow-up work expected November 2026
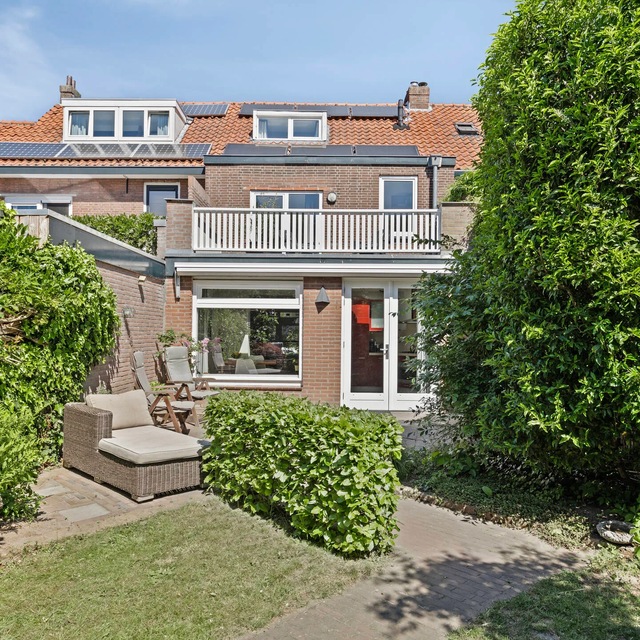 BeforeAfter
What began around the kitchen developed into a ground-floor renovation. Instead of retaining the old timber flooring, the project moved to a new continuous floor build-up. The extension, existing house and garden needed to connect.
02 / Step by step
Phase 1
The retained parts of the home needed protection and a workable route for materials and demolition waste. This preparation is a separate stage before opening the ground floor.
Phase 2
The old kitchen, toilet finishes, radiators and floor sections were removed for the new layout. The final scope included wider demolition than initially allowed in the offer.
Phase 3
Kitchen water, drainage and electrical routes were adapted while the walls and floors were accessible. Dedicated electrical groups and positions were coordinated with the kitchen plan.
Phase 4
The toilet had its own rebuilding package, including installations, waterproof preparation and wall and floor finishes. It remains a separate phase from the kitchen and extension.
Phase 5
The existing facade opening was prepared with the necessary temporary support. This stage connected the original house to the new extension and its wide garden opening.
Phase 6
Reinforced concrete foundations provide the base for the extension walls. Their position and level were coordinated with the existing house and the intended finished floor.
We opened up the rear of the house and the required floor areas for the extension. New foundations and masonry formed the base. Steel beams with their supports and bearings were installed at the connection to the house and above the wide garden opening, joining the extension to the existing home.
The extension had to become part of the existing home, including a wide connection to the garden. Foundations and the load-bearing construction came first because the new walls and openings depended on them. The steelwork connected the altered rear of the house with the new extension.
This is the point where the project moves beyond adding floor area. The supporting structure has to accommodate the new layout and the wide opening while the later finishes meet the existing building.
The opening and its supporting structure belong to one plan. The new space starts with the base that supports it.
Phase 7
The wall build-up combines the load-bearing inner construction, cavity insulation and exterior brickwork described for the project. Connections to the existing structure remain part of this masonry stage.
Phase 8
The ground floor was brought to one level with reinforced aluminium foil below two PIR layers, reinforcement, heating and a 5–6 cm screed. The floating-floor principle separates the build-up from the surrounding construction.
We removed more of the existing floor than originally planned and rebuilt the ground-floor base. Groundwork and compaction were followed by reinforced aluminium foil and two layers of PIR insulation. Levels were coordinated between the house and extension so the finished floor could meet at one height.
Creating one finished level was a defining challenge. The decision to remove more of the old floor expanded the work but allowed the house and extension to share a coordinated build-up. The reinforced aluminium foil was placed below the PIR as the specified moisture-protection layer.
Two layers of insulation then formed part of the new floor. The finished height depends on the whole stack, including the heating, screed, levelling and PVC above it, which is why levels had to be considered before the floor was closed.
Reinforcement and water-based heating pipes were installed above the insulation. The heating manifold was expanded to ten circuits. Perimeter insulation separated the screed at its edges, allowing for movement. Screed and levelling were followed by a bonded PVC finish through the renewed area.
The floating-floor concept means the screed sits on the insulating build-up and is separated from the surrounding walls at its perimeter. The edge strip allows the screed and its boundaries to work as separate layers rather than being rigidly joined all around.
Heating pipes and reinforcement were incorporated above the insulation, with distribution through the expanded ten-circuit manifold. The bonded PVC is the visible finish of a much deeper construction, whose level and preparation determine the final appearance.
Floor levels, insulation and heating need to work together. The visible PVC is the final layer of a much larger build-up.
Phase 9
The timber roof structure, insulation and rooflight openings form their own stage. The roof spans the extension and brings daylight further into the enlarged ground floor.
The extension received new insulated walls connected to the existing house. We built the timber roof structure, added insulation and finished it with EPDM. Rooflights bring daylight deeper into the room. Roof edges, junctions and drainage were included, with additional drainage work along the garden.
The roof combined timber support, insulation and an EPDM weatherproof covering. Rooflights brought light into the deeper ground-floor space created by the extension. Their openings introduced additional junctions in the roof, alongside the edges and drainage connections.
The insulated wall construction and roof belong to the same enclosure. Their meeting points, and the connection back to the original house, are as important to the work as the broad wall and roof surfaces.
An extension depends on its junctions: old to new, wall to roof and roof to drainage.
Phase 10
EPDM and the roof drainage details protect the new extension. Edges, penetrations and the junction with the existing house require continuity so water can reach the outlet.
Phase 11
The five-metre Cortizo system has five one-metre panels: three fold to one side and two to the other. An integrated everyday door opens independently; folding all five panels opens the full width.
We added kitchen circuits and adapted the service connections, alongside routes for interior and facade lighting. The Cortizo sliding-and-folding system has five panels, each approximately one metre wide. Three fold to one side and two to the other, allowing the full opening to be cleared. An integrated everyday door provides garden access without opening all five panels. The kitchen supplier fitted the cabinetry; we prepared its services and coordinated the connections with the renovation.
The five-panel Cortizo system creates two ways to use the garden connection. For everyday access, the integrated door can open on its own. For a broad opening, all five panels fold away in a three-and-two arrangement. This distinguishes it from a conventional slider that always leaves part of the opening covered.
The kitchen, room lighting and facade lighting also required new electrical provision. Preparing those routes during the construction stage brought the practical services into the same design as the opening and room layout.
Appliance and lighting positions need to be established before floors and walls are closed.
Phase 12
Extension lighting, facade connections, switches, sockets and heating connections were coordinated with the finished layout. This final installation stage follows the earlier rough-in work.
Phase 13
The original offer grouped kitchen connections and floor finishing under this heading. The kitchen/extension floor tiling was removed from the final scope and replaced by bonded PVC across the renewed ground floor. Toilet tiling remained a separate stage.
Phase 14
Wall and ceiling preparation, reinforced corners, plaster and the finish layer form the first of the two separate stages numbered 14 in the offer. Sanding prepares the surfaces for paint.
Phase 14
Painting is retained as its own phase, just as in the offer’s second Phase 14 entry. Primer and finish coats connect the new plastered areas visually with the retained interior.
Phase 15
Cancelled scope: sanding and refinishing the existing wooden floor were removed when the project changed to a new insulated, heated floor with bonded PVC. This original phase stays visible to explain the change; it is not a completed timber-restoration stage.
Phase 16
The main renovation was carried out in March–April 2026. The stove/chimney work with roof brickwork and the French interior door remain follow-up items awaiting client deliveries, expected in November.
Plastering, painting, ceiling finishes, skirting and the renewed toilet brought the ground floor together. The main renovation took place in March–April 2026. The wood-burning stove with its chimney work and the French interior door will follow once the client receives them, with a return expected around November.
The main March–April renovation brought the extension and existing ground floor together through one level, a connected floor finish and renewed walls, ceilings and toilet. Skirting and painted junctions completed the relationship between old and new areas.
The stove/chimney work and French interior door remain separate follow-up items dependent on the client’s deliveries. The French door is an interior item and should not be confused with the completed Cortizo garden opening.
A clear handover also identifies client-supplied items that will be fitted later.
Your renovation
Tell us about your home and your ideas. We will discuss the scope and the next step with you.
May 2025
Explore this project
June 2026 — proposed work month in the offer
Explore this project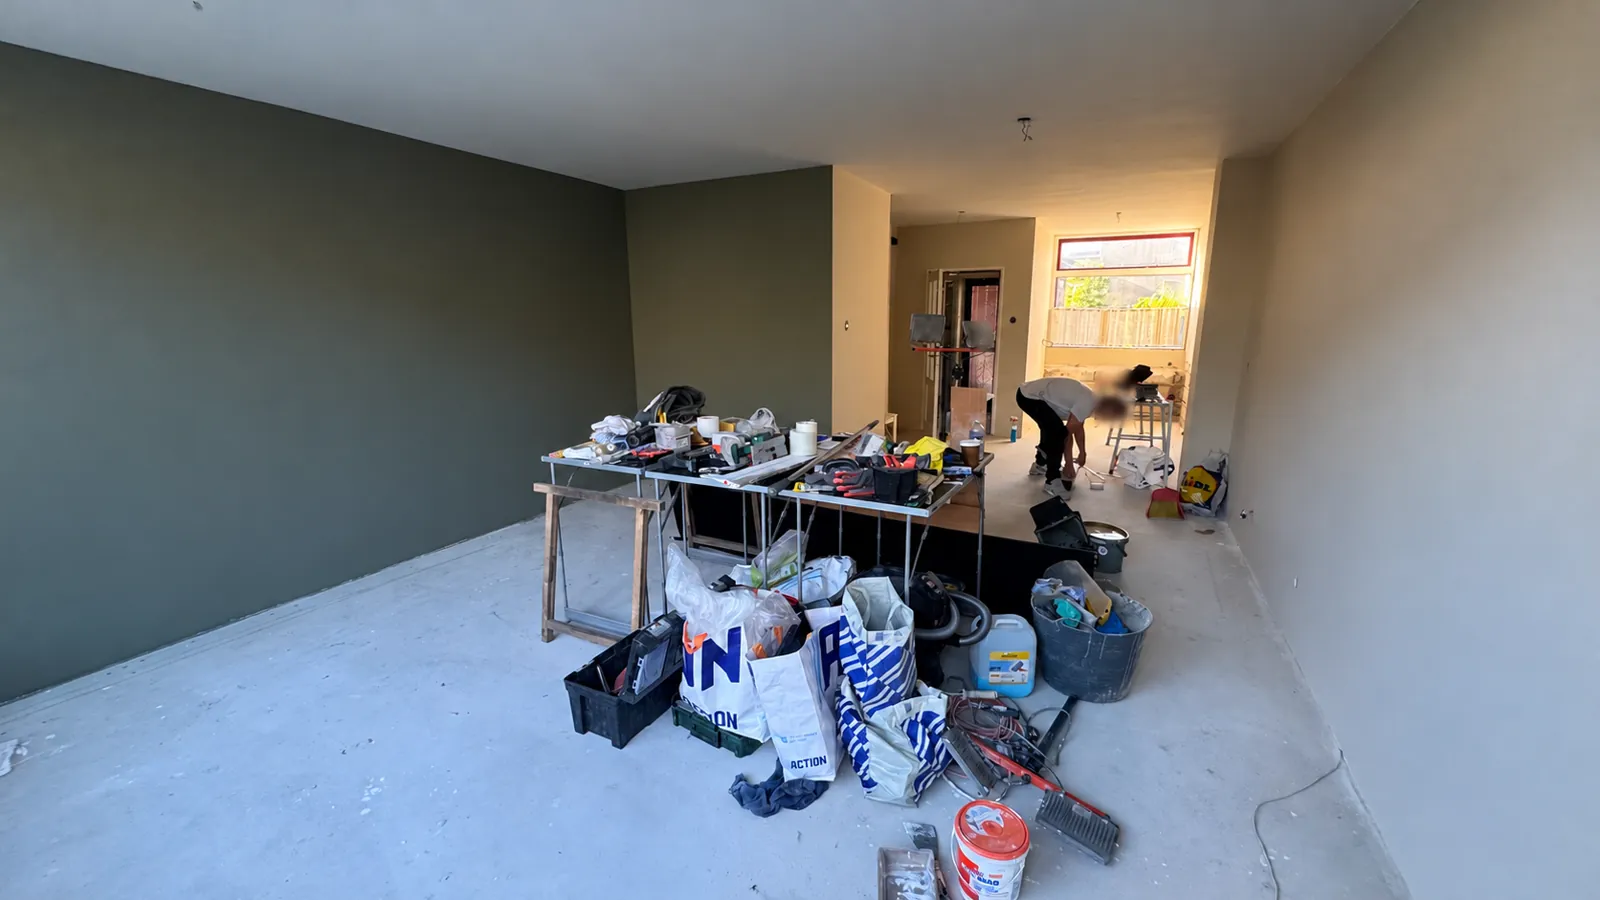
August–September 2025
Explore this project