
Phase 1
Structural Wall Demolition & Beam Installation
Removed from HWR’s scope: the original major load-bearing wall removal and associated beams were assigned to a third party. This does not remove the separate opening work retained in Phase 2.
HWR / THE TRANSFORMATION
Explore the transformation. Choose a chapter, swipe through the details, or open the photo wall.
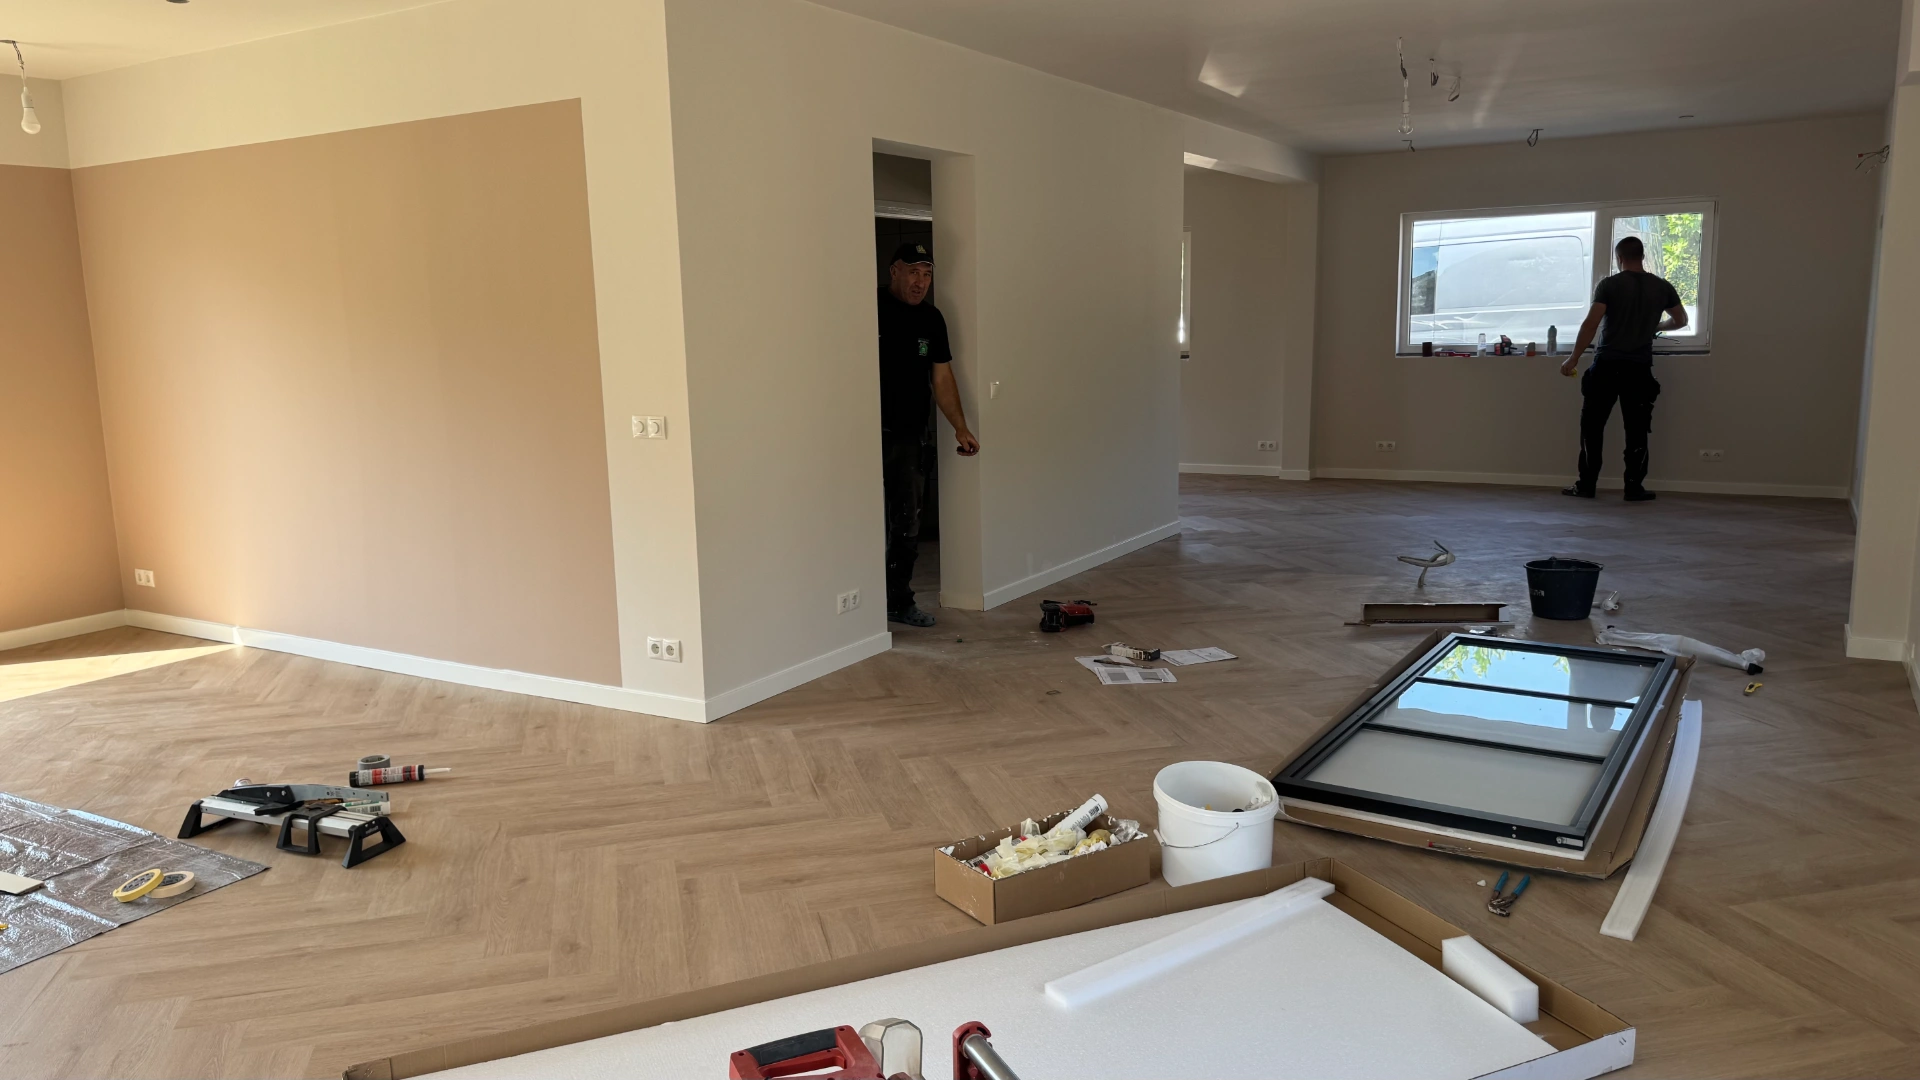 Result / HWR
Swipe to explore · Tap full screen for the details
Breda / Project
A house renovation combining a rebuilt floor, altered openings, an upstairs bathroom and renewed water and drainage systems.
June–August 2026
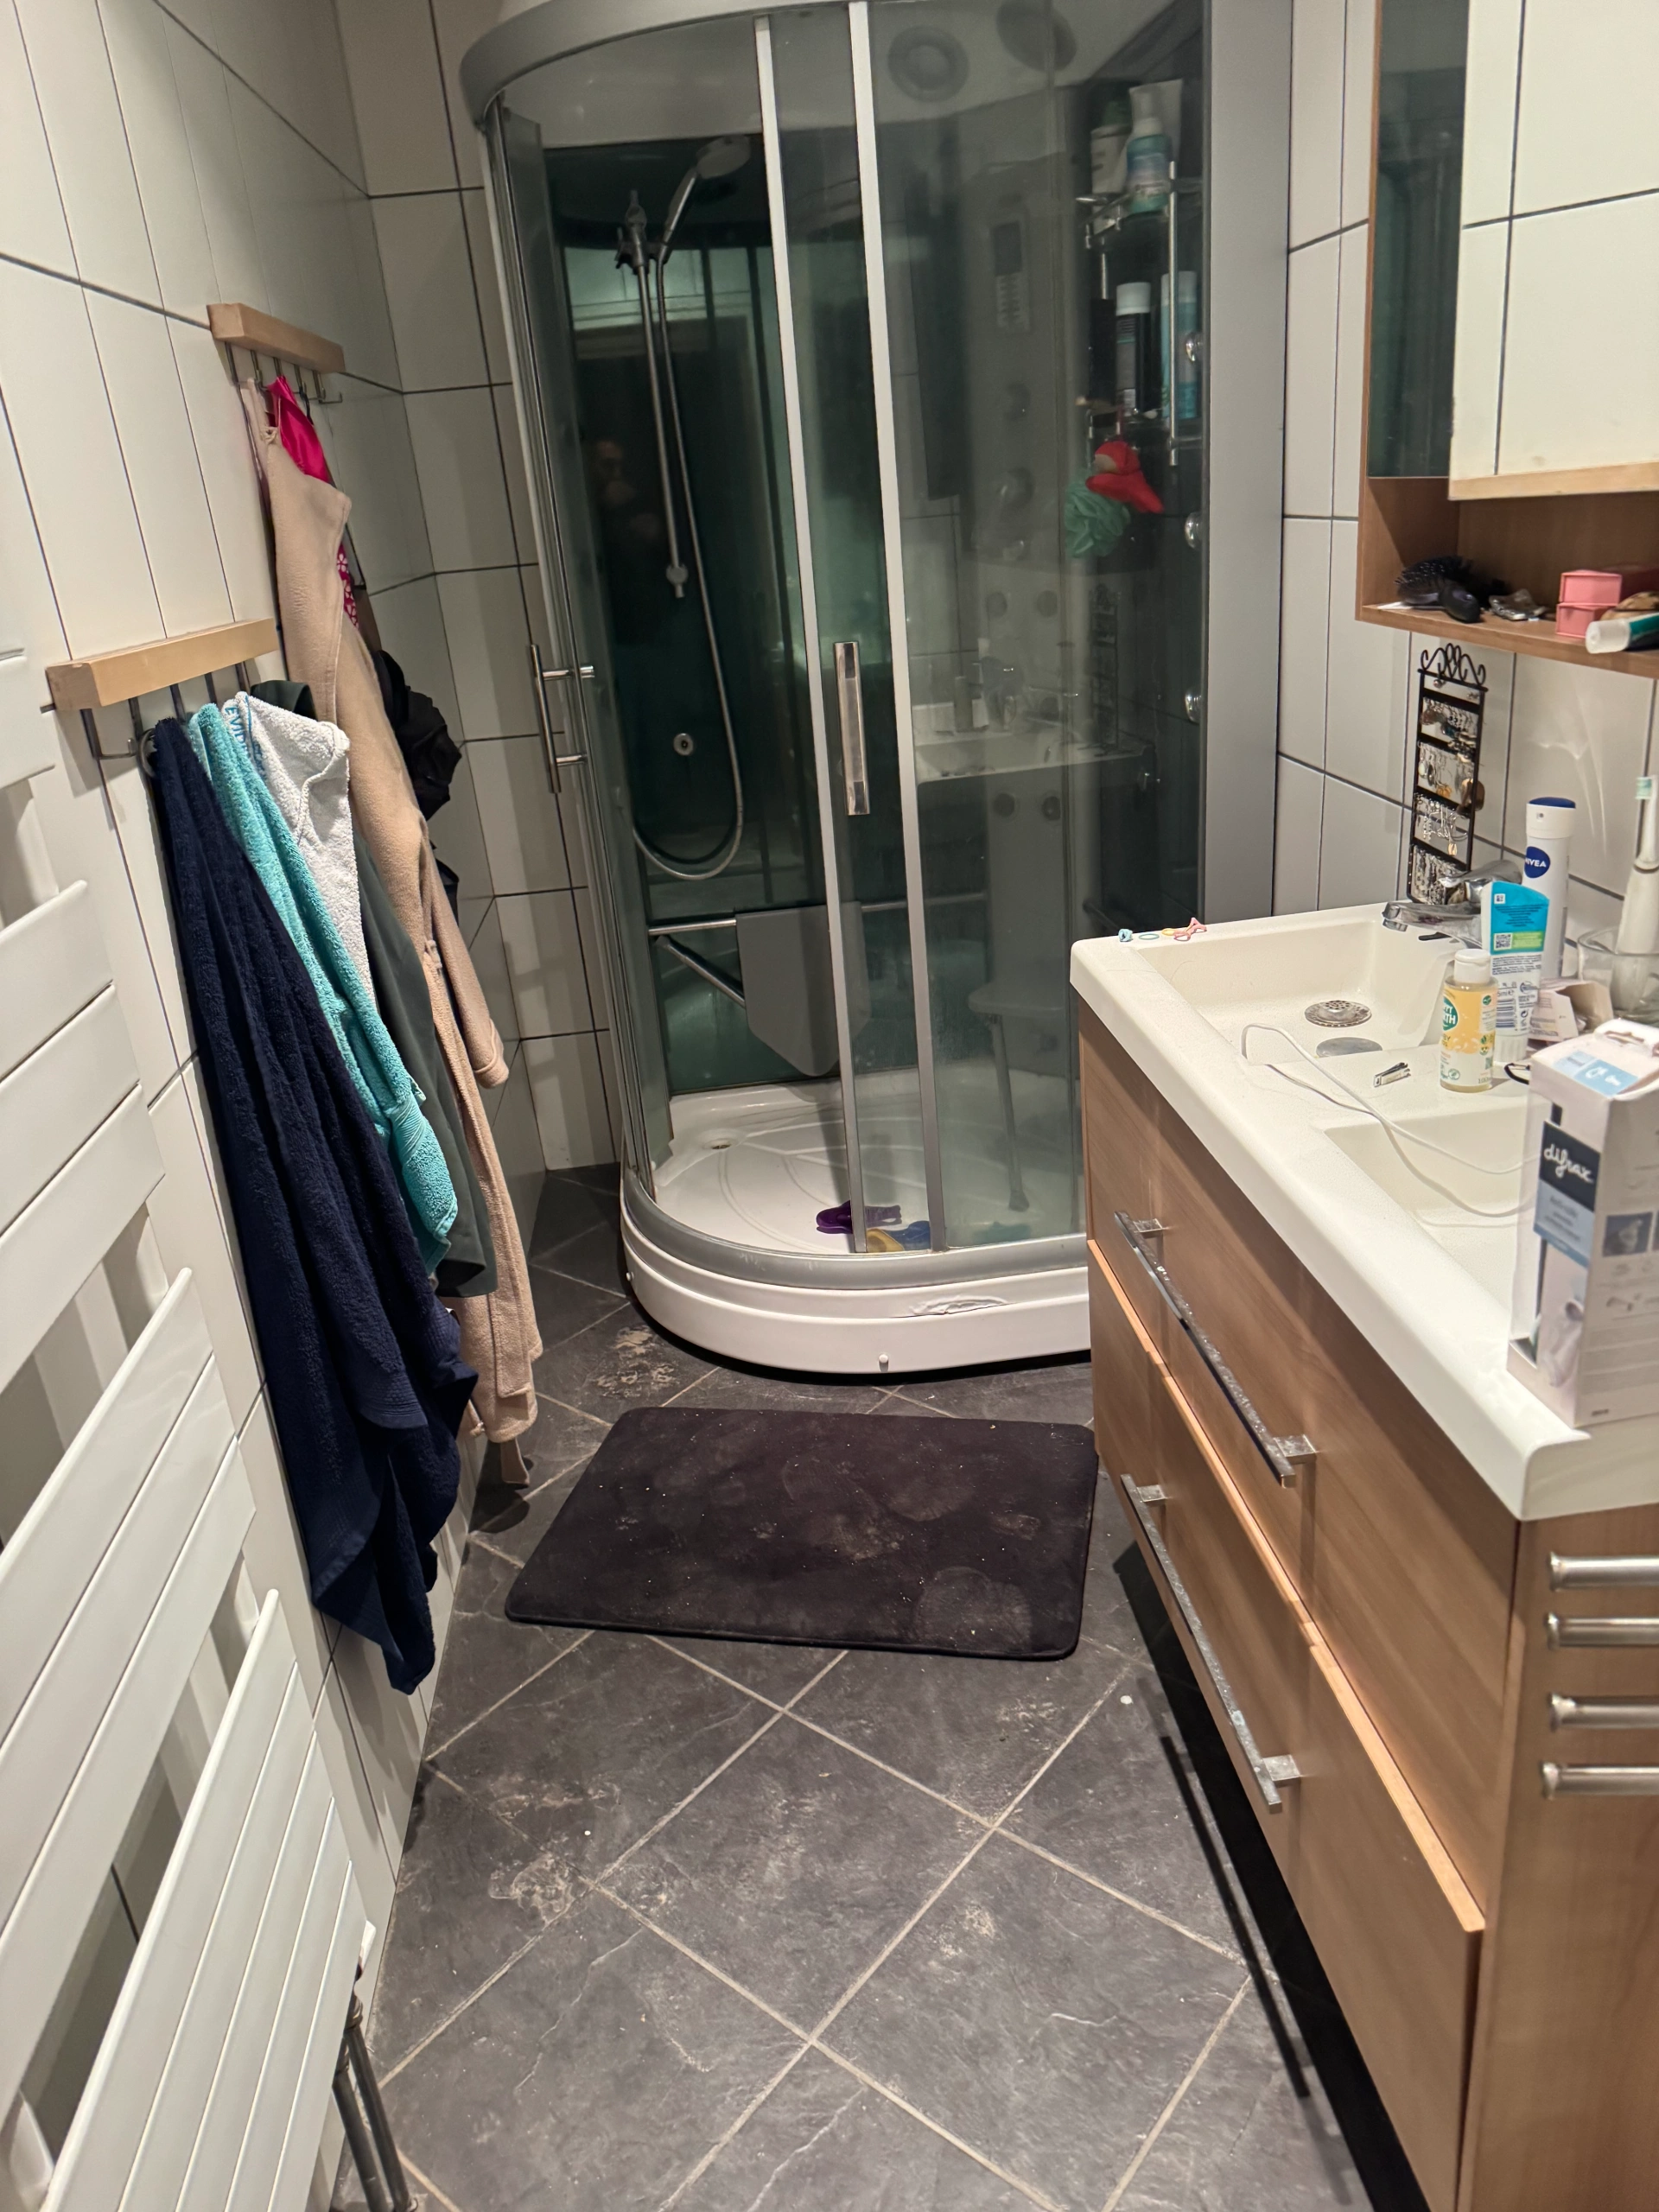 BeforeAfter
For Meindert and Kirsten, several changes needed to work together: the ground floor, windows and doors, upstairs bathroom and water distribution. In particular, the service work grew as the renovation developed.
02 / Step by step
Phase 1
Removed from HWR’s scope: the original major load-bearing wall removal and associated beams were assigned to a third party. This does not remove the separate opening work retained in Phase 2.
Phase 2
Specific openings remained in the work, including later lintel and opening adjustments and the added 1.05 × 2.10 m masonry wall. These are distinct from the cancelled structural package.
We adapted several window and door openings, including extending window openings downwards. Supported door openings with lintels were formed at the utility room and living room. A new calcium-silicate block wall was anchored to the surrounding structure. The original larger load-bearing wall demolition package had been assigned to another contractor.
The final work included specific supported door openings at both the utility room and living room, as well as the new anchored masonry wall. Several window openings were lowered or extended for the replacement frames. These changes affected the surrounding masonry and finishes.
This was a more specific scope than the original major wall-removal package. The useful story is which openings and supports we actually worked on, and how those changes connected to the renewed doors and windows.
When openings are enlarged or lowered, their support and new frames must fit together.
Phase 3
The existing floor layers and old heating were removed where required for the renewed floor build-up.
Phase 4
The ground was prepared to receive the new insulation, heating and screed at the agreed finished level.
Phase 5
Service routes were adjusted with the new layout. Later additions included extra basin connections and the renewed water-distribution arrangement.
Phase 6
The insulation and underfloor heating form a distinct stage. The client supplied the PIR in the revised arrangement; the supply credit did not cancel installation.
We removed the agreed old floor layers and made room for the new build-up. The client supplied the PIR insulation, while we carried out its installation within the floor works. Insulation, reinforcement, water-based heating, screed and levelling prepare the base for bonded herringbone PVC.
Meindert and Kirsten’s renovation combined a new floor with changes to the house services and sanitary rooms. The PIR supply shifted to the client during the project, but installation remained part of our work. Supplying an insulation board and incorporating it into a floor are separate responsibilities.
The final floor depends on the combined height of all layers. Insulation and heating sit below the visible finish, while the screed and levelling form the surface for the bonded PVC.
The visible floor depends on the levels and preparation of every layer beneath it.
Phase 7
The screed completes the heated floor base before the final floor preparation. Levels and drying are essential before bonding the floor finish.
Phase 8
The original ground-floor toilet package was revised. The final downstairs invoice removes the proposed complete toilet/shower installation; the actual preparation and retained work are described without claiming a fully fitted room.
In the additional downstairs room, we worked on the floor and services: underfloor heating, PVC finish, pipe adjustments and washer/dryer circuits. This was separate from the complete upstairs bathroom. Plaster repairs around alterations and the installation of windows and doors brought the work together.
The downstairs room had its own floor and services package, including washer and dryer circuits. Its preparation, floor finish and service alterations connected this practical space to the wider renovation.
Across the house, the new openings and pipe routes created local repairs. Completing those junctions and the window and door installation linked the individual work packages into the June–August renovation.
Different rooms need different work. Matching each package to its intended use keeps the finish appropriate.
Phase 9
Only the confirmed plastering and repair areas belong to the actual scope. Optional full skim and painting items are not presented as completed merely because they appeared in a proposal.
Phase 10
The retained window and door openings were aligned and finished, including the utility and living-room connections.
Phase 11
The floor-finishing package covers the specified smoothing, bonded herringbone PVC and skirting. It follows the prepared, dried floor base.
Phase 12
Protection removal, minor finishing and waste clearance close the original ground-floor package. The upstairs bathroom was added as a separate scope below.
Phase 4.1
The new upstairs bathroom required its own water and drainage installation. The added 110 mm drain route was boxed with stone wool and vented through the dormer’s EPDM roof.
Two extra basin connections were formed on the bedroom side of the bathroom wall. We opened walls, installed the services and repaired the local finishes. The main waste pipe continued downstairs inside boxing with stone wool. Its vent passed through the flat dormer roof with an EPDM junction detail.
The two bedroom basins expanded the plumbing beyond the bathroom itself. Their hot, cold and waste connections required openings in the shared wall, followed by local surface repairs. The new vertical drainage route also needed room within the finished house.
Stone wool inside the boxing addressed sound around the pipe. At the roof, the vent connection used an EPDM detail. Drainage ventilation manages air in the waste system; it is different from extracting humid air from a bathroom.
Services run through several rooms, so routing, access, sound and roof sealing need to be considered together.
Phase 4.2
The timber bathroom floor was strengthened and rebuilt before the wet-area finish. The floor construction must carry the sanitary layout and provide a stable tile base.
The upstairs bathroom received a reinforced base of timber and OSB, followed by membrane, reinforcement and screed. Water and waste pipes were incorporated before waterproofing, wall and floor tiles and sanitary installation. Electrical connections, ceiling finishing and the radiator connection were included.
A bathroom above timber construction brings extra layers and services into a floor that originally served a different use. Timber reinforcement and OSB established the base, followed by the membrane, reinforcement and screed. The sanitary pipe positions needed to be part of that build-up before it was closed.
Waterproofing belongs below the tiled finish, especially at changes of plane and around connections. The tiles provide the visible room surface; they are not the whole moisture-protection system.
An upstairs wet room needs care both in its timber base and in the waterproof finish.
Phase 4.3
The wet-area floor, shower junctions and penetrations were waterproofed before tiling.
Phase 4.4
Wall and floor tiles finish the new bathroom over the prepared waterproof base, with aligned junctions and edge details.
Phase 4.5
The bathroom sanitary fixtures and concealed toilet system were fitted to the new water and drainage positions.
Phase 4.6
Bathroom lighting, sockets and the specified electrical connections were coordinated with the sanitary layout.
Phase 4.7
The bathroom heating connection and final sealing complete the added wet-room package.
Additional work 1
The separate upstairs plastering offer remains a distinct work package alongside the bathroom addendum.
Additional work 2
Additional work includes two bedroom basins, new manifold distribution and a water softener, with the existing utility sink reinstalled.
The plumbing expanded into a new central distribution point in the utility room. A main line connects the incoming supply to the water softener and manifolds. New hot and cold branches serve the kitchen, sanitary rooms, garage and other connection points. Redundant old lines were closed and the existing utility sink was reinstalled.
A central manifold arrangement gives separate branches to the different connection points. Here, the main supply, water softener and hot/cold distribution were brought together in the utility room, with new routes extending through the home. This was a wider plumbing change than connecting a single new bathroom.
The existing utility sink was retained and reinstalled. The work combined renewed pipe distribution with reuse of that fitting, rather than replacing every visible item.
Central distribution makes the routes to different water outlets easier to follow.
Your renovation
Tell us about your home and your ideas. We will discuss the scope and the next step with you.
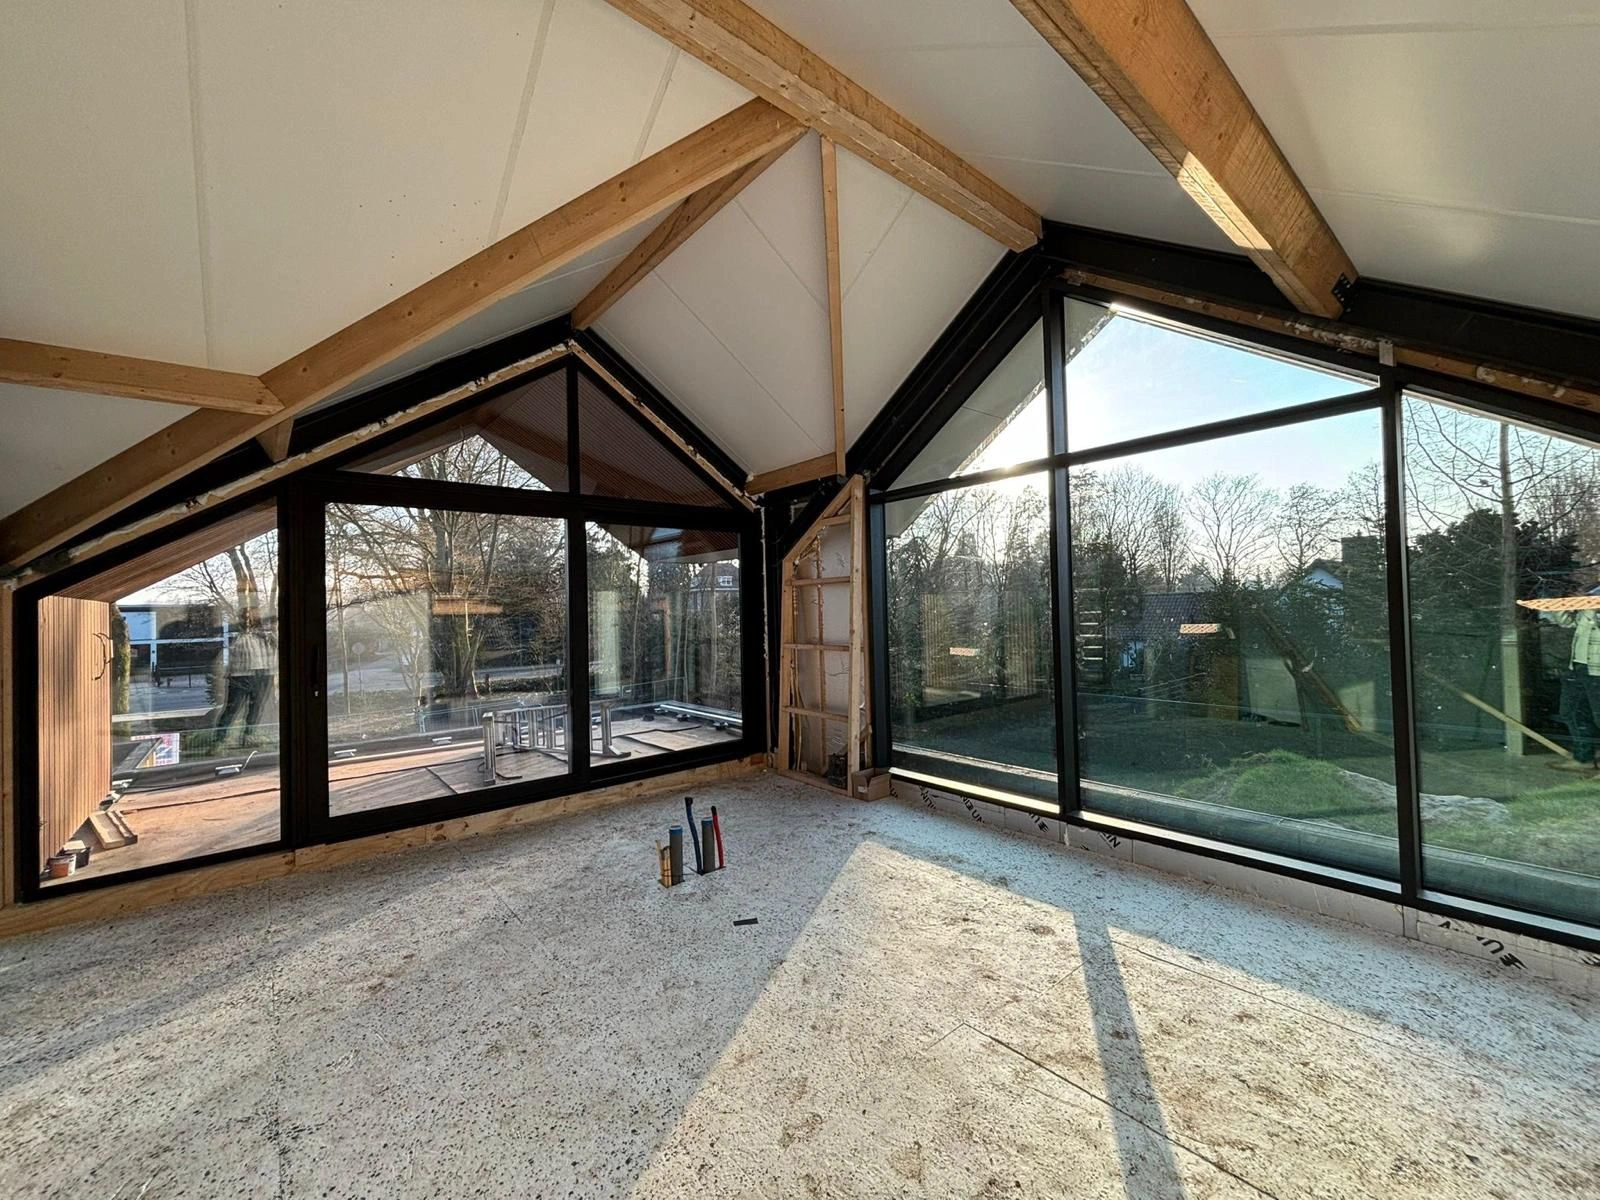
April–May 2026
Explore this project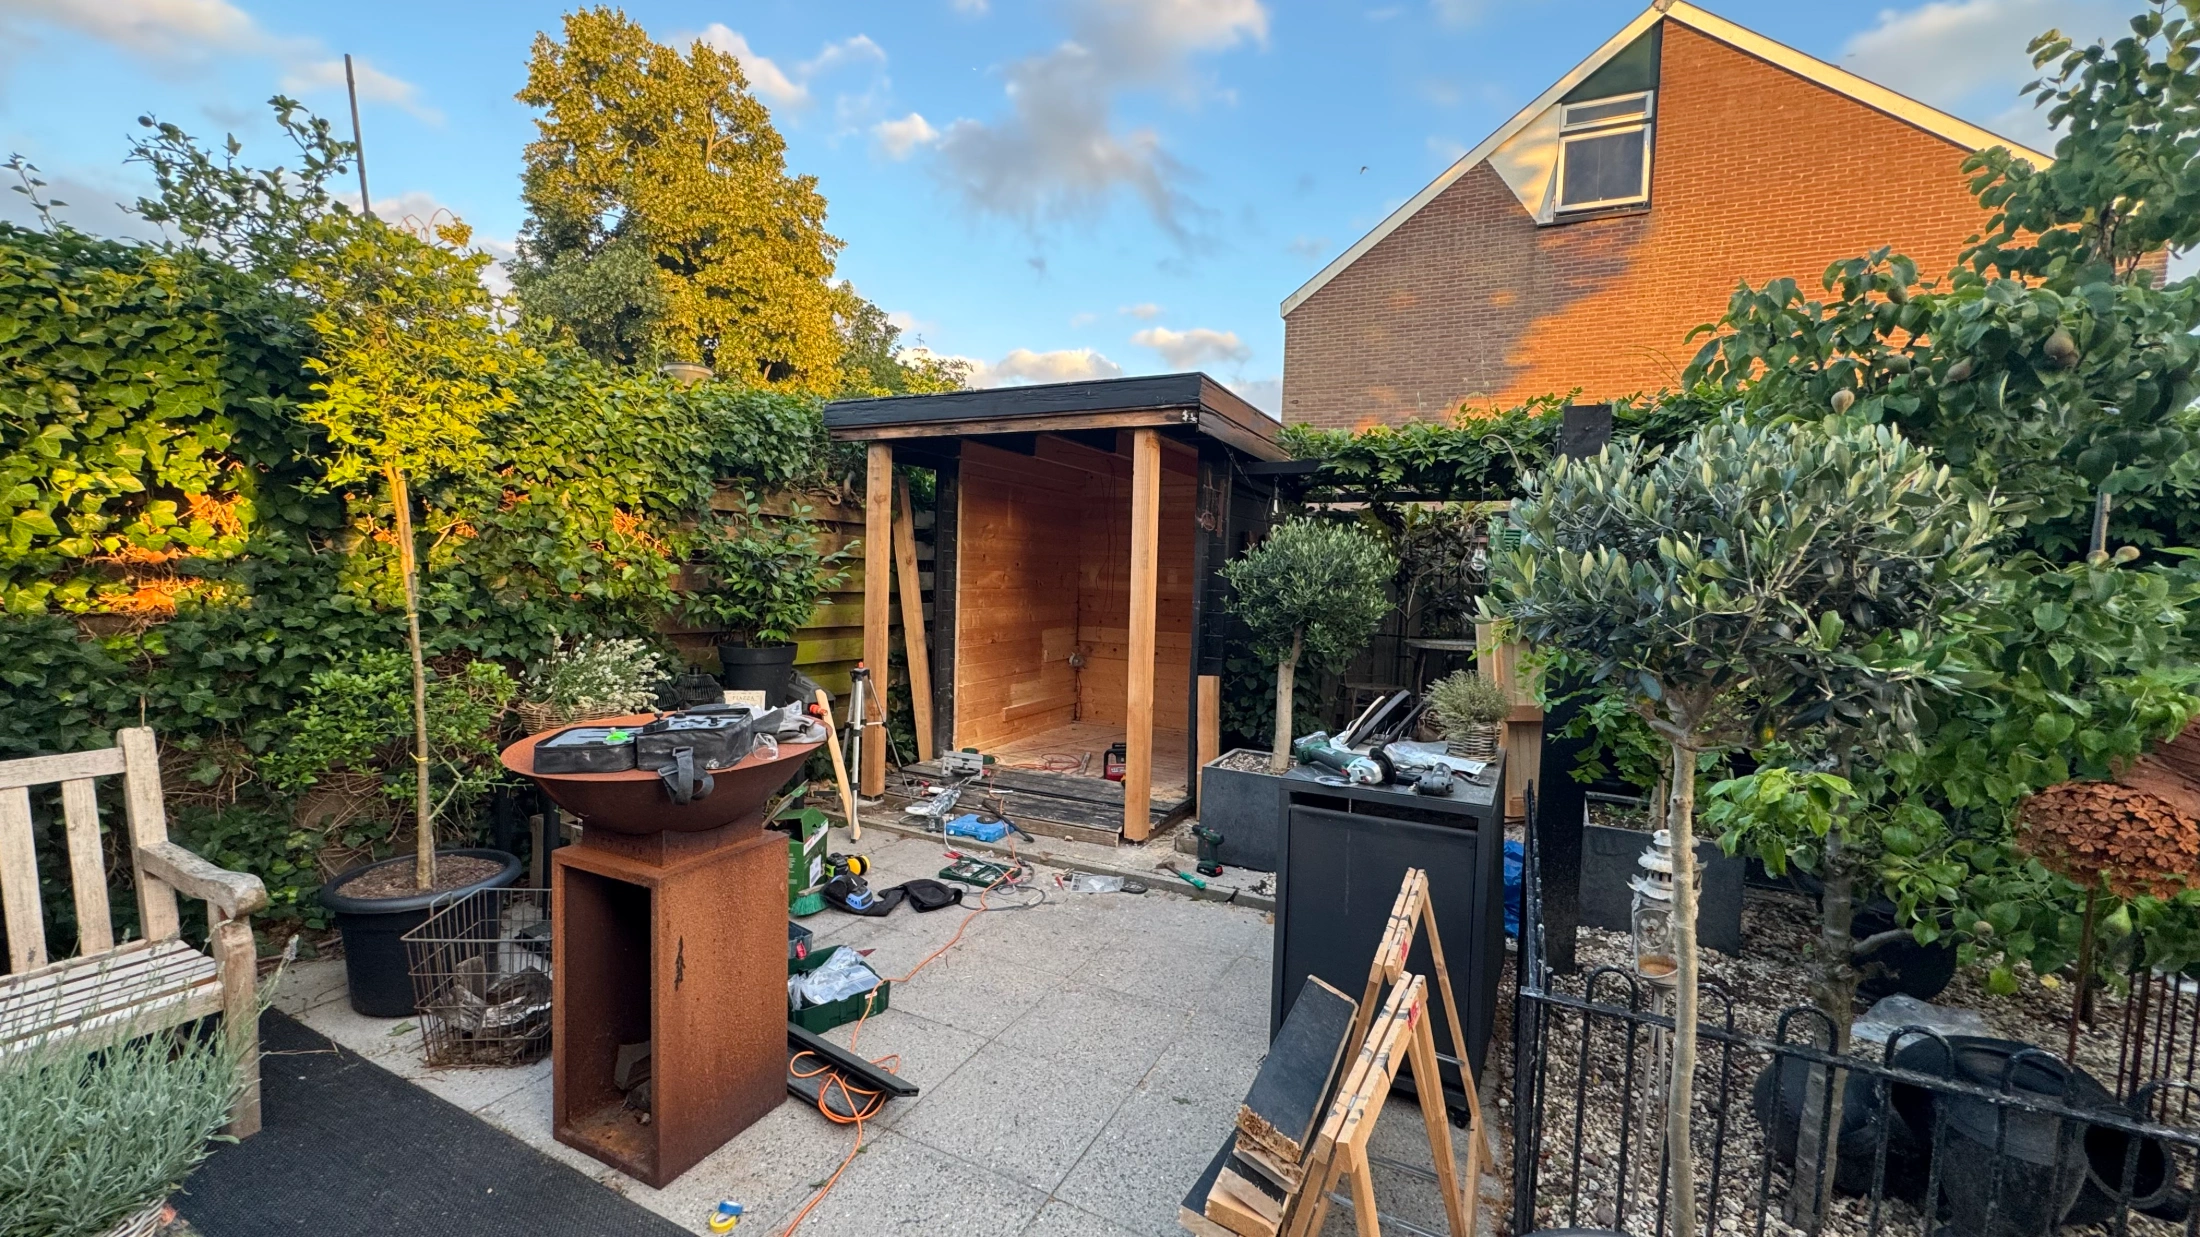
May 2025
Explore this project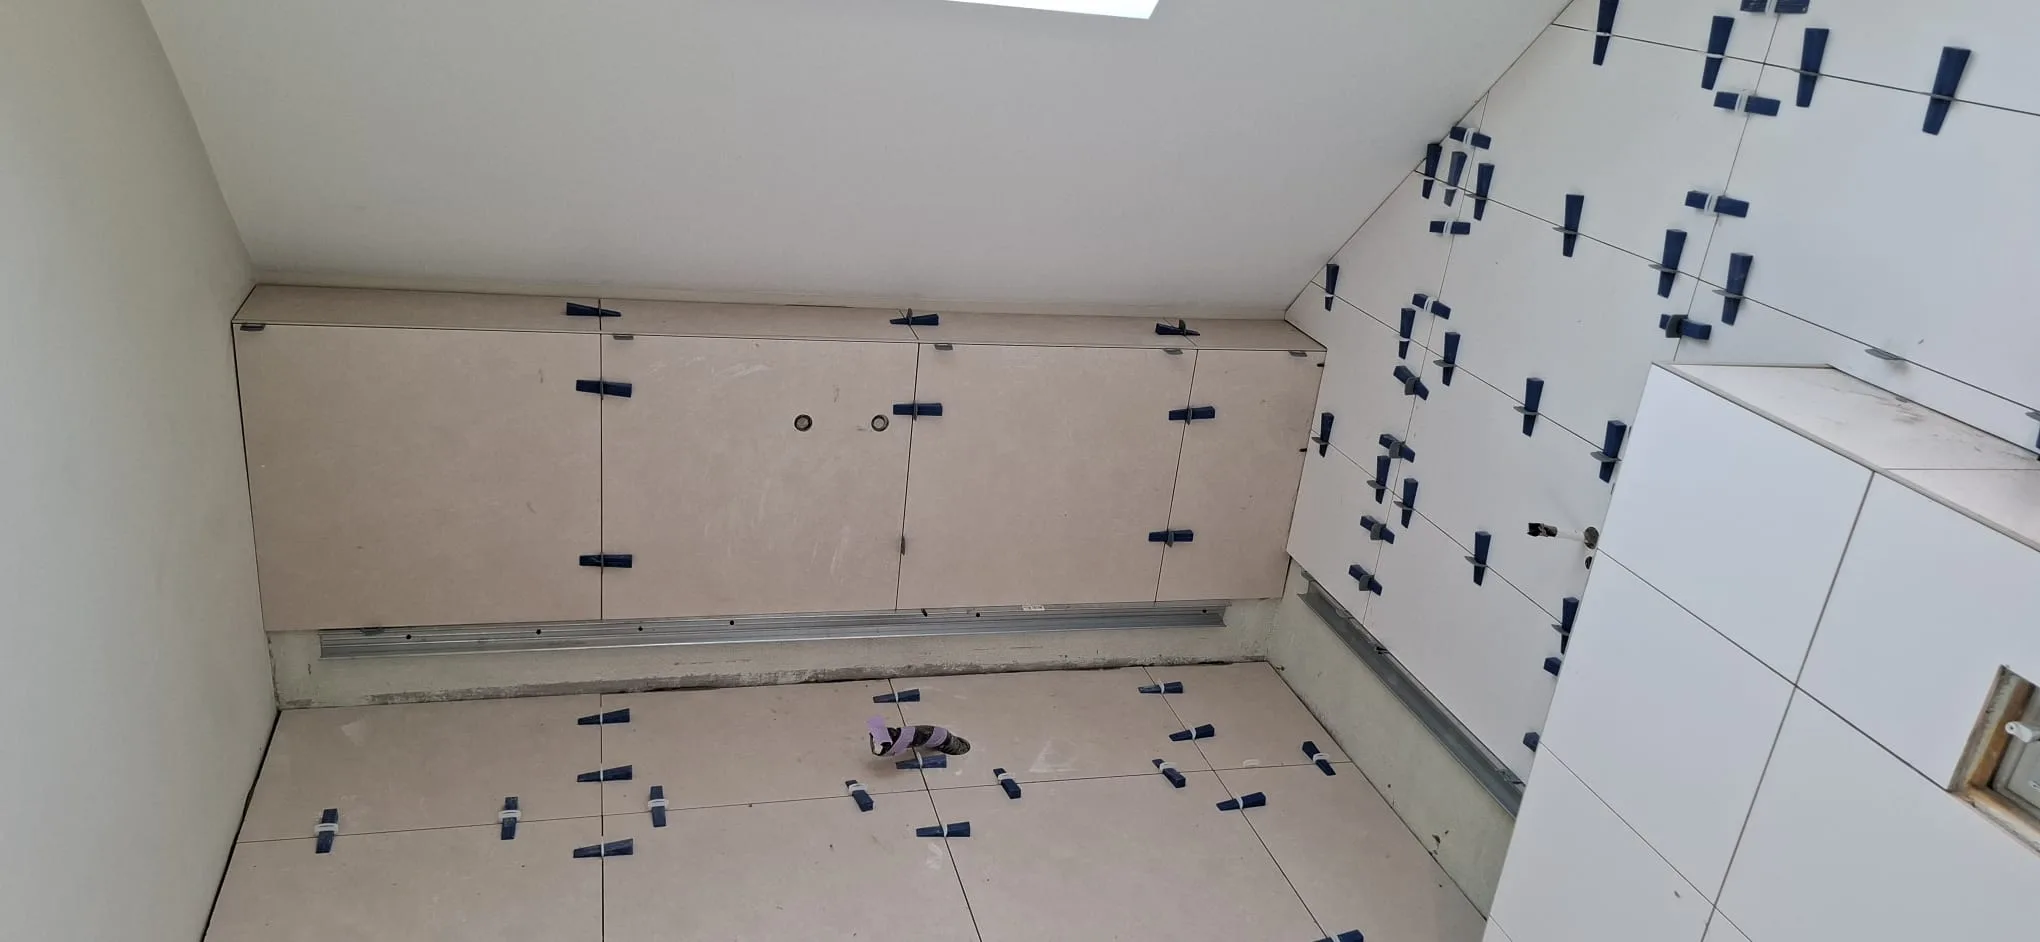
June 2026 — proposed work month in the offer
Explore this project