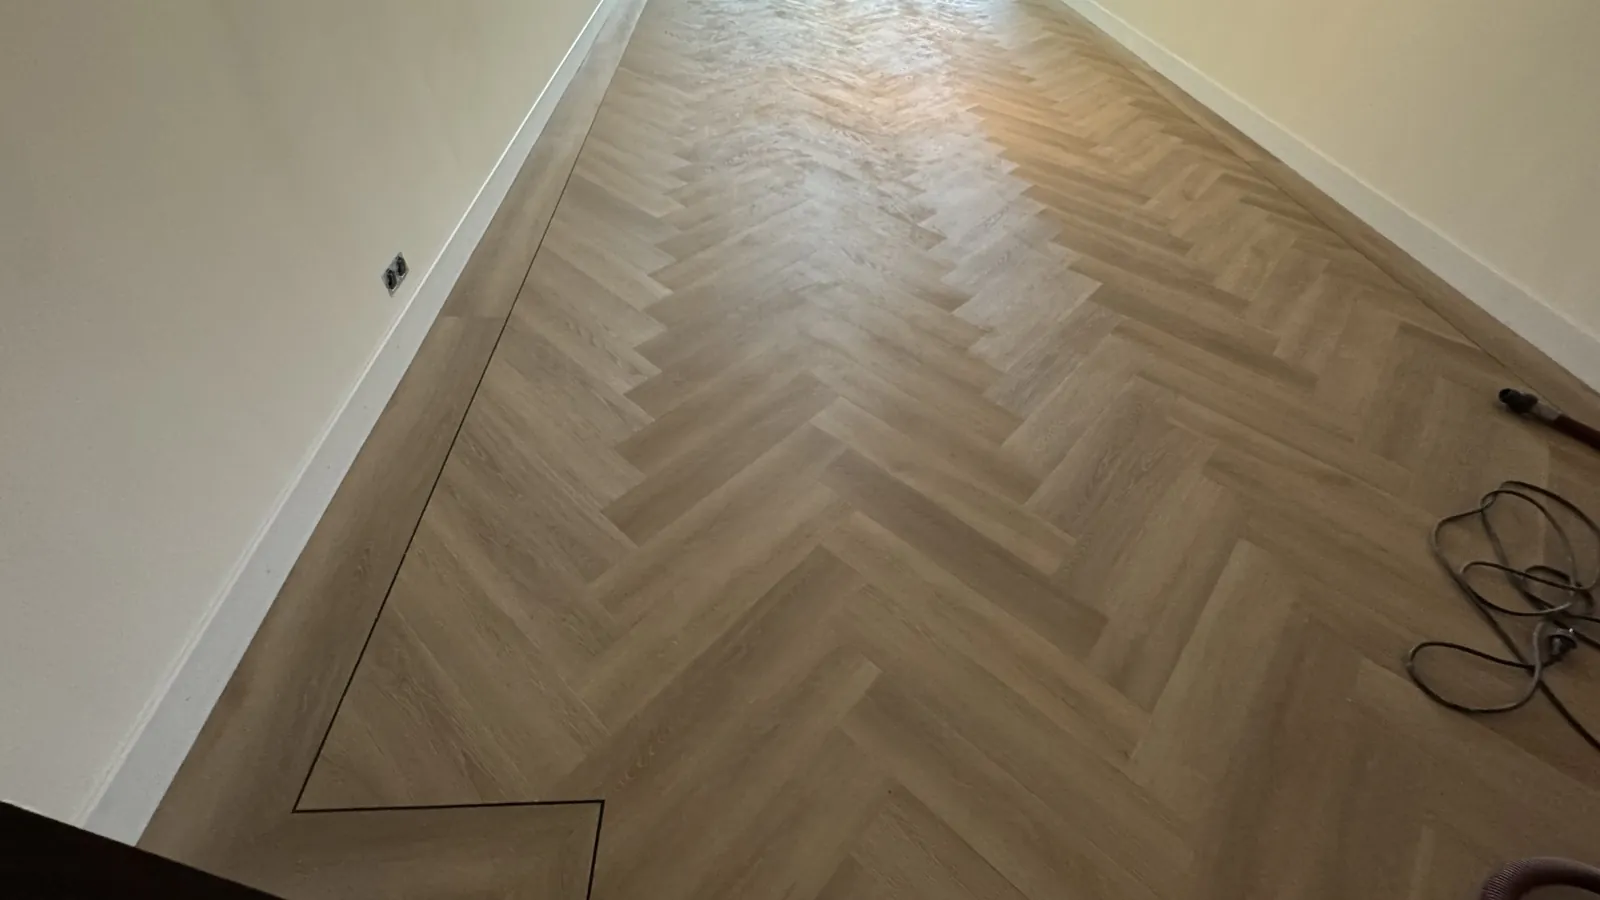
A herringbone PVC floor in a spacious Oisterwijk apartment, with neatly finished edges and skirting.
14HWR / PROJECT
Project timeline
August 2025
Before & after
BeforeAfter
Esmee’s herringbone pvc floor in Oisterwijk
In Esmee’s spacious apartment, the herringbone pattern needed to connect the rooms. The base, pattern direction and junctions at walls and doorways mattered as much as laying the floor itself.
02 / Step by step
The project in phases
Phase 1
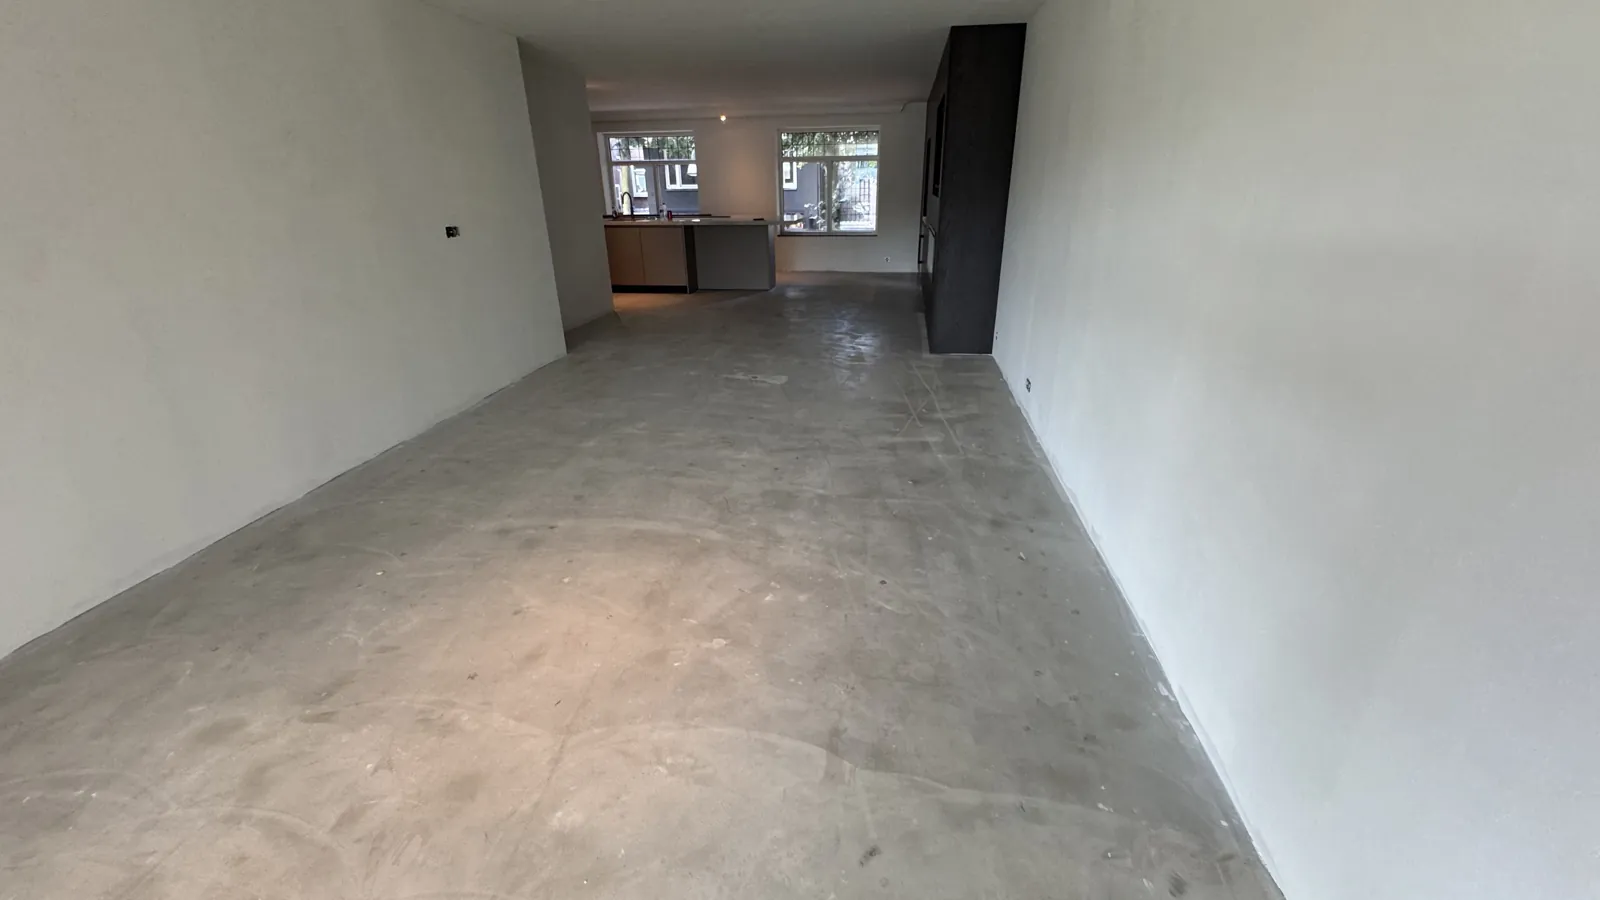
Preparation by the Client
The offer assigns the smooth, clean, primed and accessible floor base to the client. HWR’s installation starts on that prepared substrate; this is not presented as HWR levelling the floor.
Esmee supplied the PVC flooring and skirting. We assessed the prepared subfloor before bonding. With thin PVC, unevenness underneath can show through the finished floor.
This was a large apartment in Oisterwijk. With the flooring and skirting supplied by Esmee, our role concentrated on preparation for bonding and the installation itself. A thin glued floor follows the surface underneath it, making the condition of that base important across the whole area.
The herringbone pattern adds another consideration: the starting direction affects how the repeated pattern meets walls and connects the rooms.
Why this matters
A neat floor starts beneath the visible planks.
Phase 2
Herringbone PVC Installation
The client-supplied PVC was bonded in a herringbone pattern through the large apartment, with aligned rows and careful edge cuts.
We installed the PVC in a herringbone pattern, coordinating its direction and layout with the apartment’s rooms and cutting pieces to fit walls and doorways.
Each short plank forms part of a repeating arrangement, so alignment is maintained over many individual pieces. The laying work included the cuts needed at room boundaries and openings, where the large pattern has to become a precise fit.
Herringbone changes the visual character of an apartment. It gives the floor direction and detail, which makes careful setting out particularly noticeable in long sightlines.
Why this matters
The starting line determines how the pattern continues through the home.
Phase 3
Skirting Installation
The supplied skirting was fitted around the finished flooring, coordinating corners and wall junctions.
After laying, we fitted the supplied skirting and finished the edges, bringing the floor and walls together.
The skirting completed the perimeter rather than simply covering the last row of flooring. Corners, door frames and changes of wall direction all create separate junctions to finish. These smaller details are where the floor installation meets the rest of the interior.
The August project combined a client-selected material with HWR installation, resulting in a patterned floor and finished room edges throughout the agreed apartment areas.
Why this matters
The edges help determine how well finished the main floor looks.
Phase 4
Handover
Work remnants were removed and the floor delivered broom-clean after the installation and skirting work.
THIS PROJECT / THEIR EXPERIENCE
What the client says
Reviews appear here when the client chooses to link their experience to this project.