Phase 1
Cleaning – High Pressure Wash
Cleaning removed surface contamination before the timber and paint layers could be assessed.
HWR / THE TRANSFORMATION
Explore the transformation. Choose a chapter, swipe through the details, or open the photo wall.
 Result / HWR
Swipe to explore · Tap full screen for the details
Nieuw-Beijerland / Completed
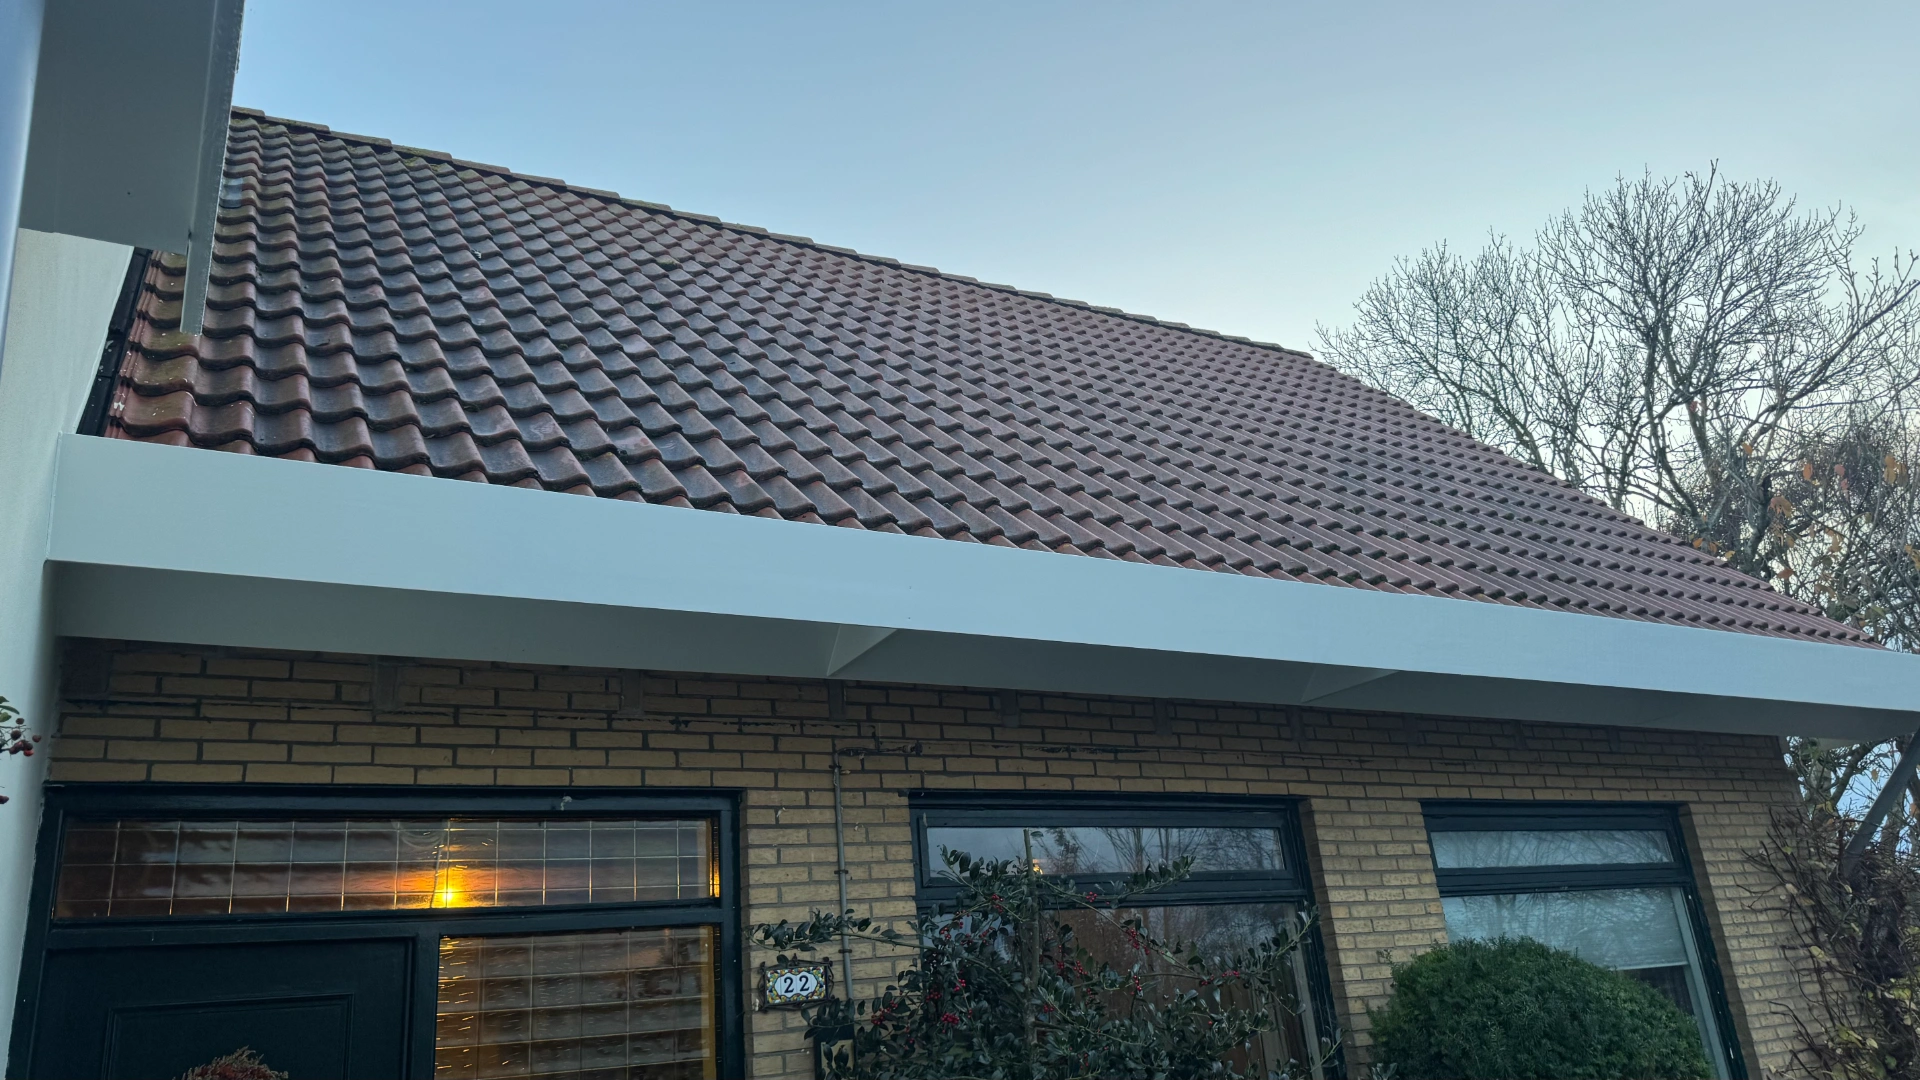
Exterior painting with repairs to windows, the veranda and roof edges. Preparation went beyond sanding and a new coat of paint.
November 2025
 BeforeAfter
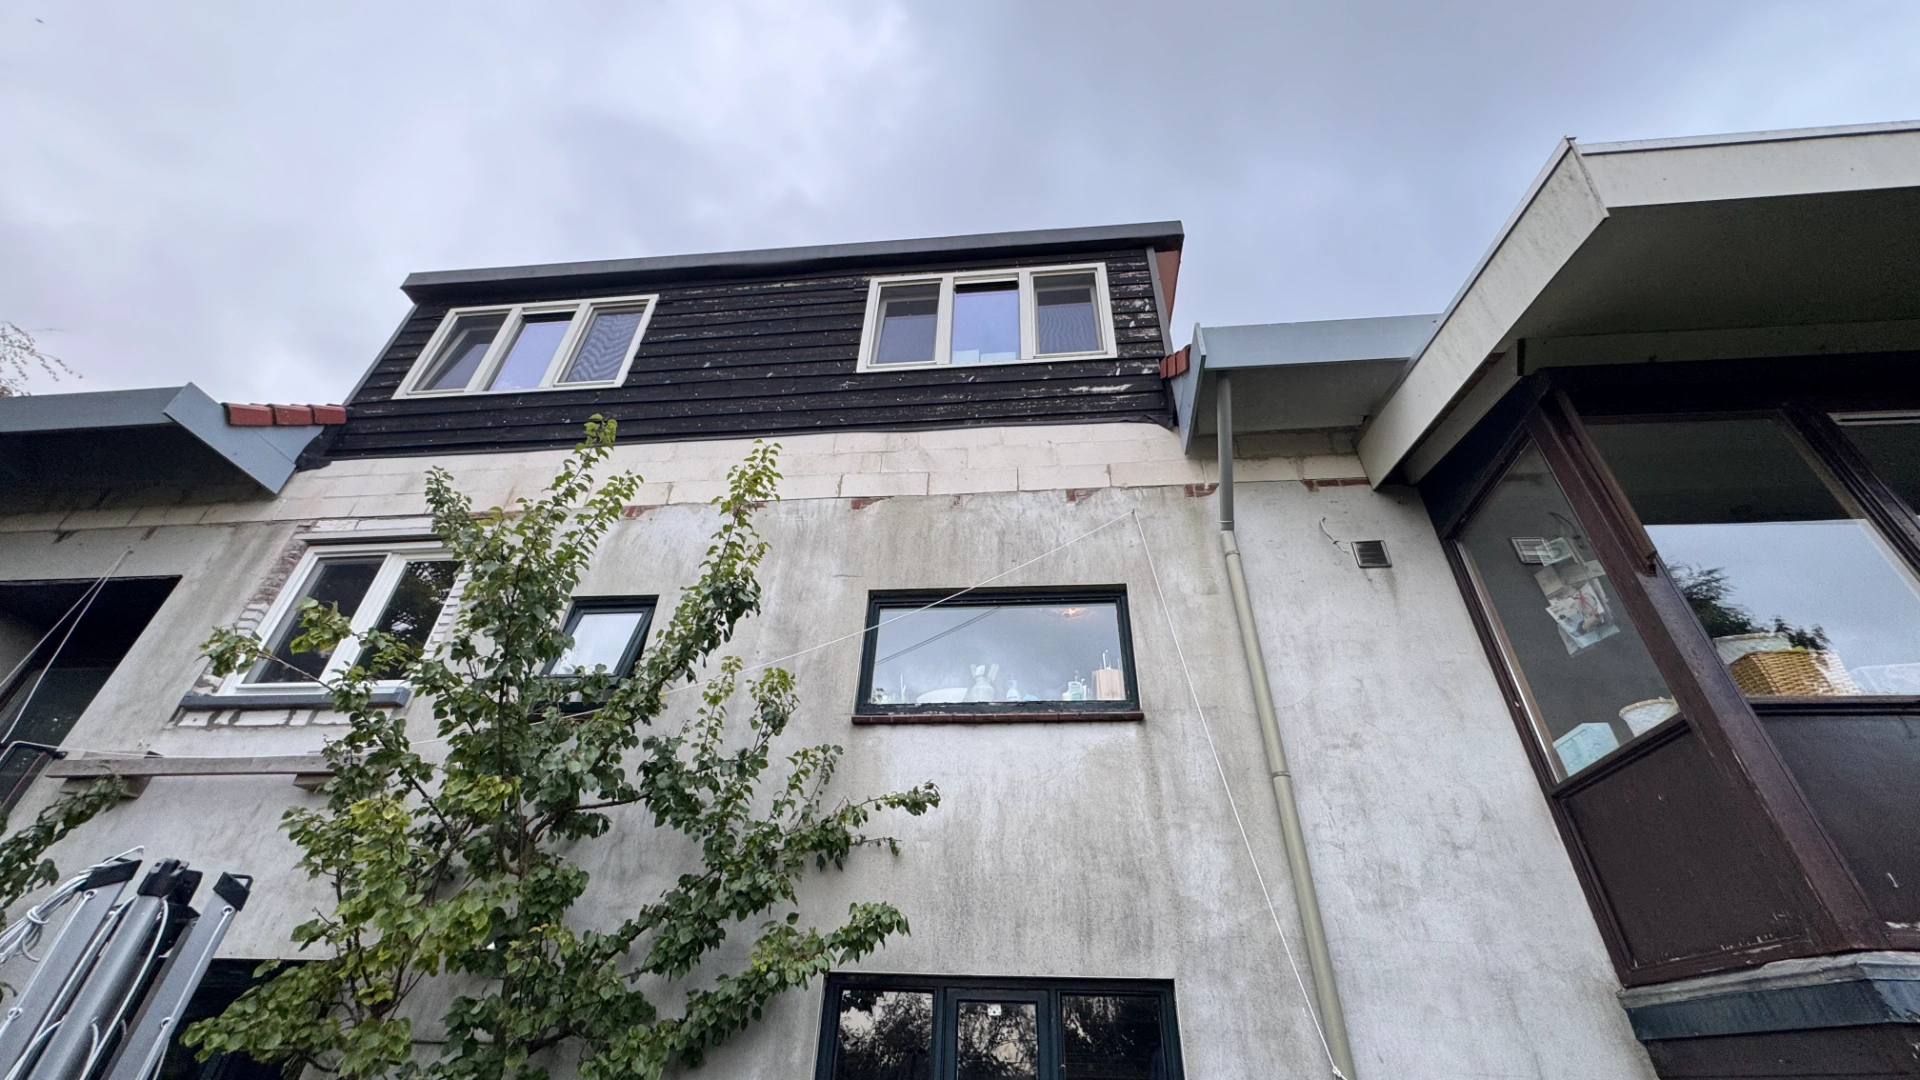
At Christiaan’s home, weathered components needed repairs before the new coatings. Glazing, glazing beads and junctions also needed attention.
02 / Step by step
Phase 1
Cleaning removed surface contamination before the timber and paint layers could be assessed.
Phase 2
Glass, adjoining surfaces and the work area were protected before preparation and painting.
Phase 3
Loose coatings and uneven areas were prepared so repairs and the subsequent coating system could bond to a sound surface.
Phase 4
Sanding dust and grease were removed before the new coating layers.
Phase 5
The final work included five restored frames, three glazing replacements and five veranda boards. The specified board thickness changed to 18 mm.
We sanded and repaired five window frames, replaced glazing beads and carried out three glazing replacements. One opening was adapted for a larger pane. Five veranda boards were cut to size and replaced.
Christiaan’s exterior needed restoration before it could receive its new paint finish. The five window frames required substantial sanding, and replacing glazing beads addressed the edges around the glass. The three glazing replacements and the five veranda boards were distinct tasks within that restoration.
One glazing opening also had to be enlarged for the replacement pane. This illustrates why exterior painting sometimes includes carpentry and glazing: paint protects and finishes a sound surface, but does not replace missing or damaged construction.
Additional sealing was carried out along fascia edges and other junctions. Connections around the windows and veranda were finished and the required board sections adapted. Access at height formed part of preparation.
The final work included more than 63 metres of additional fascia-edge sealing. Illbruck FA101 was used in the sealing package, and the revised board choice was 18 mm rather than the originally proposed thinner board. These details reflect how the job developed after the first brief.
Exposed edges and junctions receive rain and movement differently from a large flat panel. They therefore form a separate part of the preparation, alongside safe access to the higher sections of the house.
Open joints can allow water behind a fresh coating.
Phase 6
Primer forms a separate layer between the prepared substrate and the finishing coats. Repairs and bare areas need particular attention at this stage.
Phase 7
The first finish coat was applied over the prepared primer layer.
Phase 8
The intermediate check and light sanding prepare the first coat for the final finish.
Phase 9
The final coat brings the exterior timber into its finished appearance after the earlier preparation and repairs.
Cleaning, sanding and degreasing were followed by primer and finish coats across the different elements. Windows, roof edges, cladding and veranda were completed as a coordinated exterior package in November 2025.
The roof edges and gutters received primer and two finish coats. The Swedish-style cladding required primer and two to three finish coats, according to the delivered work description. The coating process followed the repairs and preparation rather than covering over them.
The November project combined window restoration, glazing, veranda repairs and protective finishes. For a new client, the useful lesson is that the durability of exterior paintwork begins with the condition of the surface and its edges.
Preparation and suitable coatings for each substrate work together to create the finish.
Phase 10
Protection was removed and the repaired, sealed and painted details checked at completion.
Your renovation
Tell us about your home and your ideas. We will discuss the scope and the next step with you.
April–May 2026
Explore this project
May 2025
Explore this project
August–September 2025
Explore this project