Sonia’s plastering and ceiling renovation in Rotterdam
Repairing the ceiling and openings
Reinforcing transitions
Smooth and ready for paint
Repairing damaged ceiling areas, closing old openings and smoothing walls ready for painting.
13HWR / PROJECT
Project timeline
June–July 2025
Before & after
BeforeAfter
Sonia’s plastering and ceiling renovation in Rotterdam
At Sonia’s home, old openings and different substrates needed to become a consistent finish. Repairing the damaged kitchen ceiling was part of that preparation.
02 / Step by step
The project in phases
Phase 1
Walls
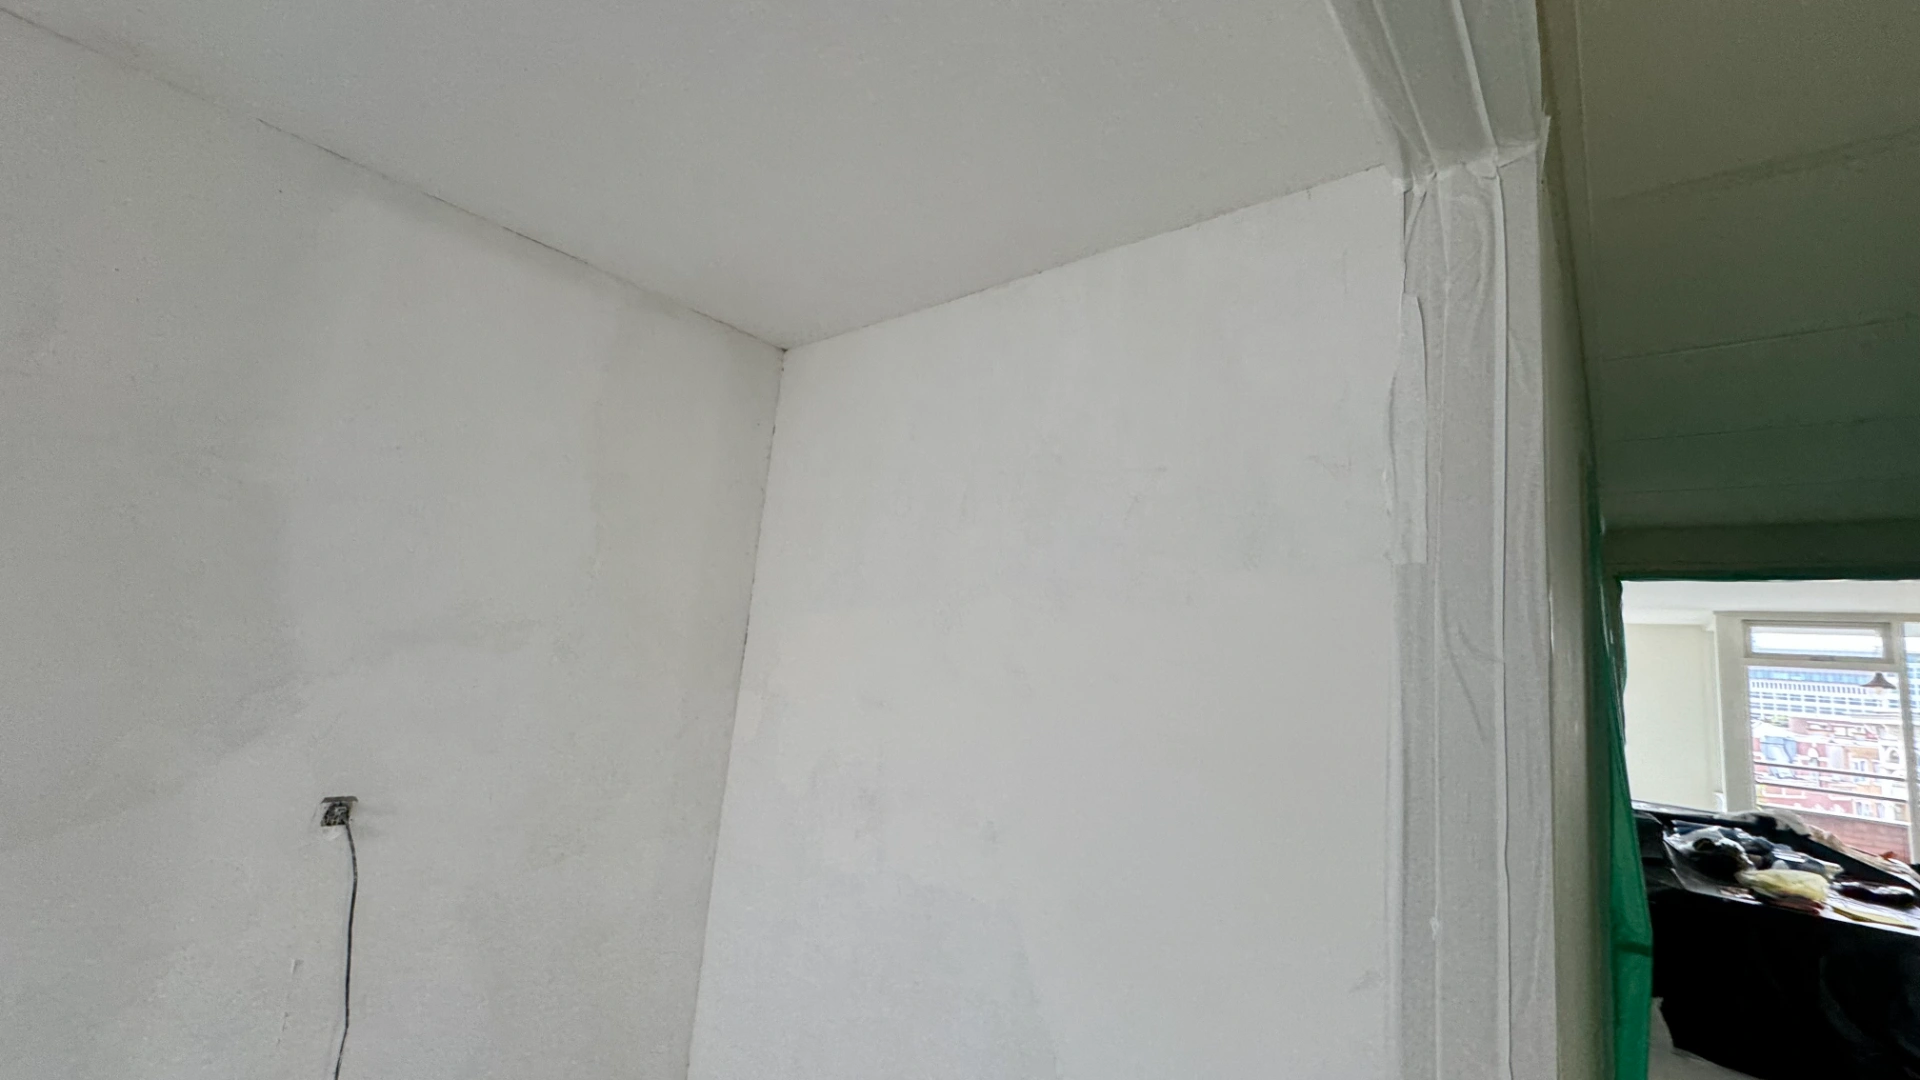
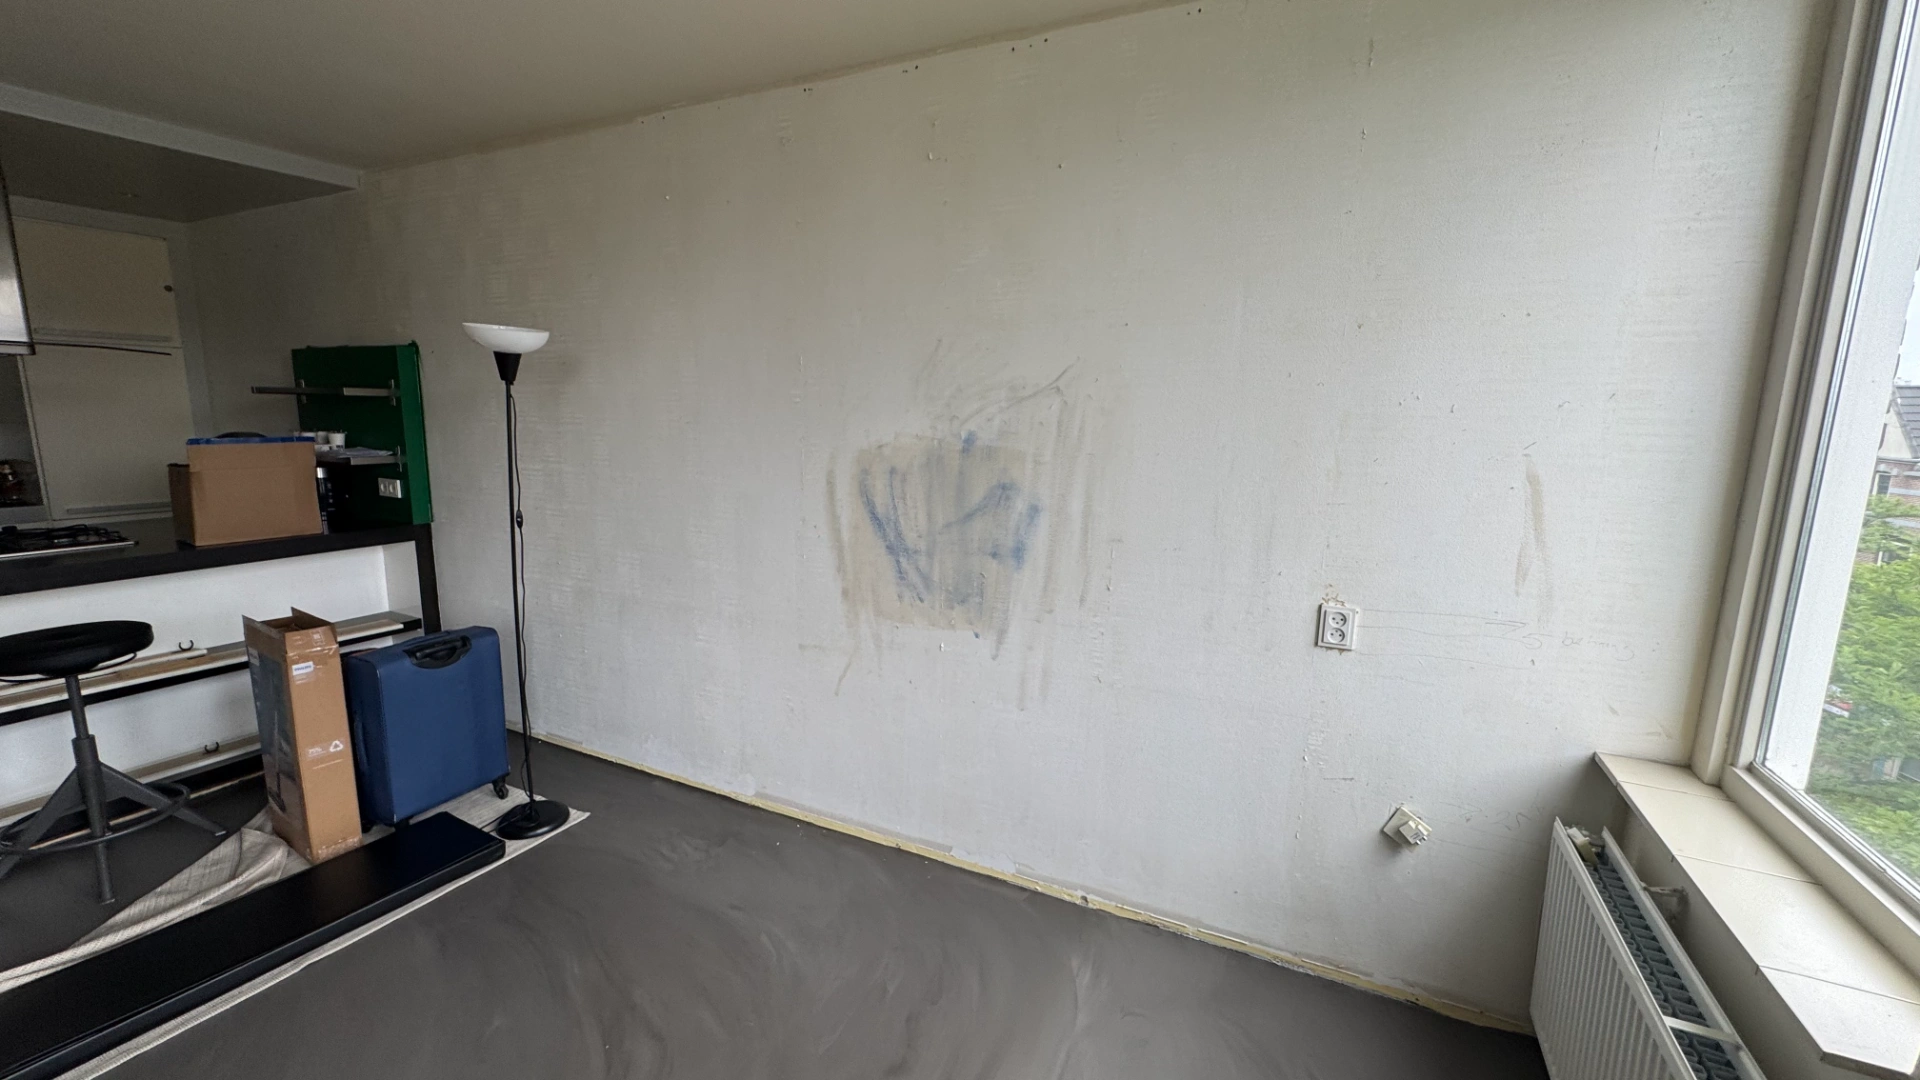
The existing wall surfaces were repaired, levelled and plastered smooth, with reinforced corners and junctions.
We treated joints and corners between new and existing areas with reinforcement and profiles. The client’s electrical work was coordinated before final finishing so connection points remained accessible.
Reinforcement and corner profiles were used where different sections meet. Their function differs from the broad plaster layer: they support the treatment of vulnerable junctions and establish the finished edges.
The client’s electrical work also affected the sequence. Connection points and routes needed to be coordinated while the surfaces were accessible, before the final smooth finish closed those areas.
We levelled and smoothed the agreed walls and ceilings. The former door openings became part of the wall surfaces, leaving the rooms ready for the next stage: painting.
The aim was a consistent base for decoration across the repaired ceiling, closed doorways and remaining surfaces. Levelling addresses changes in the substrate; smoothing then creates the surface that will receive paint. Those are related but different tasks.
The June–July work finished at the paint-ready stage. The project demonstrates how a finishing contractor can first resolve construction gaps and damage, then bring the room back to one continuous surface.
Why this matters
A smooth base helps prevent uneven areas showing through the final paint.
Phase 2
Electrical Readiness
The offer makes completed electrical positions a prerequisite for plastering. This is a coordination stage, not a claim that HWR rewired the apartment.
Phase 3
Home Preparation
The rooms and sensitive surfaces needed to be cleared or protected before the plastering and ceiling repairs.
Phase 4
Ceilings
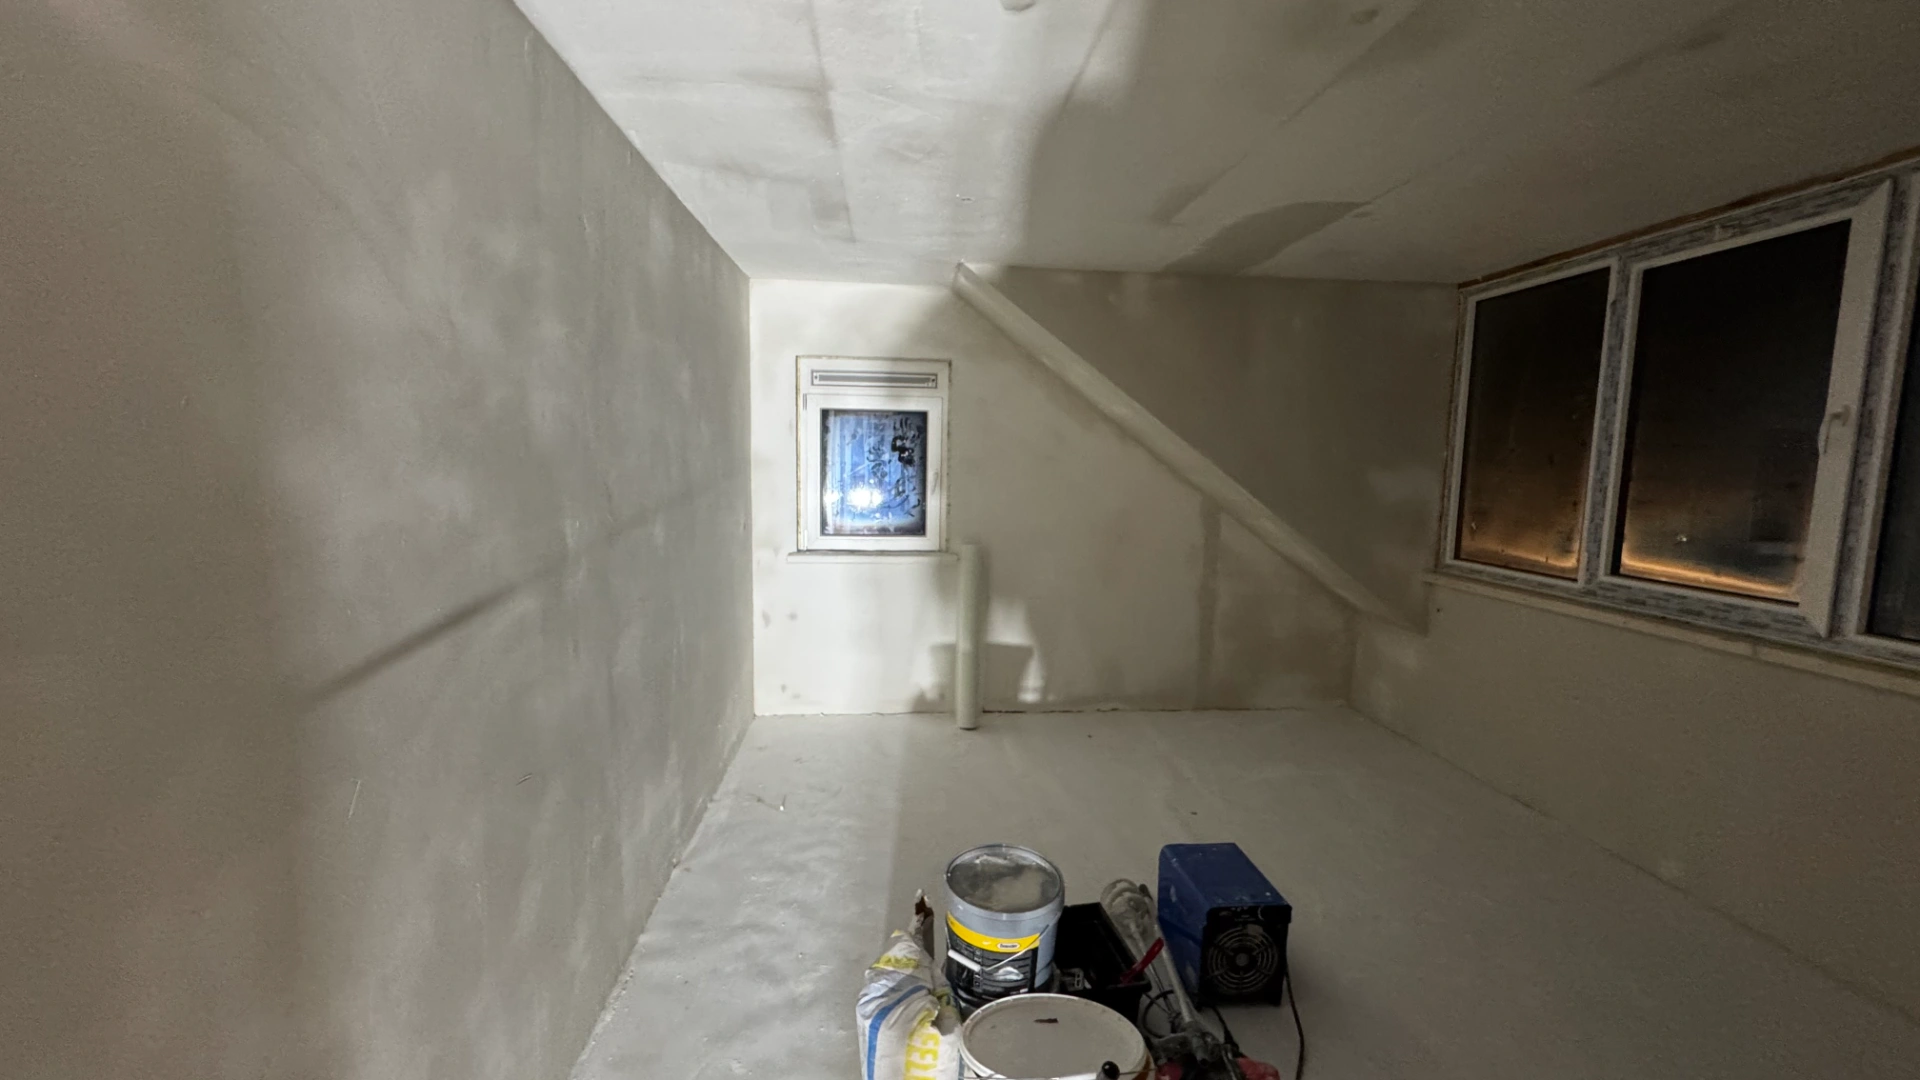
The damaged kitchen ceiling was replaced with moisture-resistant boards. Weak zones and board junctions were reinforced before smooth finishing.
We replaced the damaged kitchen ceiling with moisture-resistant plasterboard on profiles and closed two old door openings with plasterboard construction, creating a base for continuous surfaces.
Sonia’s home needed more than a fresh layer over the existing walls. The damaged kitchen ceiling was replaced, and two former doorways had to become part of the surrounding walls. Profiles and plasterboard created new bases in those locations.
Closing an opening introduces junctions between old and new construction. These areas require attention before plastering so the repair can be integrated into the room instead of remaining a visibly separate patch.
Why this matters
A damaged base remains a weak point if only its visible surface is renewed.
Phase 5
Additional Alteration – Former Door Openings
Two former door openings were closed with plasterboard and finished to match the surrounding walls.
THIS PROJECT / THEIR EXPERIENCE
What the client says
Reviews appear here when the client chooses to link their experience to this project.