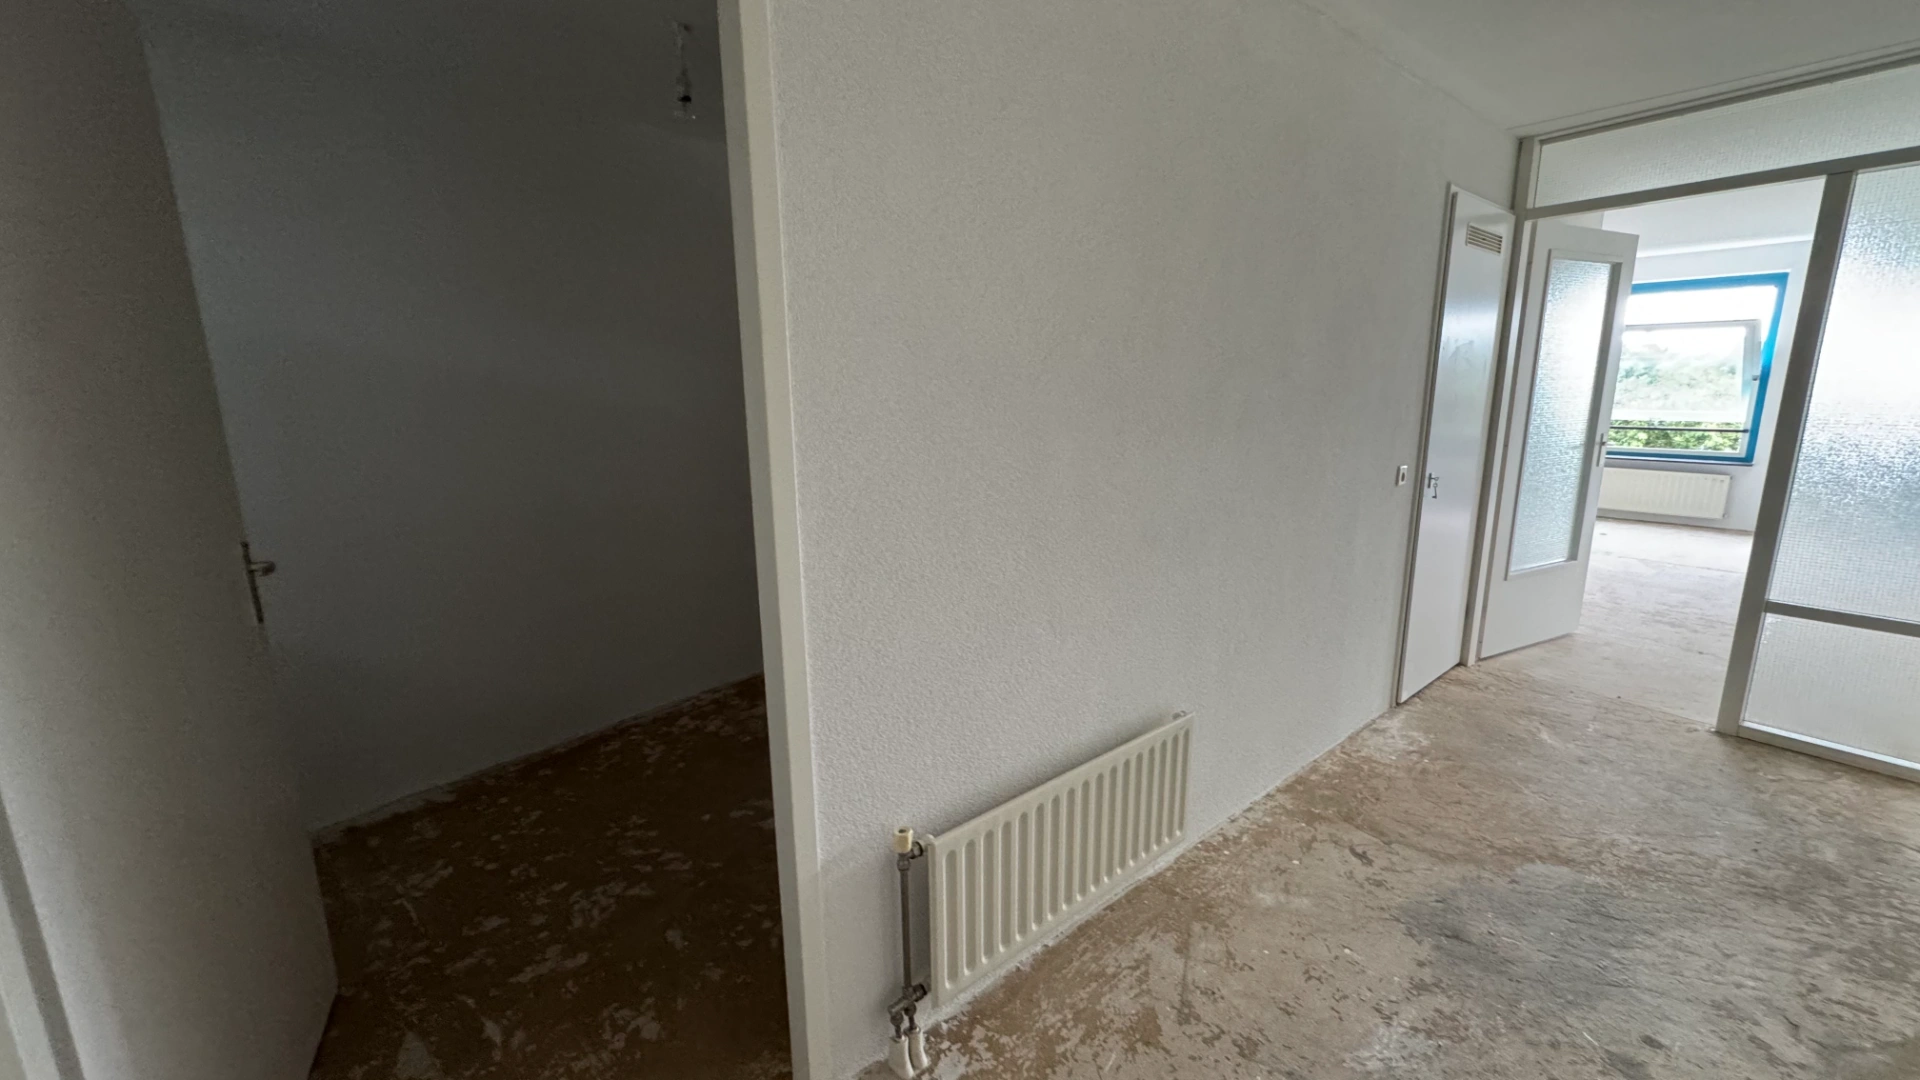
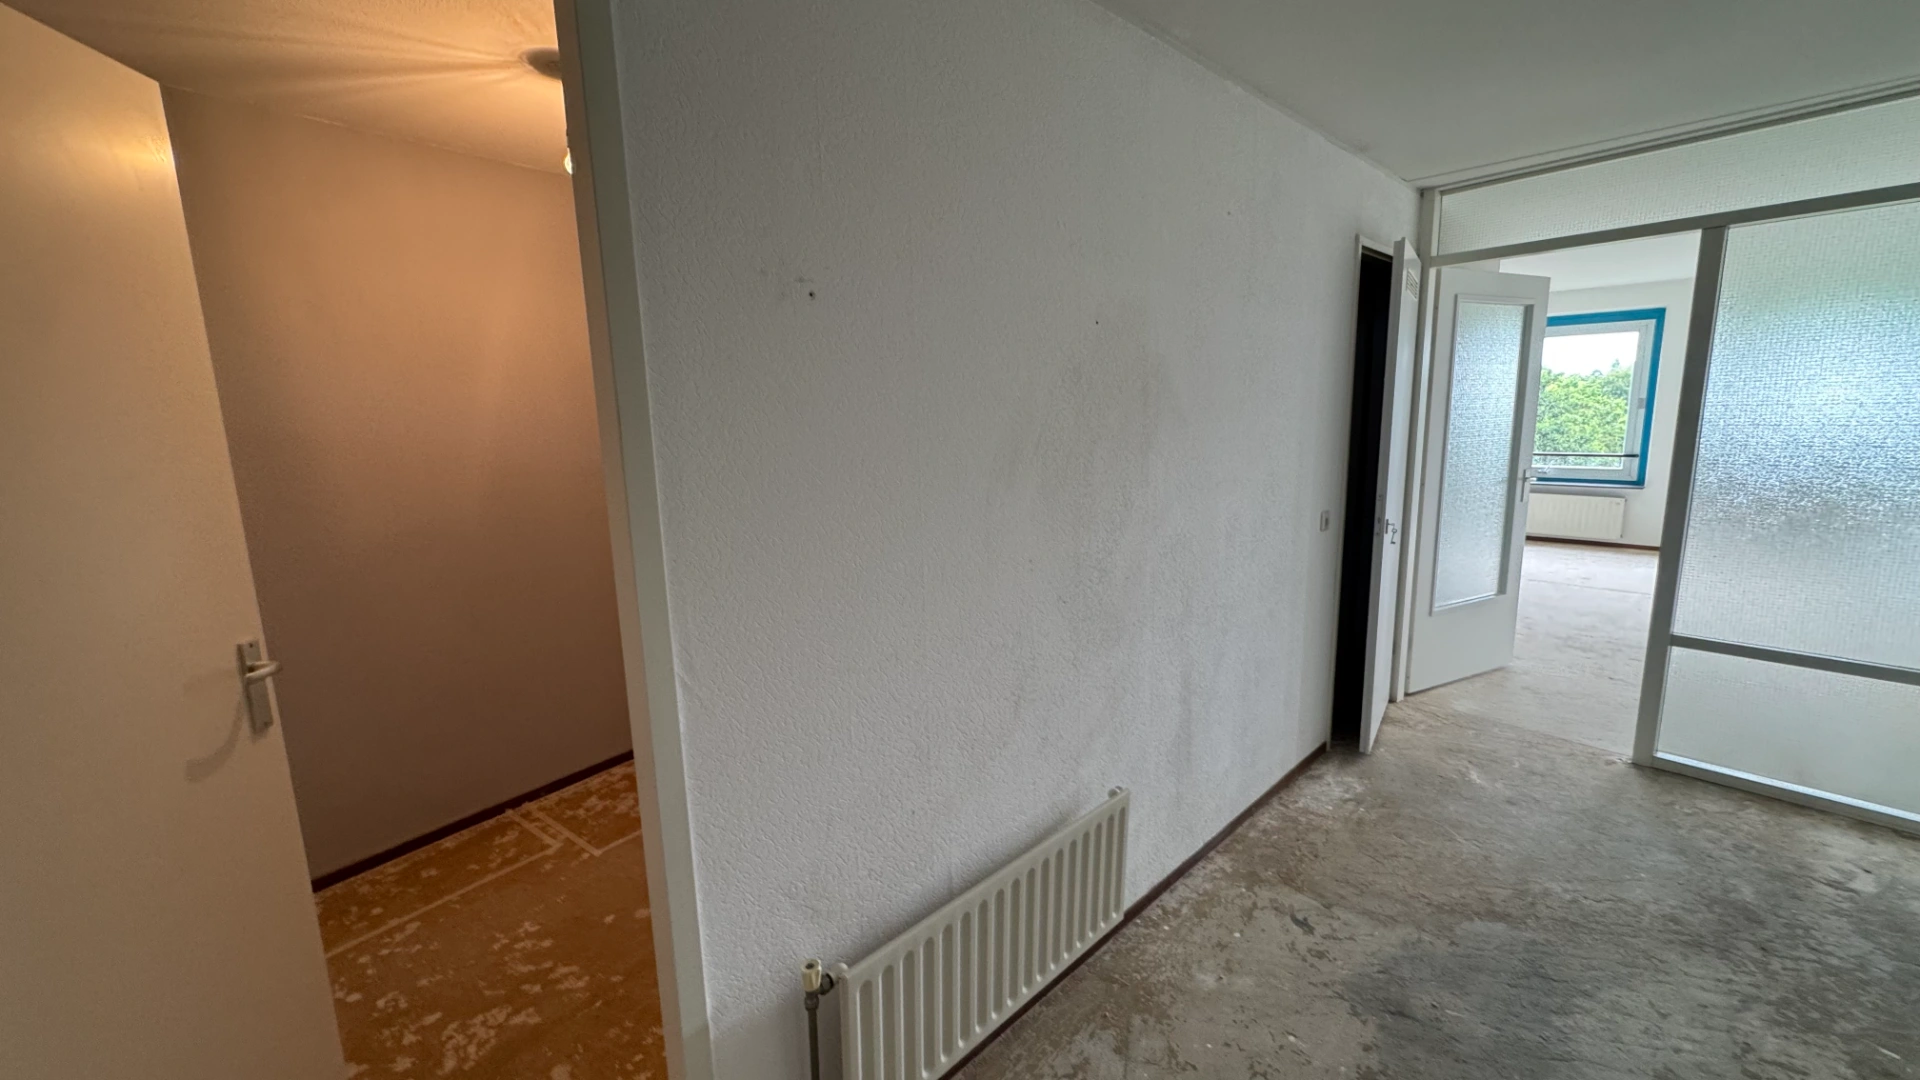
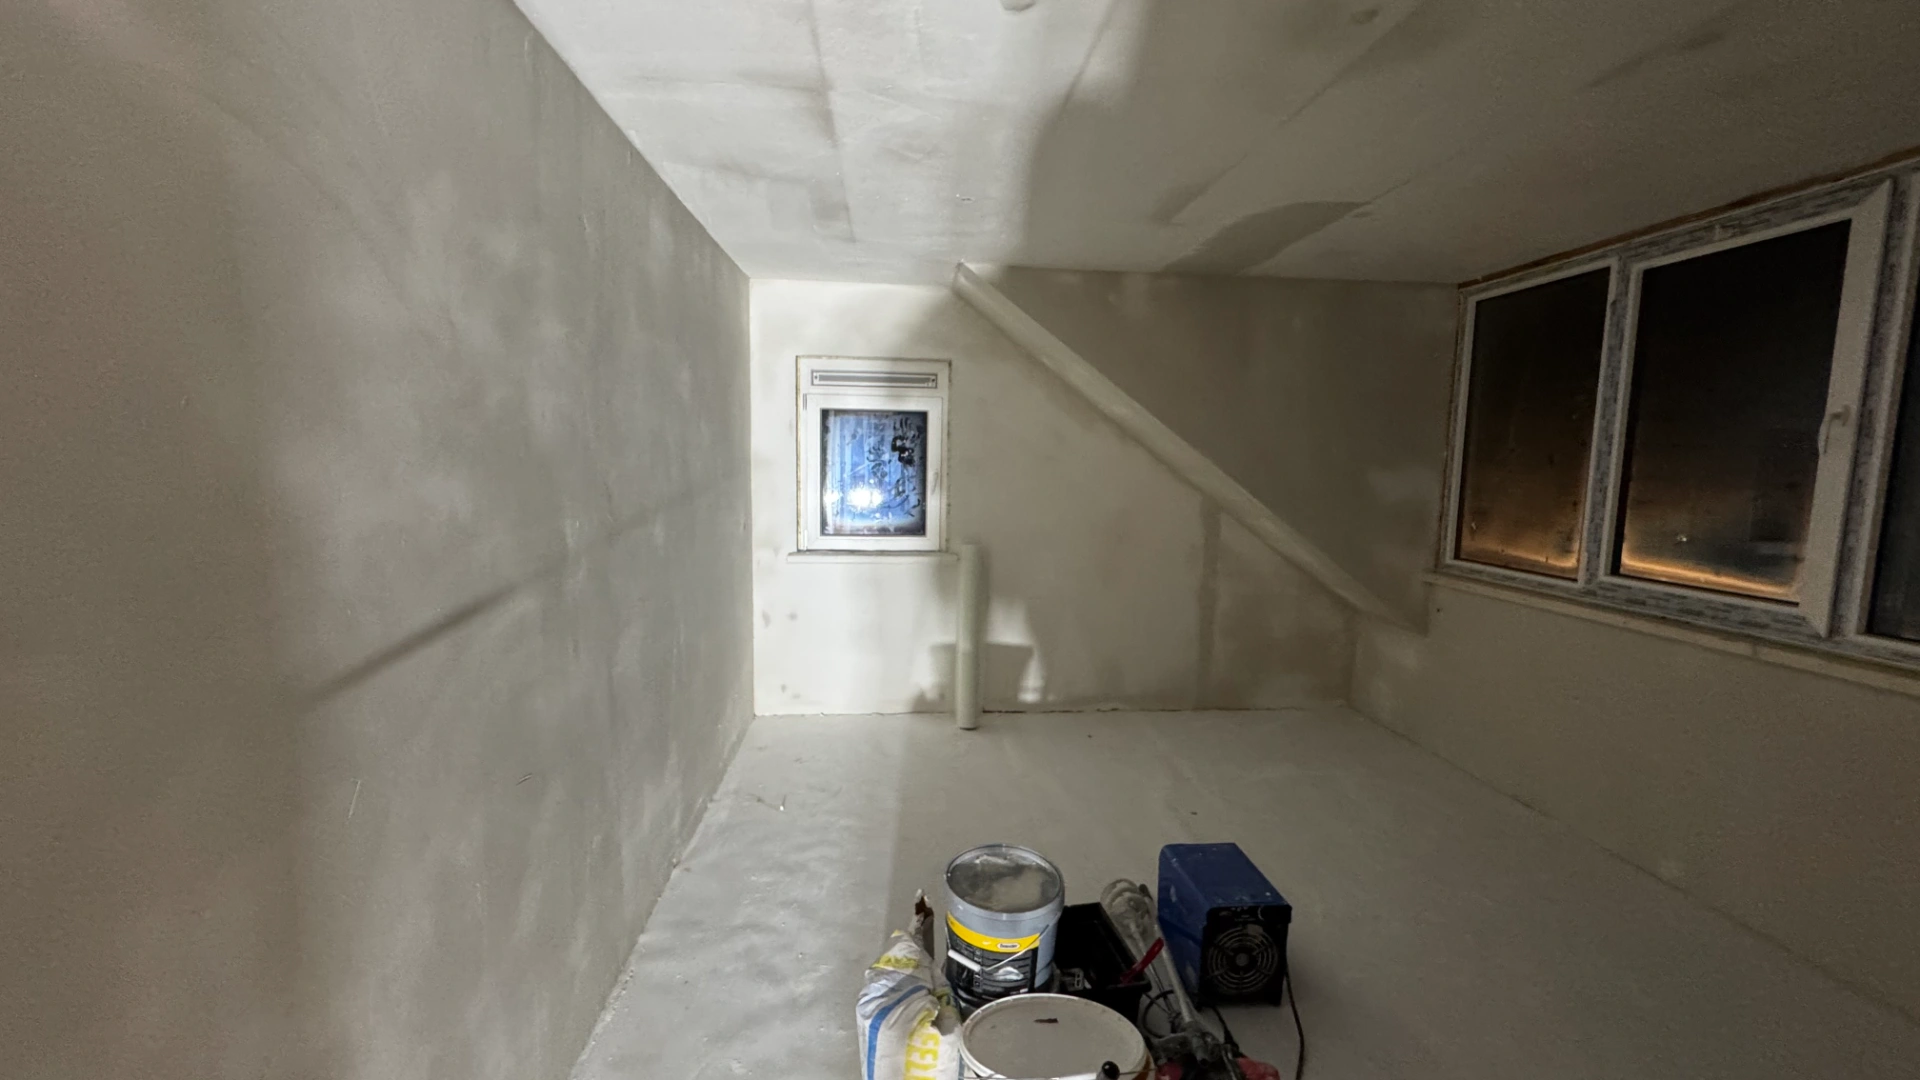
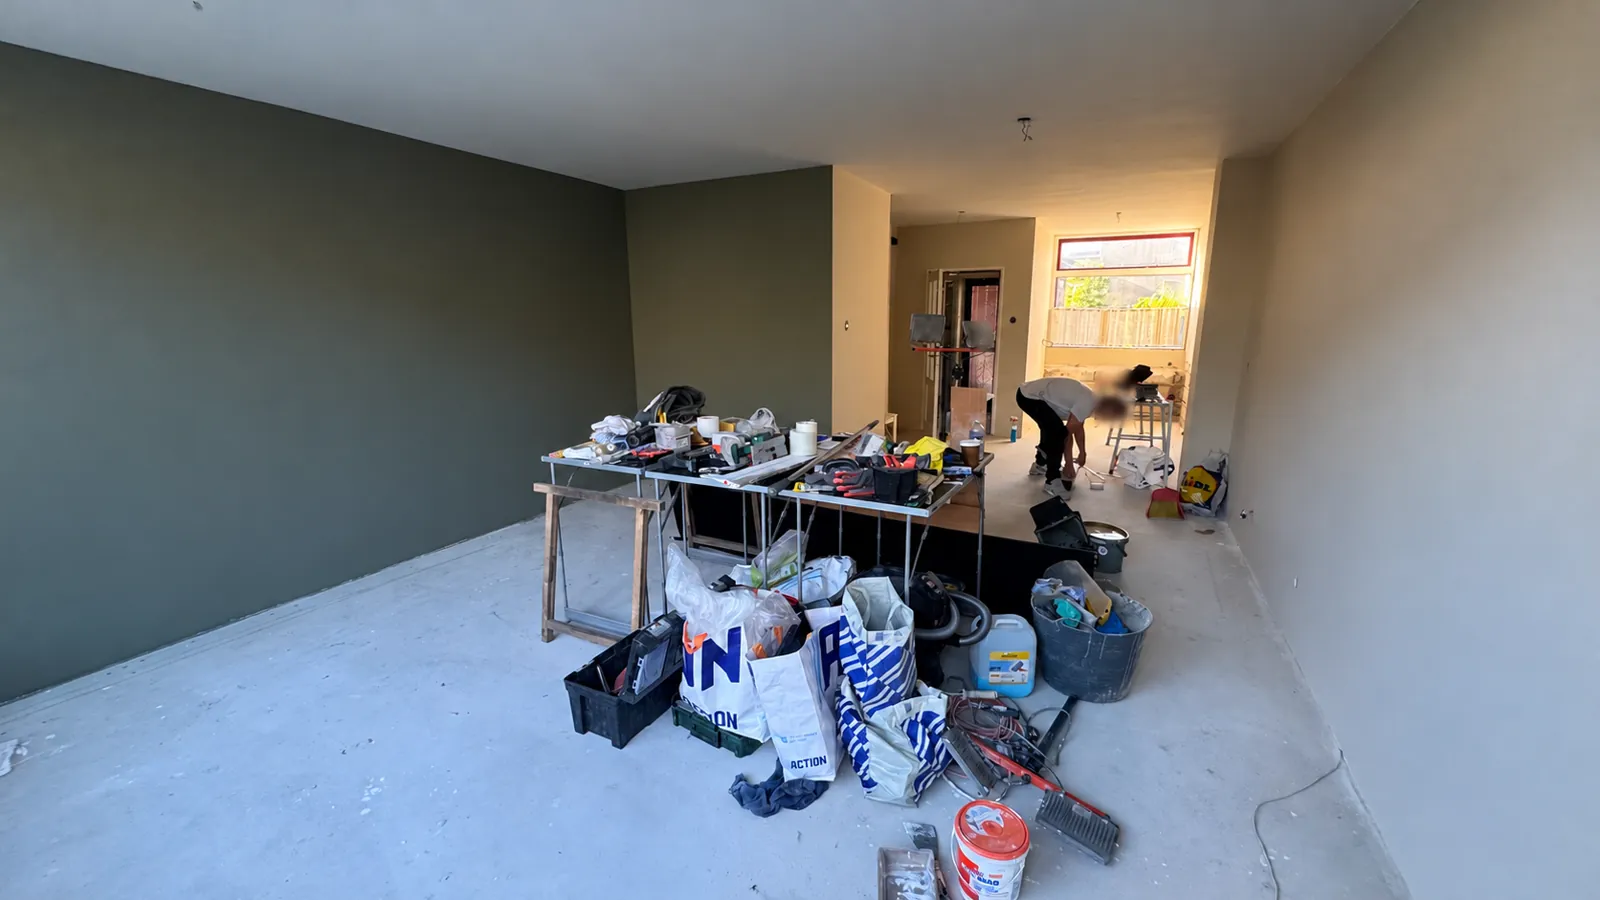
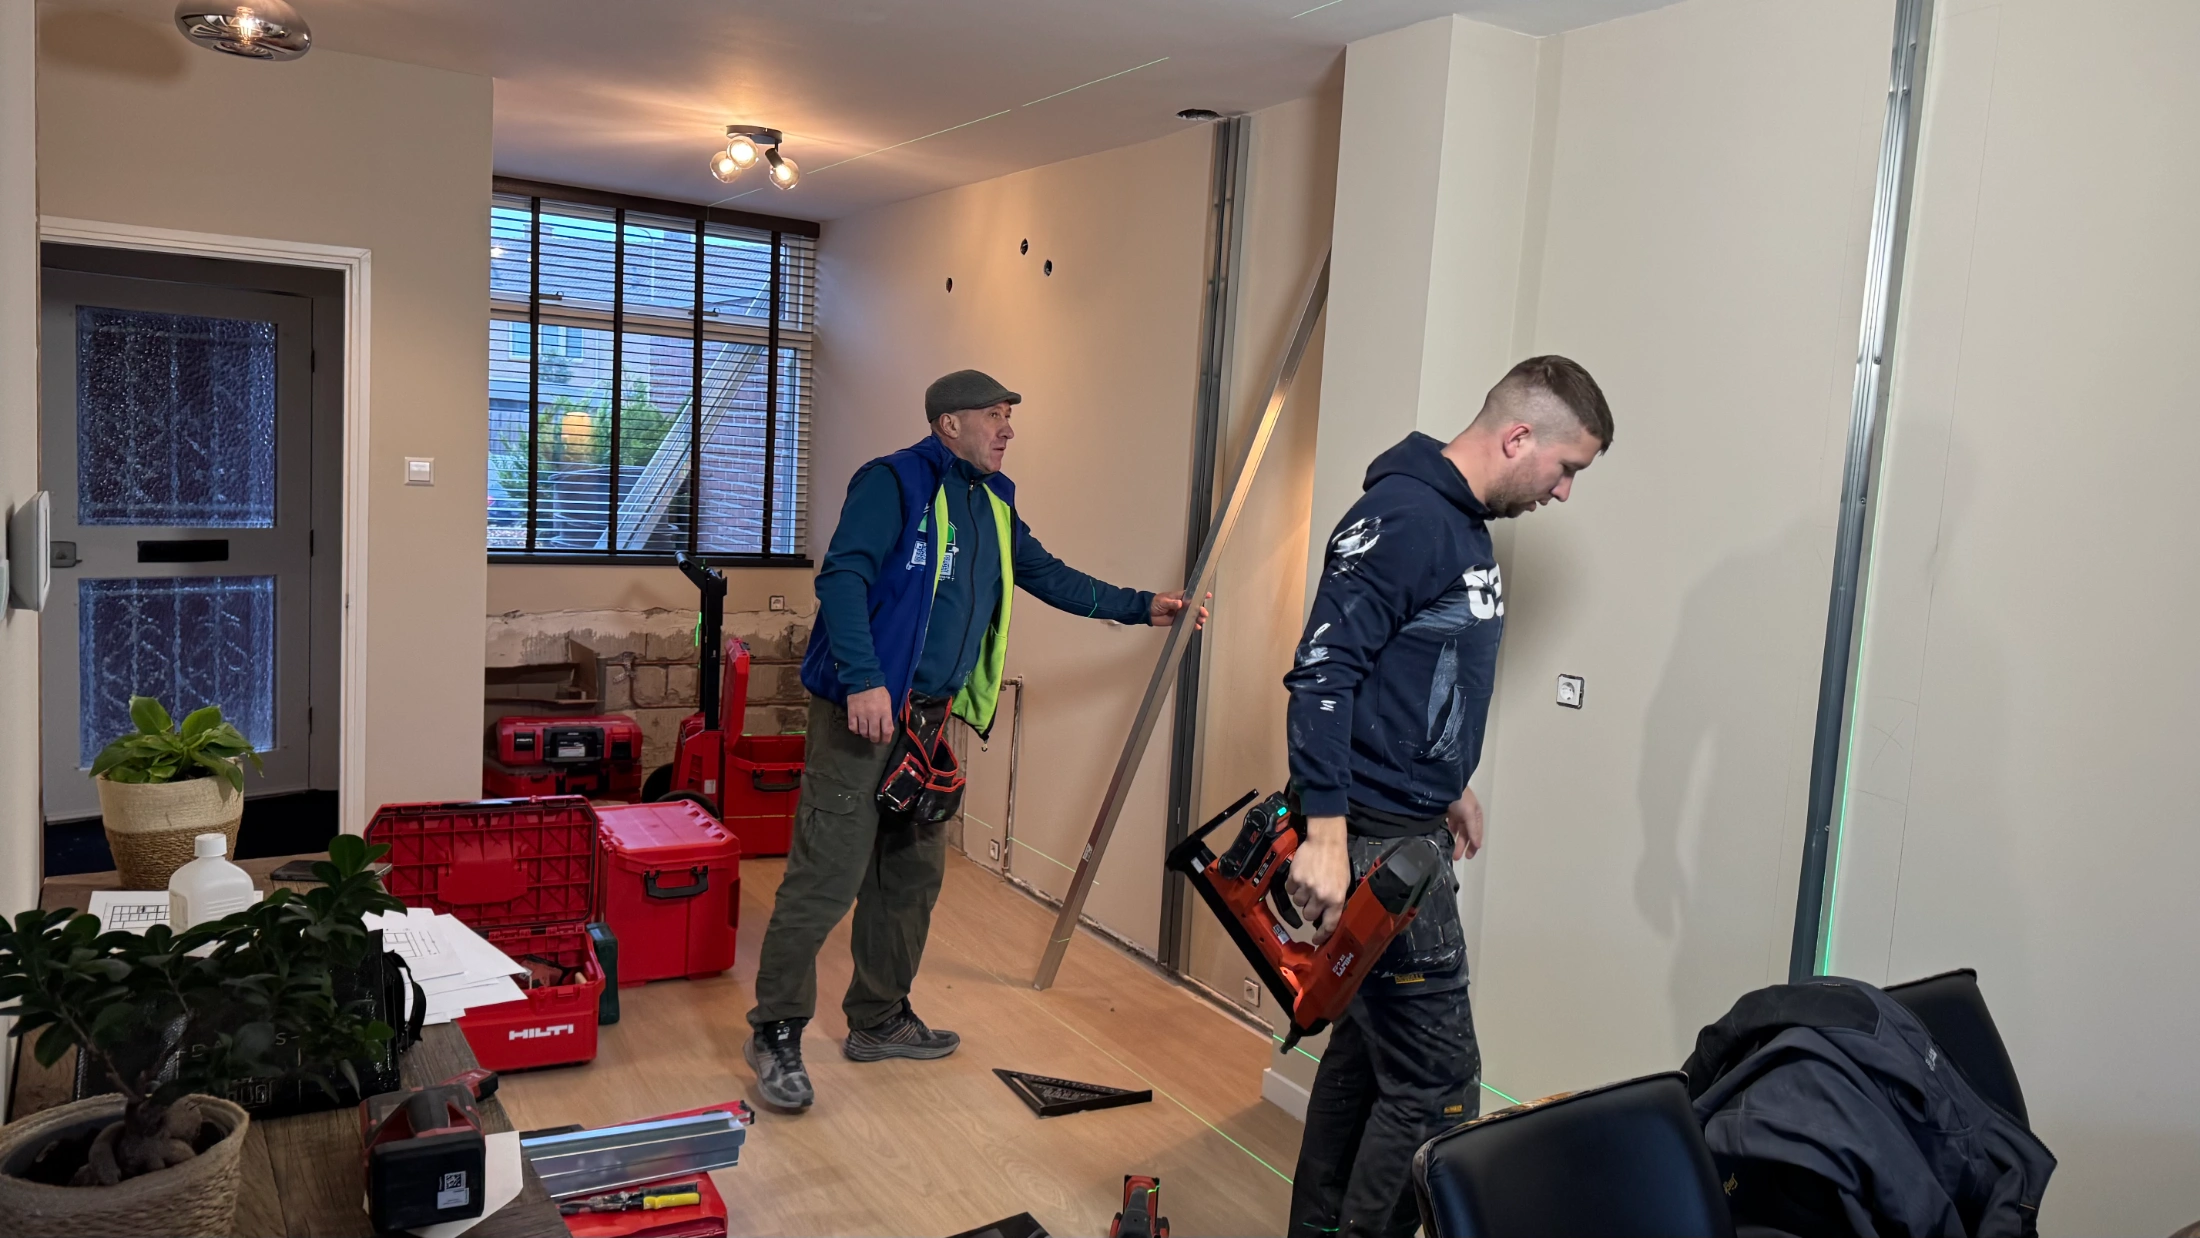
Fine textured walls and white ceilings, with substrate repairs before finishing.
31HWR / PROJECT
Project timeline
July 2025
Before & after
BeforeAfter
Ineke’s wall and ceiling renovation in Breda
The walls and ceilings needed different finishes. Ineke’s project combined textured walls with smooth painted ceilings.
02 / Step by step
The project in phases
Phase 1
Wall Cleaning & Wallpaper Removal
Old wallpaper and surface contamination were removed before repairing the wall base.
We protected the home and made surfaces accessible, including around radiators and electrical accessories. Holes and uneven areas were repaired and the substrates primed.
Ineke’s project combined textured walls with painted ceilings. Preparation around radiators and electrical accessories made those boundaries accessible, while repair and primer addressed the existing substrate.
The quality of a decorative finish depends on what is underneath it. Filling holes and dealing with uneven areas before applying the finish helps the final texture remain consistent across the room.
Why this matters
A textured finish starts with a prepared, level base.
Phase 2
Fine Textured Plaster
The prepared walls received fine textured plaster with reinforced corners and junctions.
Approximately 135 m² of walls received a fine 1.5 mm SPS decorative plaster. Primer and corners were prepared for this system, creating a textured rather than smooth painted finish.
The selected SPS finish used a fine 1.5 mm grain across approximately 135 m² of walls. Its texture is part of the intended appearance, unlike a smooth skim intended for a flat painted surface. Corners and transitions therefore needed to suit that decorative system.
The wall treatment gave the rooms a consistent fine texture while preserving the distinction between the walls and the smooth white ceilings.
Why this matters
The chosen surface determines both the appearance and the preparation.
Phase 3
Ceiling Preparation
Light sanding and primer prepare the ceilings for their separate paint finish.
Phase 4
Ceiling Painting – Two Coats
The ceiling-painting offer covers two latex coats after the surface preparation.
Approximately 78 m² of ceilings were prepared, primed and finished with two coats of paint. Fittings were reinstated and the site cleaned. Work was completed in July 2025.
The ceiling package covered approximately 78 m², with preparation, primer and two paint coats. Working above the textured walls required the two finishes to meet at a clear boundary. Reinstating the fittings and cleaning completed the practical side of the job.
The July result was a coordinated wall-and-ceiling renewal, with a deliberate difference in texture rather than one identical finish on every surface.
Why this matters
Walls and ceilings each receive the treatment suited to their finish.
Phase 5
Final Cleaning & Clearance
The finishing work closes with clearance and cleaning of the work areas.
Phase 6
Transport
Material transport and handling remained a separate supporting work item in the offer.
THIS PROJECT / THEIR EXPERIENCE
What the client says
Reviews appear here when the client chooses to link their experience to this project.