Herringbone flooring, custom television and wardrobe joinery, and renewed plaster and paint finishes.
29HWR / PROJECT
Project timeline
July–August 2026
Before & after
BeforeAfter
Edwin’s interior renovation in Breda
Edwin’s project combined large flooring areas with detailed joinery. The renewed finish needed to suit the existing ceiling details, doors and services.
02 / Step by step
The project in phases
Flooring 1
Click-PVC Installation
The installation-only floor package covers approximately 190 m² of client-supplied herringbone click-PVC on a prepared base. Levelling, primer and adhesive installation are excluded from this package.
We laid client-supplied click-PVC in herringbone across approximately 190 m² and finished the edges with tall skirting, coordinating the pattern with rooms and doorways.
Edwin’s approximately 190 m² floor was a click-PVC installation, not a glued PVC system. The herringbone pattern continued through the agreed rooms, with cuts around openings and a tall skirting finish. Substrate levelling was outside this flooring package.
A large patterned floor requires decisions across the whole layout. Doorways and visible edges influence where the repeating pattern starts and how it meets the room boundaries.
Why this matters
A continuous pattern needs planning before the first rows are laid.
Flooring 2
Cutting Around Frames & Obstacles
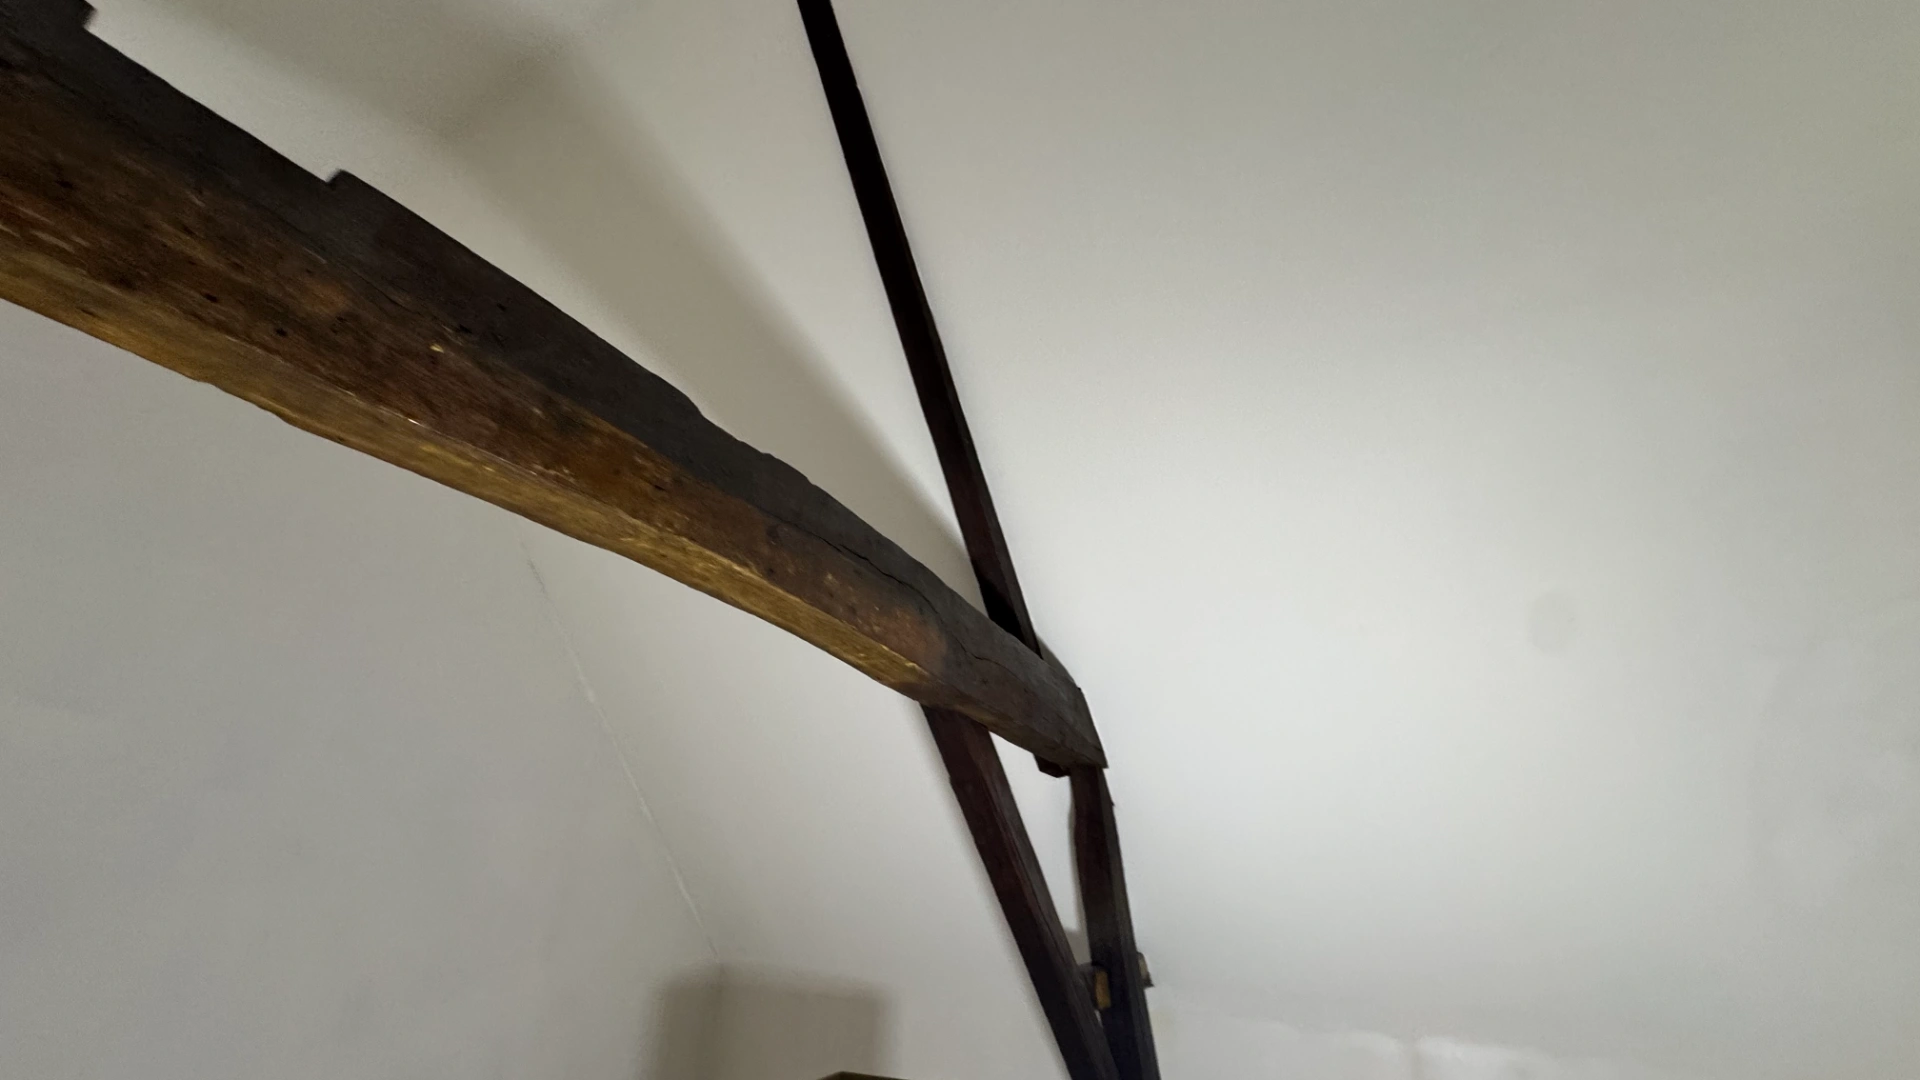
Cuts and junctions were coordinated around frames, corners and the retained interior, respecting the click system’s required clearances.
Flooring 3
High Skirting & Sealing
The client-supplied high skirting was fitted around the finished floor, with acrylic sealing where specified.
Flooring 4
Floor Handover
The floor installation package ends with removal of work remnants and broom-clean delivery.
Carpentry 1
Preparation & Site Setup
Access, material handling and protection were organised before the television wall and wardrobe work.
Carpentry 2
TV Cine Wall Construction
The wall accommodates a 65-inch television across a roughly 3 m wide and 2.55 m high construction. The 150 mm ceiling gap and cornice detail were retained in the design.
We built a television wall with a screen recess and provision for cables and connections. A gap above the wall retained space around the existing cornice. Timber wardrobe doors were made with their required supports and hardware.
The television wall was designed around a 65-inch screen, with a recess, reinforced framing and provision for cables and sockets. A gap of approximately 150 mm below the ceiling preserved the relationship with the existing cornice. These proportions made the new wall fit the older decorative detail.
The wardrobe work was different custom joinery: solid-softwood doors fitted to the retained and reinforced arrangement, with hardware and decorative details coordinated around the existing opening.
Why this matters
Custom work needs to fit the room as well as the screen or cabinet dimensions.
Carpentry 3
Wardrobe Carpentry
The existing wardrobe was adapted with revised shelves, openings and new solid softwood doors instead of the earlier MDF proposal.
Carpentry 4
Cleaning & Handover
Joinery adjustments and cleanup close the separate carpentry offer.
Finishing 1
Protection & Site Preparation
The finishing addendum begins with protection and preparation of the retained interior.
Finishing 2
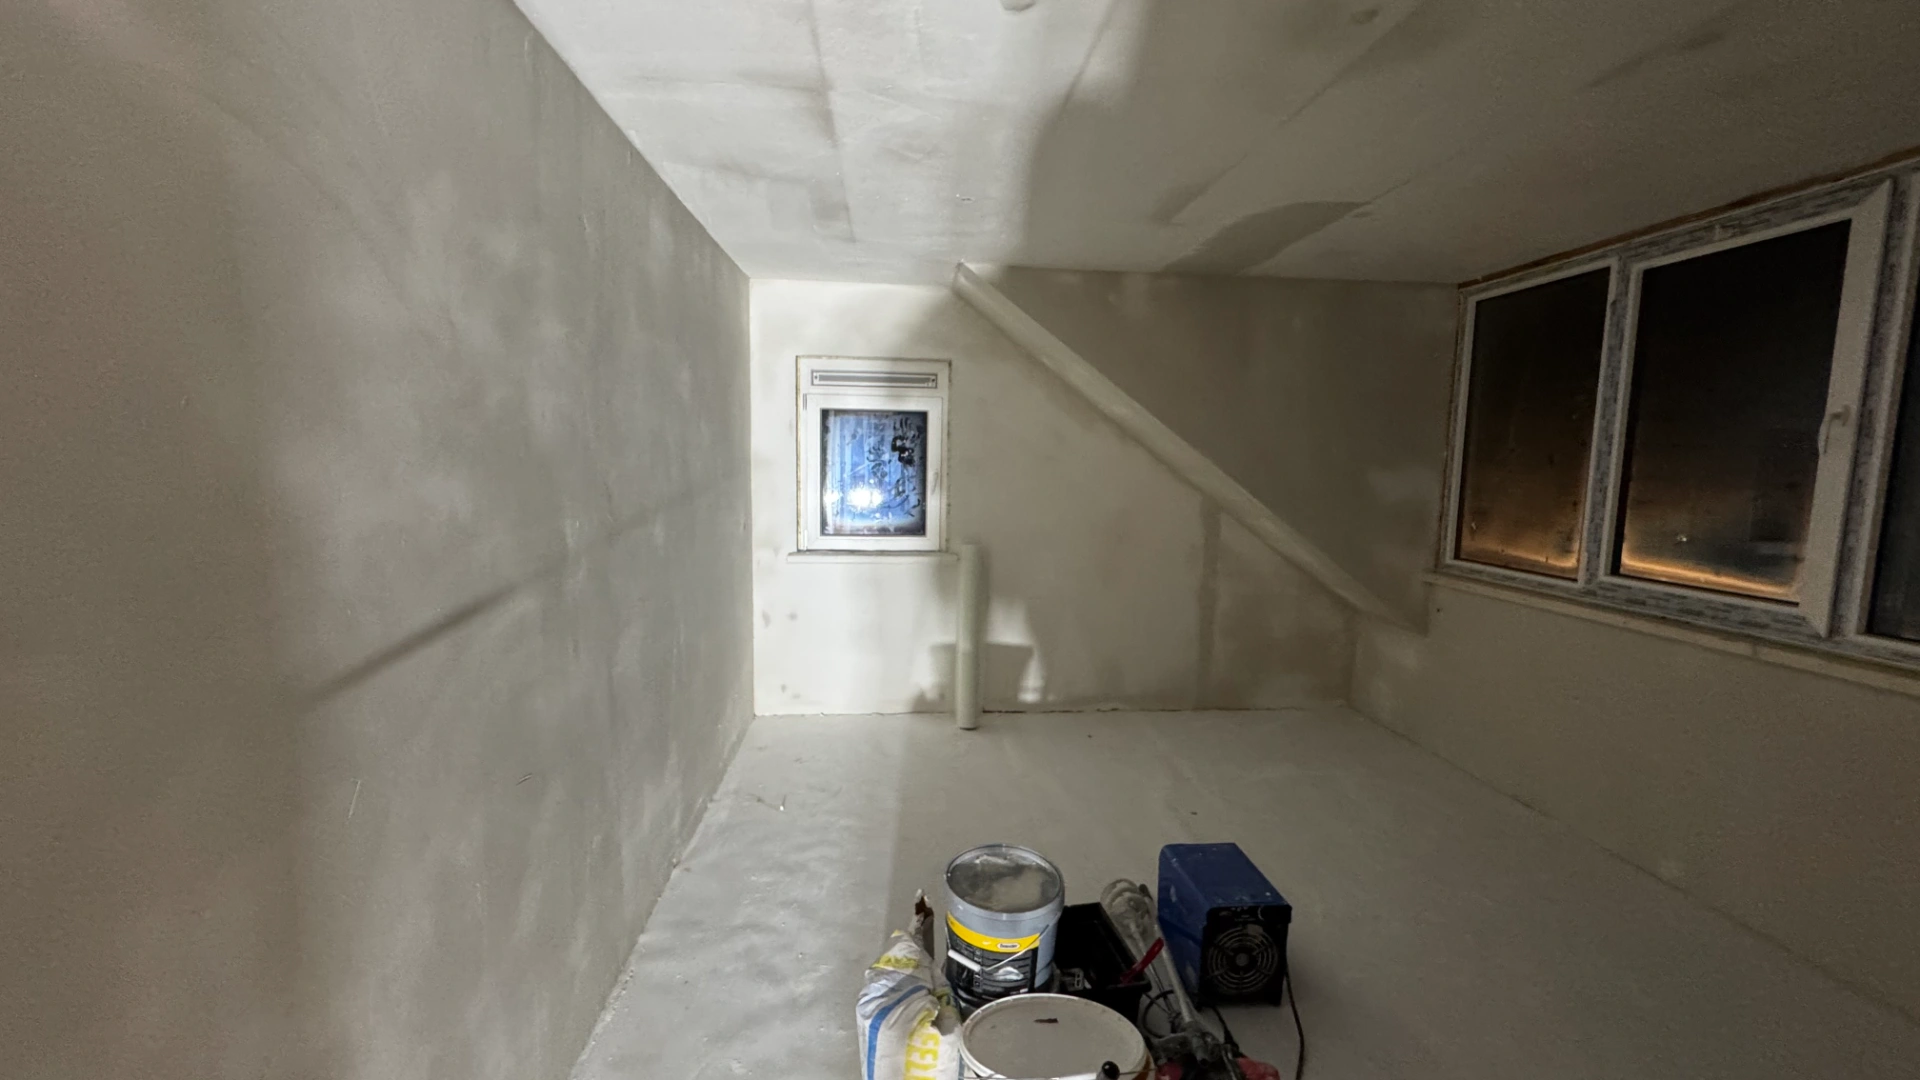
Wall & Ceiling Plastering
The revised wall specification uses Goldband rather than the earlier Fill & Finish proposal. Specified ceilings receive a fine finish; bedroom ceilings are painted only.
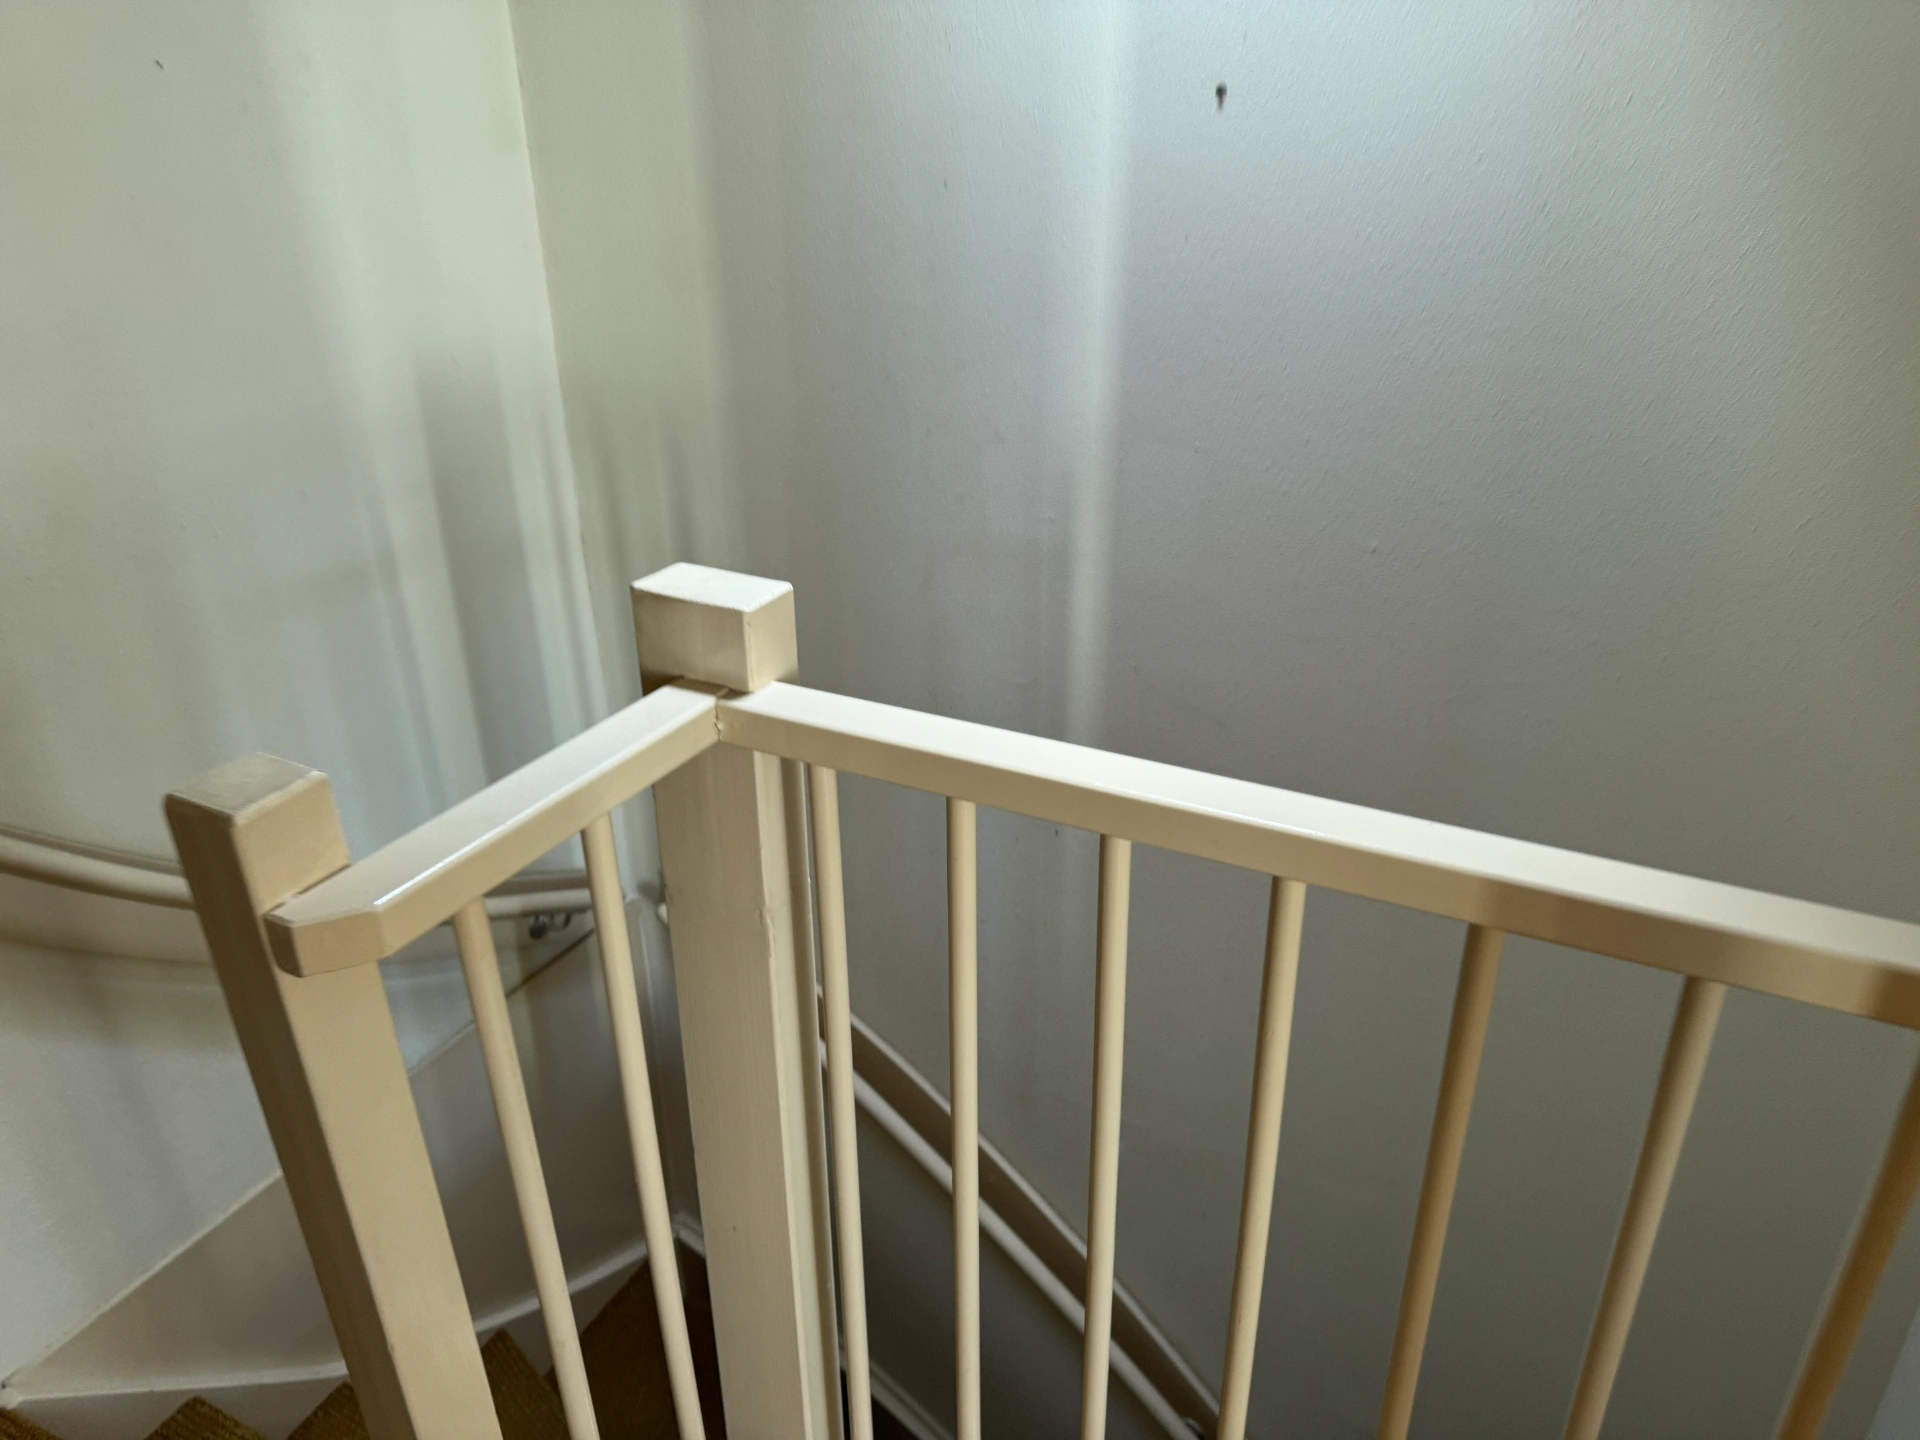
Finishing included revised plaster work, painted walls and ceilings and expanded door and roof-window finishing. Electrical accessories, wall-light points and dimmers were incorporated. Staircase finishing included side panels and rails.
The finishing scope developed beyond the first surface treatment and included additional door and roof-window work. Wall-light points, dimmers and sockets had to align with the television and wardrobe arrangements. Stair side panels and rails introduced further timber edges to finish.
The July–August renovation brought together floor installation, custom carpentry and surface work. Their coordination matters because each new element meets an existing part of the interior.
Why this matters
The final junctions connect the main surfaces to the custom joinery.
Finishing 3
Painting Works
Walls and ceilings receive the agreed primer and finish coats, with the ceiling colours coordinated with the walls.
Finishing 4
Woodwork Painting
Doors, frames and the specified interior woodwork form a separate paint stage from the walls and ceilings.
Finishing 5
Electrical Works
The updated electrical points and lighting arrangements were coordinated with the finished surfaces and joinery.
Finishing 6
Carpentry
Additional finishing carpentry in the addendum is kept separate from the original television-wall and wardrobe package.
THIS PROJECT / THEIR EXPERIENCE
What the client says
Reviews appear here when the client chooses to link their experience to this project.