
Phase 1
Preparation & Protection
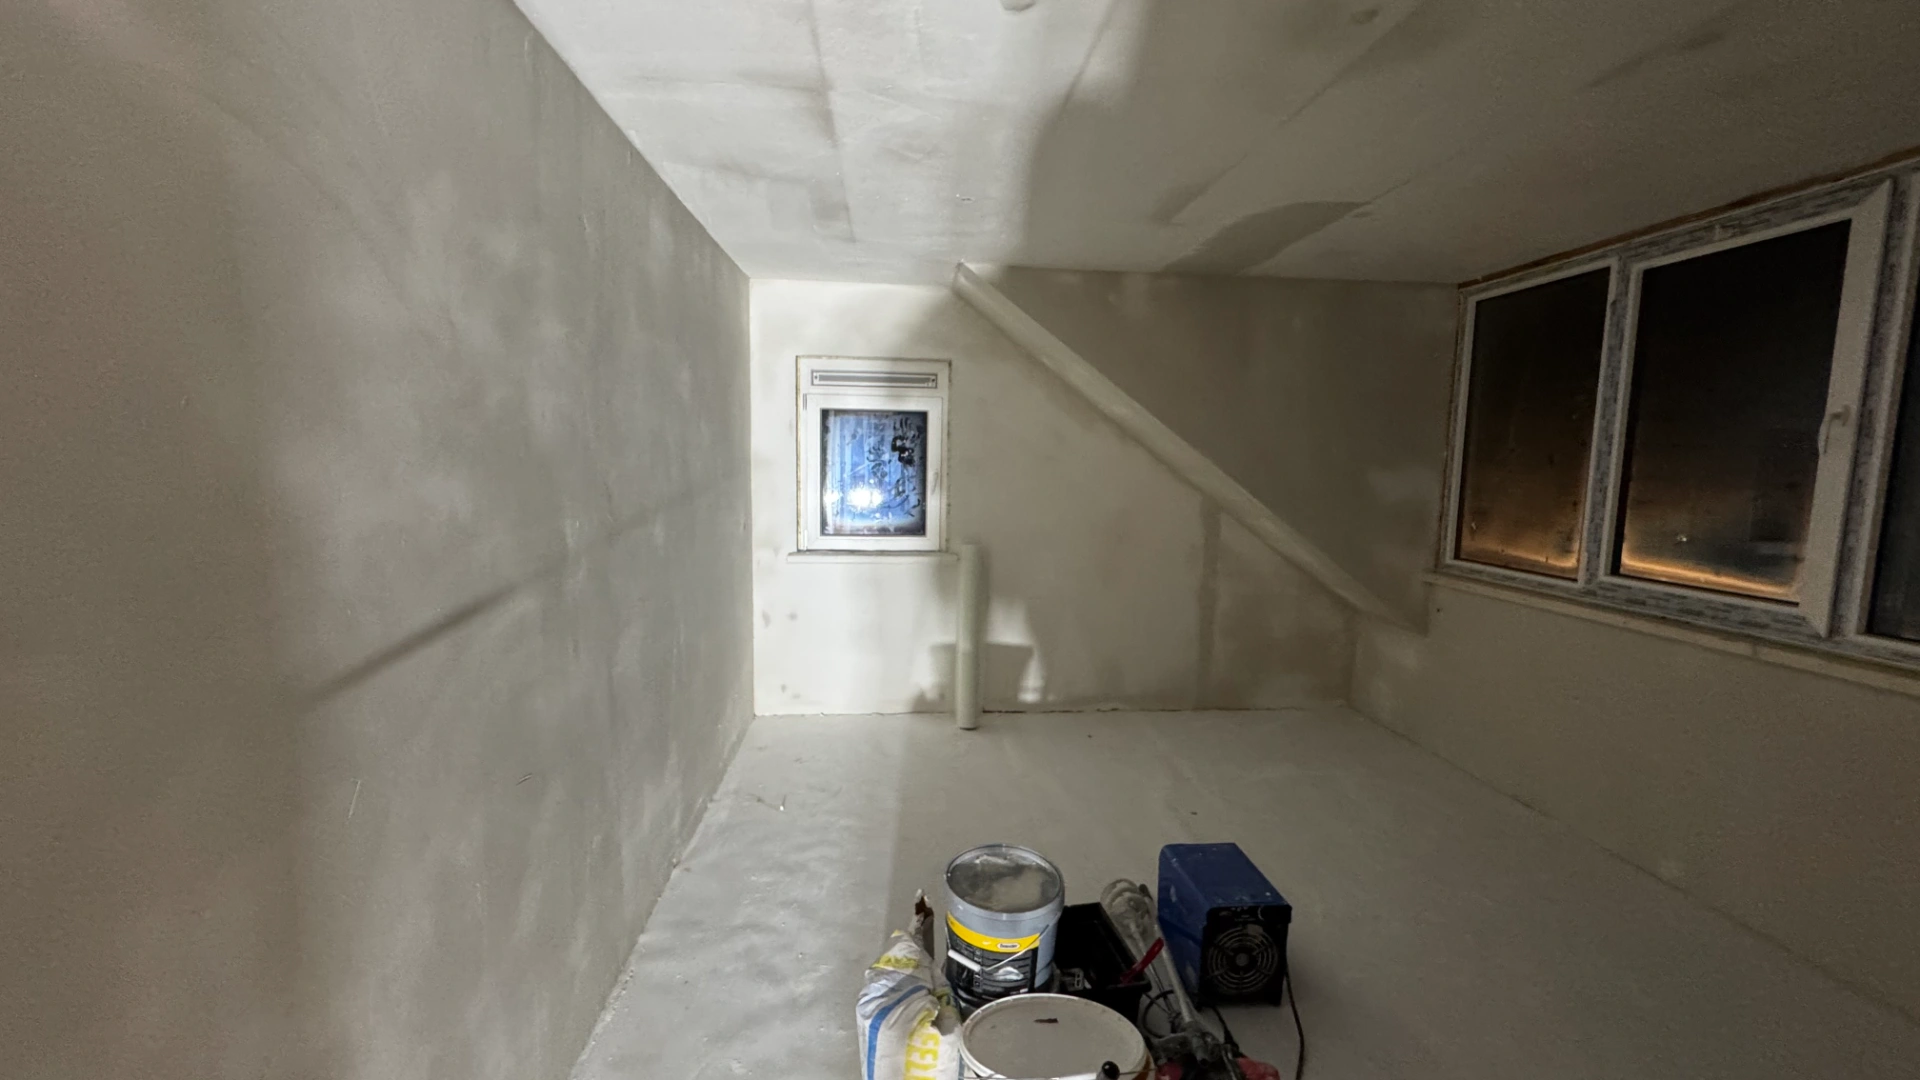
Floors and electrical outlets were protected before the plastering work.
HWR / THE TRANSFORMATION
Explore the transformation. Choose a chapter, swipe through the details, or open the photo wall.
We are collecting the images for this stage.
Swipe to explore · Tap full screen for the details
Breda / Completed
Repairing damaged substrates and preparing walls and ceilings for painting.
July 2025
Bjorn’s project needed more than a thin skim. Damaged surfaces, ceilings and vulnerable corners each required preparation.
02 / Step by step
Phase 1
Floors and electrical outlets were protected before the plastering work.
Phase 2
Damaged or uneven wall and ceiling areas were rebuilt and filled before plastering.
We protected floors and connection points and repaired damaged areas. Holes and uneven surfaces were prepared before applying base plaster.
Bjorn’s plastering project started with damaged and uneven areas rather than an already uniform base. Protecting floors and connection points came before the repair work. Base plaster then addressed the larger differences that a thin finishing layer alone would not resolve.
This preparation determines how new repairs meet retained surfaces. A smooth final appearance needs those areas to work together as one substrate.
New plaster needs a sound, consistent base.
Phase 3
The base plaster brought the surfaces to a consistent level before the finer finishing layers.
Phase 4
Metal corner profiles and reinforcement mesh strengthened vulnerable corners, ceilings and wall surfaces.
Mesh, corner profiles and finishing layers were used across ceilings and junctions. Products were selected for the substrates so repairs and existing surfaces could be finished together.
Ceiling joints and outside corners require a different treatment from the middle of a wall. Mesh addresses the reinforced junctions, while corner profiles establish straight, defined edges. Finishing layers then bring the repaired and existing areas into the same surface.
These details are especially visible where light runs across a ceiling or wall. The project therefore included both the broad plaster work and the smaller junction treatments.
Joints and corners are where different substrates meet.
Phase 5
The fine finishing products were selected for the different rooms and substrates.
Phase 6
The surfaces were sanded to remove remaining ridges and prepare a smooth paint-ready finish.
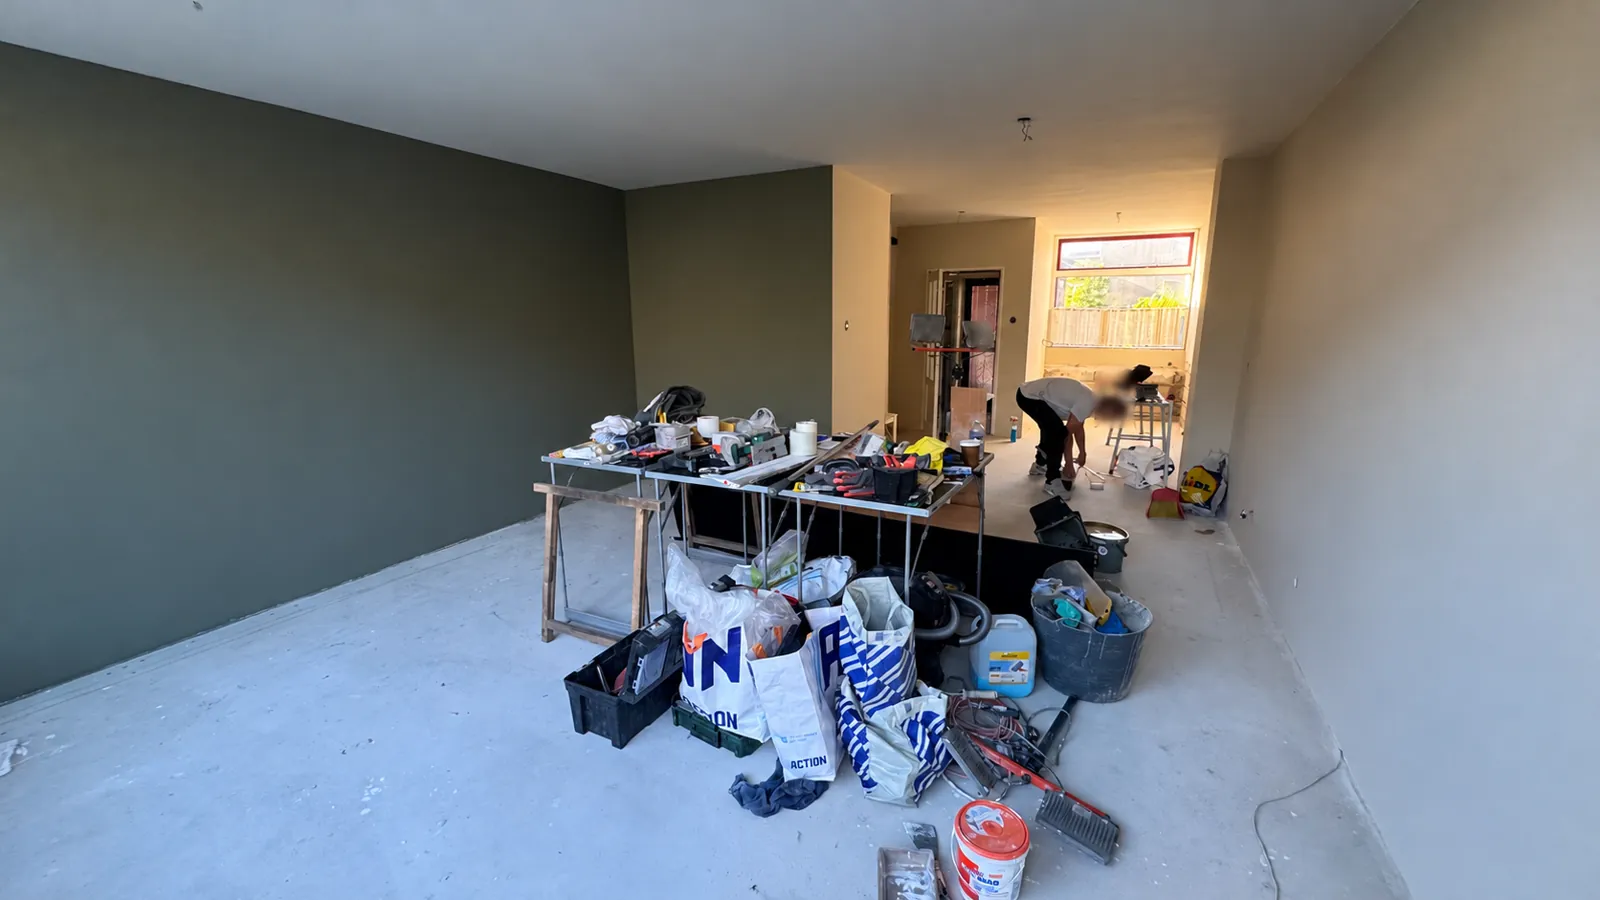
After plastering, surfaces were sanded and the work area cleaned, leaving walls and ceilings ready for paint. The work was delivered in July 2025.
Sanding refined the plastered surfaces before the next decorative stage. Cleaning after that work removed the residue from the work areas and completed the plastering package. Painting was the following stage, not a finish to imply as part of this delivered work.
The July project left the agreed walls and ceilings ready for decoration, after repairs, reinforced edges and a smooth final preparation.
Final preparation shows when light falls across the painted wall.
Phase 7
The walls and ceilings were delivered ready for subsequent latex painting.
Phase 8
The work areas were cleaned after the finishing and sanding stages.
Phase 9
The delivery record includes the client’s inspection of the completed work.
Your renovation
Tell us about your home and your ideas. We will discuss the scope and the next step with you.
August–September 2025
Explore this project
October–November 2025
Explore this project