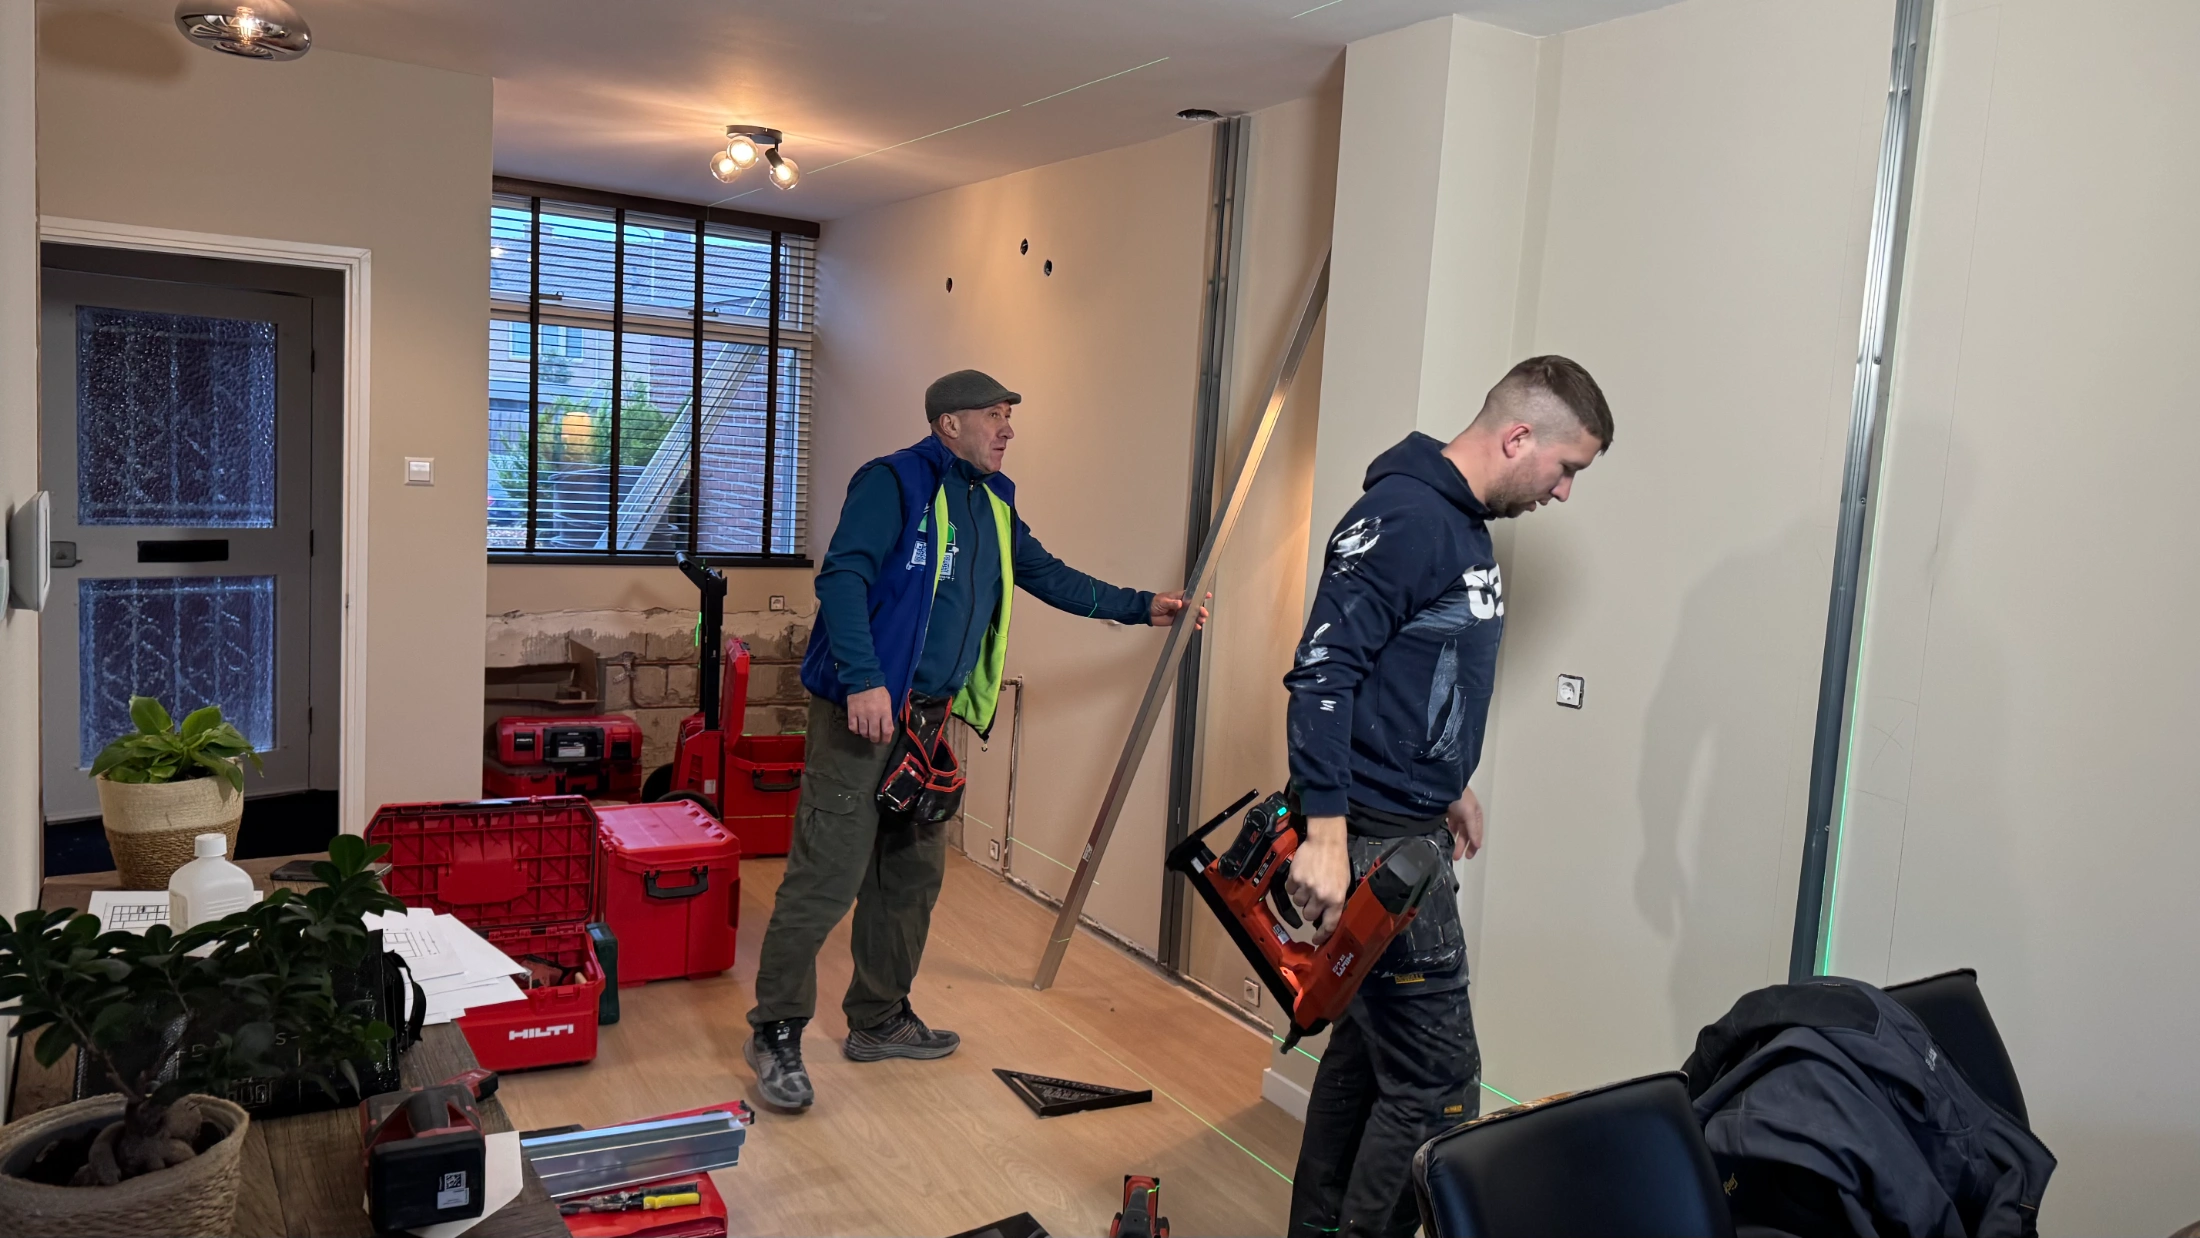
An interior project that grew from plastering into textured walls, ceiling and joinery painting and additional finishing.
11HWR / PROJECT
Project timeline
July–August 2025
Before & after
Before
After
Photos coming soon
Johan’s interior renovation in Roosendaal
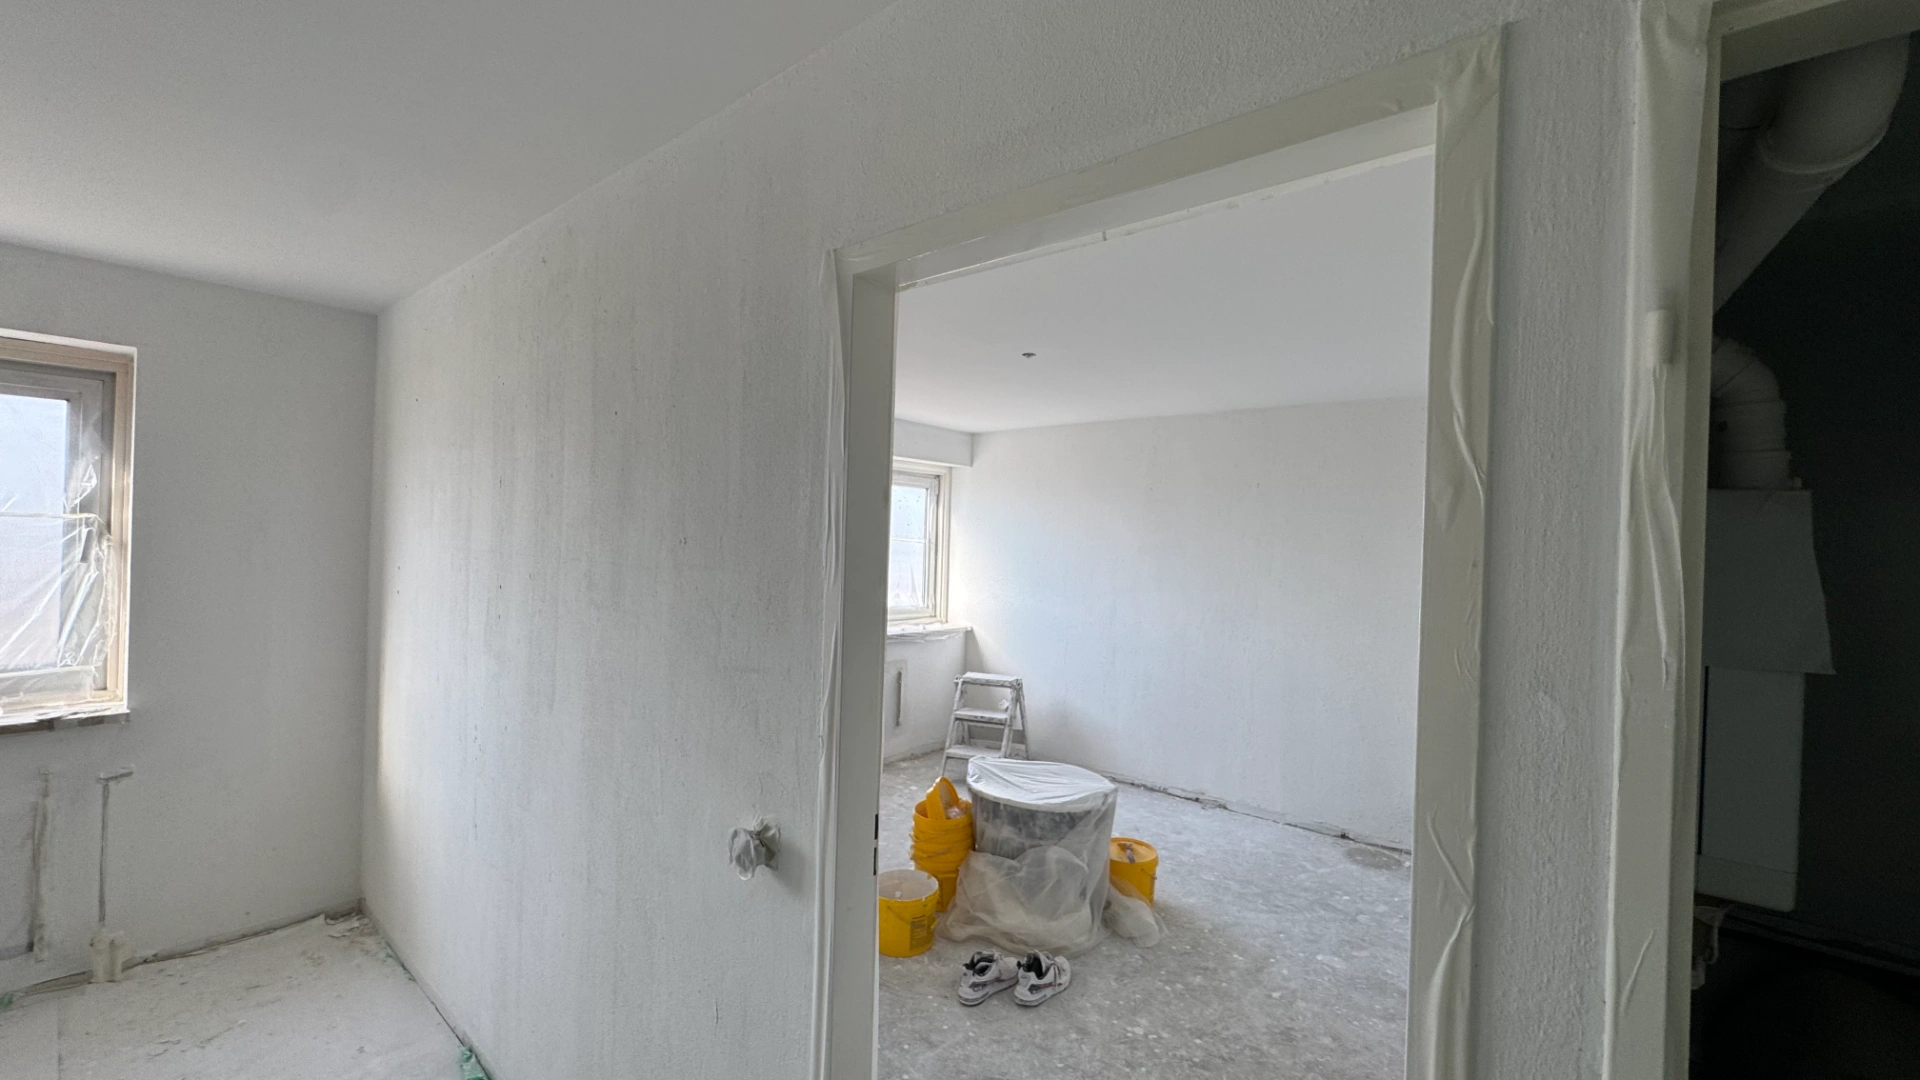
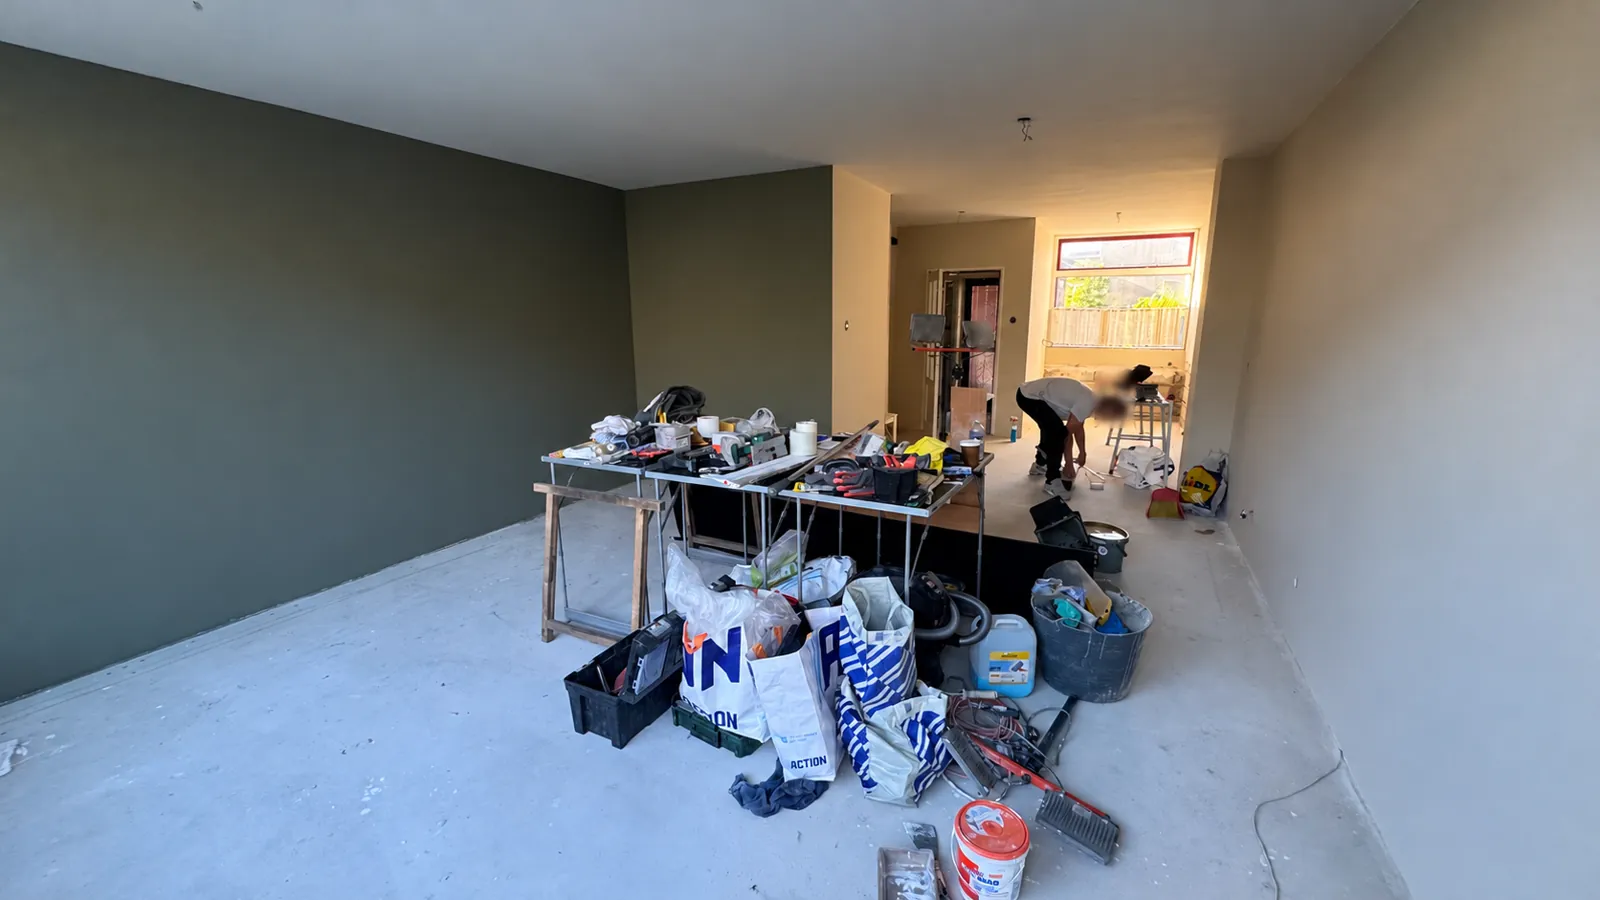
Johan selected different finishes for the home. Smooth ceilings, textured walls and painted frames needed to form a consistent interior.
02 / Step by step
The project in phases
Phase 1
Walls
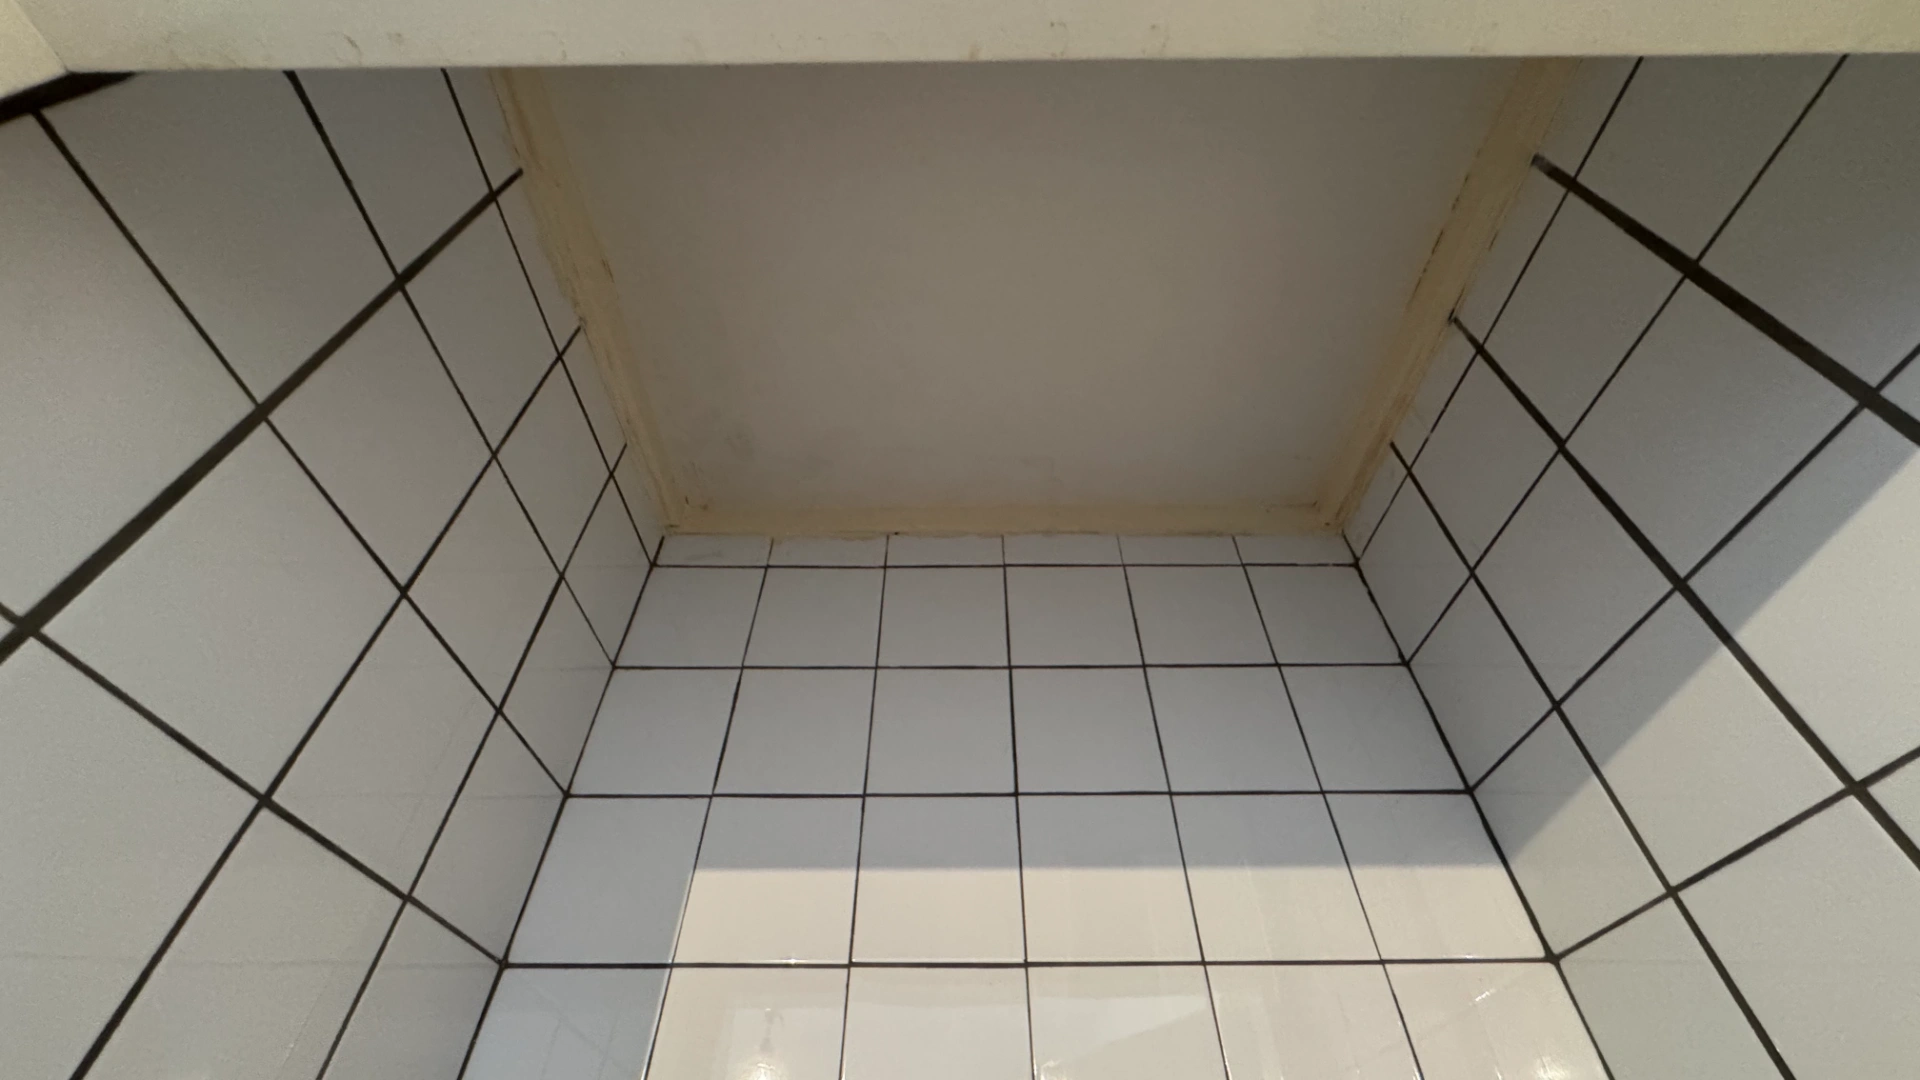
The wall package combines smooth surfaces and fine textured plaster, with separate specifications for the balcony and bathroom areas.
We prepared walls and ceilings with repairs and reinforcement where needed. The home received both smooth plaster and fine textured decorative plaster, each with appropriate preparation rather than simply covering uneven surfaces.
Johan’s renovation combined two different appearances: smooth surfaces and a fine decorative texture. A textured finish still needs a stable, prepared base; it is not a way to hide loose plaster or poorly joined repairs. The preparation therefore supported both finishes.
Treating walls and ceilings together also addressed the junction between them. Corners, repairs and changes of substrate influence the final appearance just as much as the large uninterrupted areas.
Why this matters
A textured coat does not replace levelling the base.
Phase 2
Ceilings
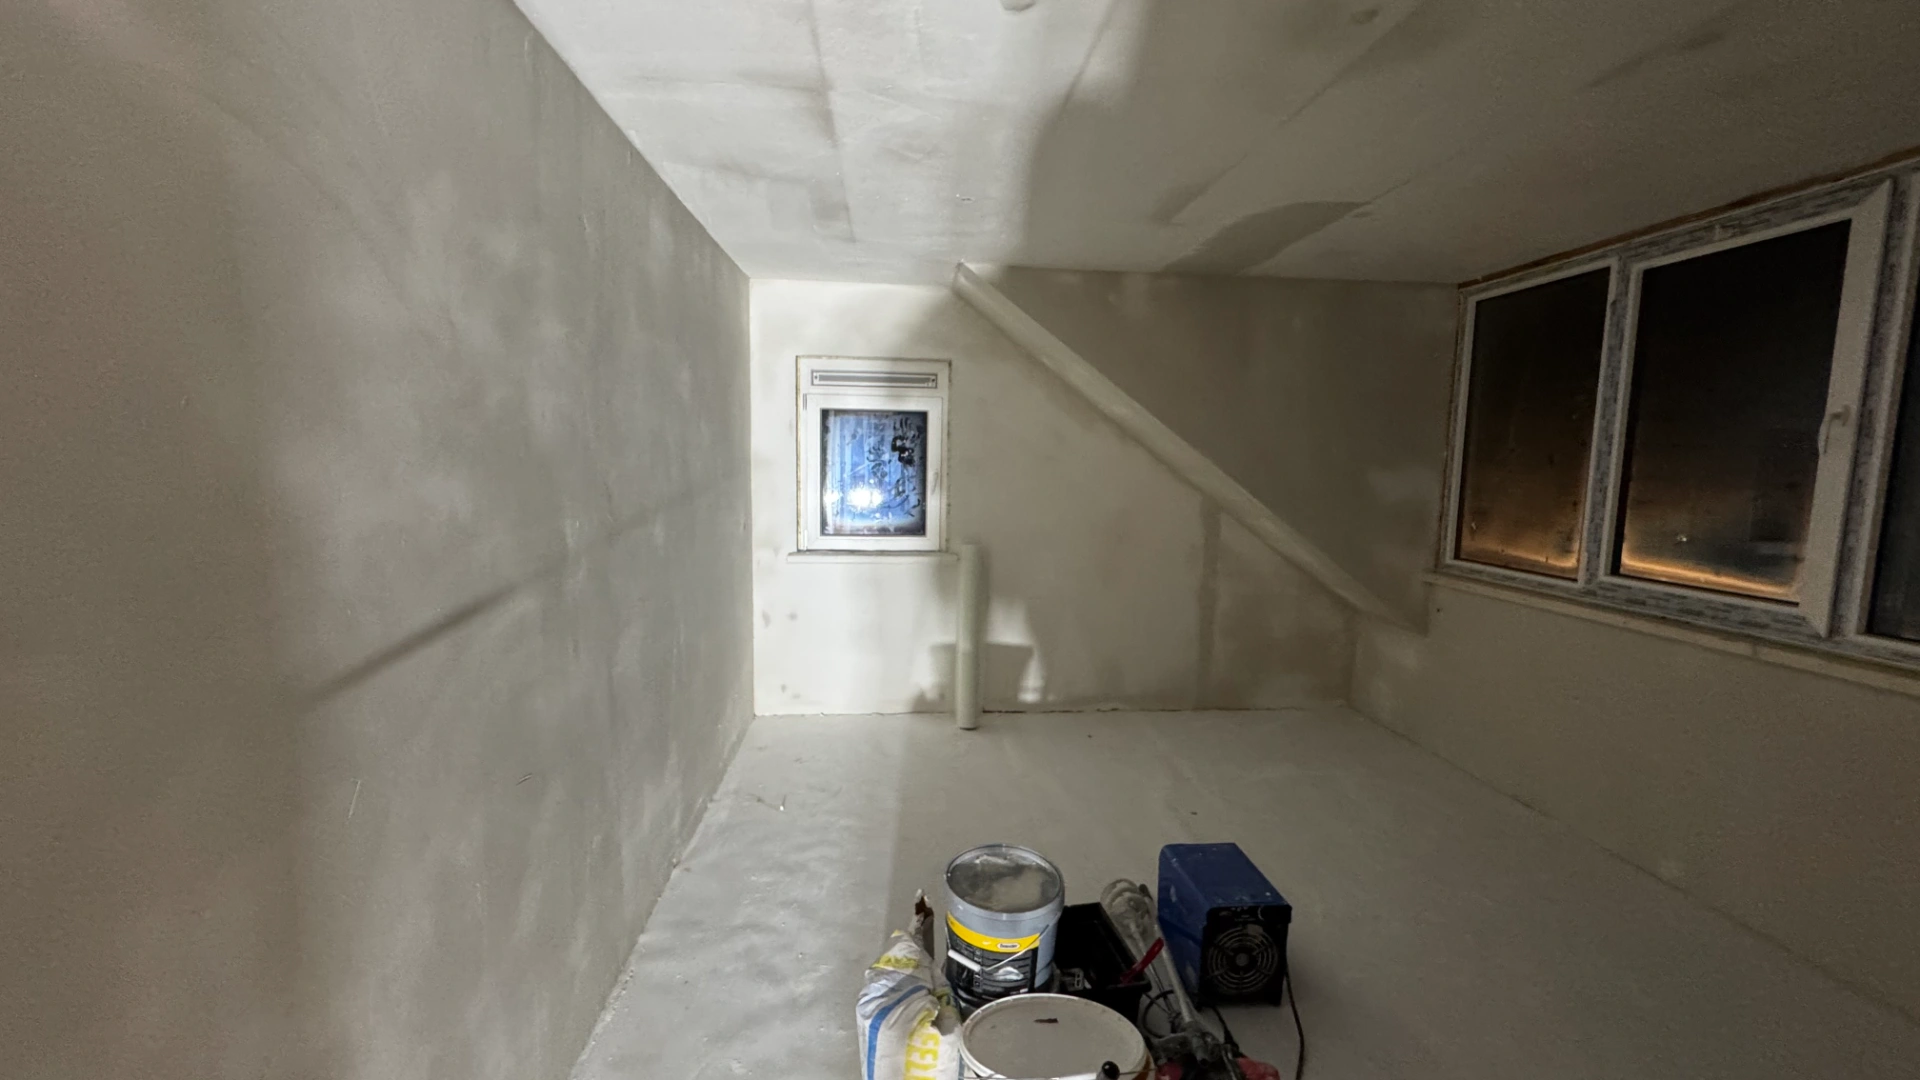
Ceilings were repaired and finished smooth, with reinforcement at weak junctions.
Phase 3
Frame Painting
Window and door frames were prepared, primed and painted. The original frame package excluded the door leaves; later door work was added separately.
Phase 4
Electrical Readiness
Electrical positions needed to be settled before plastering; any exposed routes had to be coordinated with the completed finish.
Phase 5
Home Preparation
Rooms, floors and retained fittings were cleared or protected for the finishing work.
Phase 6
Material Lift
Material access at height formed a separate logistical part of the offer, coordinated with the work area.
Phase 7
Finishing & Cleaning
Work areas were cleared and cleaned after the finishing stages.
Additional work 1
Ceiling Painting
The separate ceiling-painting offer adds preparation and two latex coats after the smooth ceiling finish.
Alongside the ceiling work, we sanded, primed and painted window and door frames. Twelve door leaves were later added to the painting work. Frames and leaves were prepared and finished as distinct components.
The twelve additional door leaves expanded the job beyond the originally discussed surfaces. A door leaf and its frame are separate elements, with edges and contact points that need their own preparation. Sanding and priming came before the new paint finish.
Combining these with ceiling work helped the renewed rooms feel complete: freshly finished ceilings draw attention to older frames and doors if those elements are left untreated.
Why this matters
Edges and moving parts need different attention from a broad wall surface.
Additional work 2
Radiator Preparation & Painting
Eight radiators were prepared, primed and spray-painted as an additional work item.
Additional work included radiators, plasterboard at the balcony and storage area, local wall finishes and moving a toilet light to the ceiling. These practical adjustments were coordinated with the larger finishing package.
The smaller additions were closely connected to the finishing work. Moving the toilet light changed where wiring and a ceiling connection were needed, while the balcony and storage-area plasterboard work created new surfaces to finish. Radiators also formed part of the expanded package.
The July–August project therefore grew into a broader interior renewal. Its story is about coordinating these local alterations with the larger wall, ceiling and joinery finishes.
Why this matters
Small alterations can disrupt the final finish if left until too late.
Additional work 3
Balcony & Storage Plasterboard
Additional plasterboard was installed at the balcony ceiling and storage wall.
Additional work 4
Textured Plaster – Balcony, Storage & Hall
The extra finishing package included textured plaster at the specified balcony, storage and hall surfaces.
Additional work 5
Toilet Light Relocation
The toilet light point was moved from the wall to the ceiling.
Additional work 6
Floor Ring Removal & Levelling
The metal ring in the floor was cut out and the local surface levelled.
Additional work 7
Ventilation Fittings
The specified kitchen and toilet ventilation fittings were replaced as a distinct small-work item.
Additional work 8
Hall Timber Removal
Old hall planks were removed and disposed of before finishing the exposed area.
Additional work 9
Open Hall Wall Finishing
The open wall area in the hall was finished with textured plaster to connect it to the adjoining surfaces.
Additional work 10
Additional Door Painting
Later door-leaf painting was recorded separately from the original frame-only scope.
THIS PROJECT / THEIR EXPERIENCE
What the client says
Reviews appear here when the client chooses to link their experience to this project.