Ground-floor renovation with tiled media wall in Numansdorp
Changing the layout by the stairs
Underfloor heating and a continuous tiled floor
Preparing the media-wall connections
Two tile finishes and mitred corners
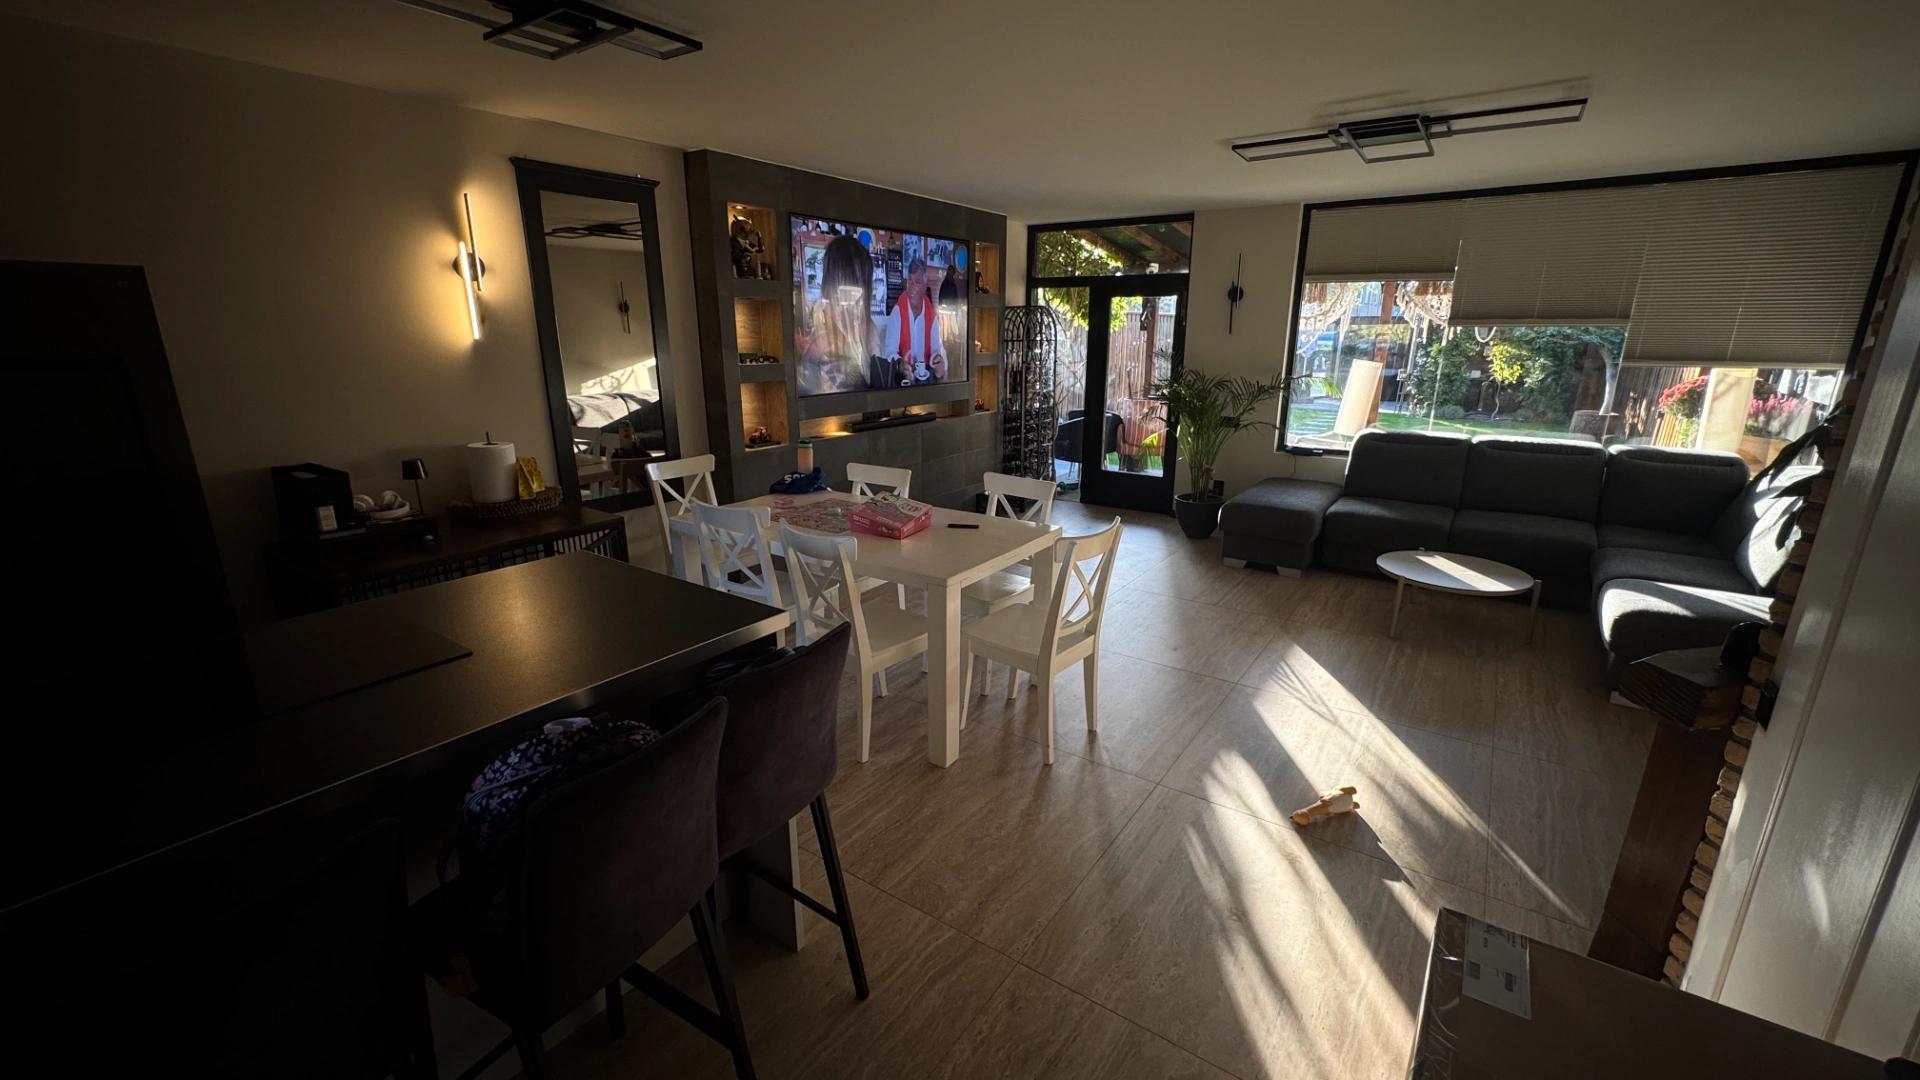
A renewed ground floor with underfloor heating, a tiled floor and a media wall combining tiles, lighting and connections. The project also includes storage and grilling zones in the garage, a long storage space along the house, a replacement fence and doors custom-made by our team.
37HWR / PROJECT
Project timeline
May 2026
Before & after
BeforeAfter
Ground-floor renovation with tiled media wall in Numansdorp
This renovation combined layout changes, comfort and a distinctive feature wall. Wall and staircase alterations, the heated floor and the media-wall connections needed to be coordinated before tiling and painting.
02 / Step by step
The project in phases
Phase 1
Changing the layout by the stairs
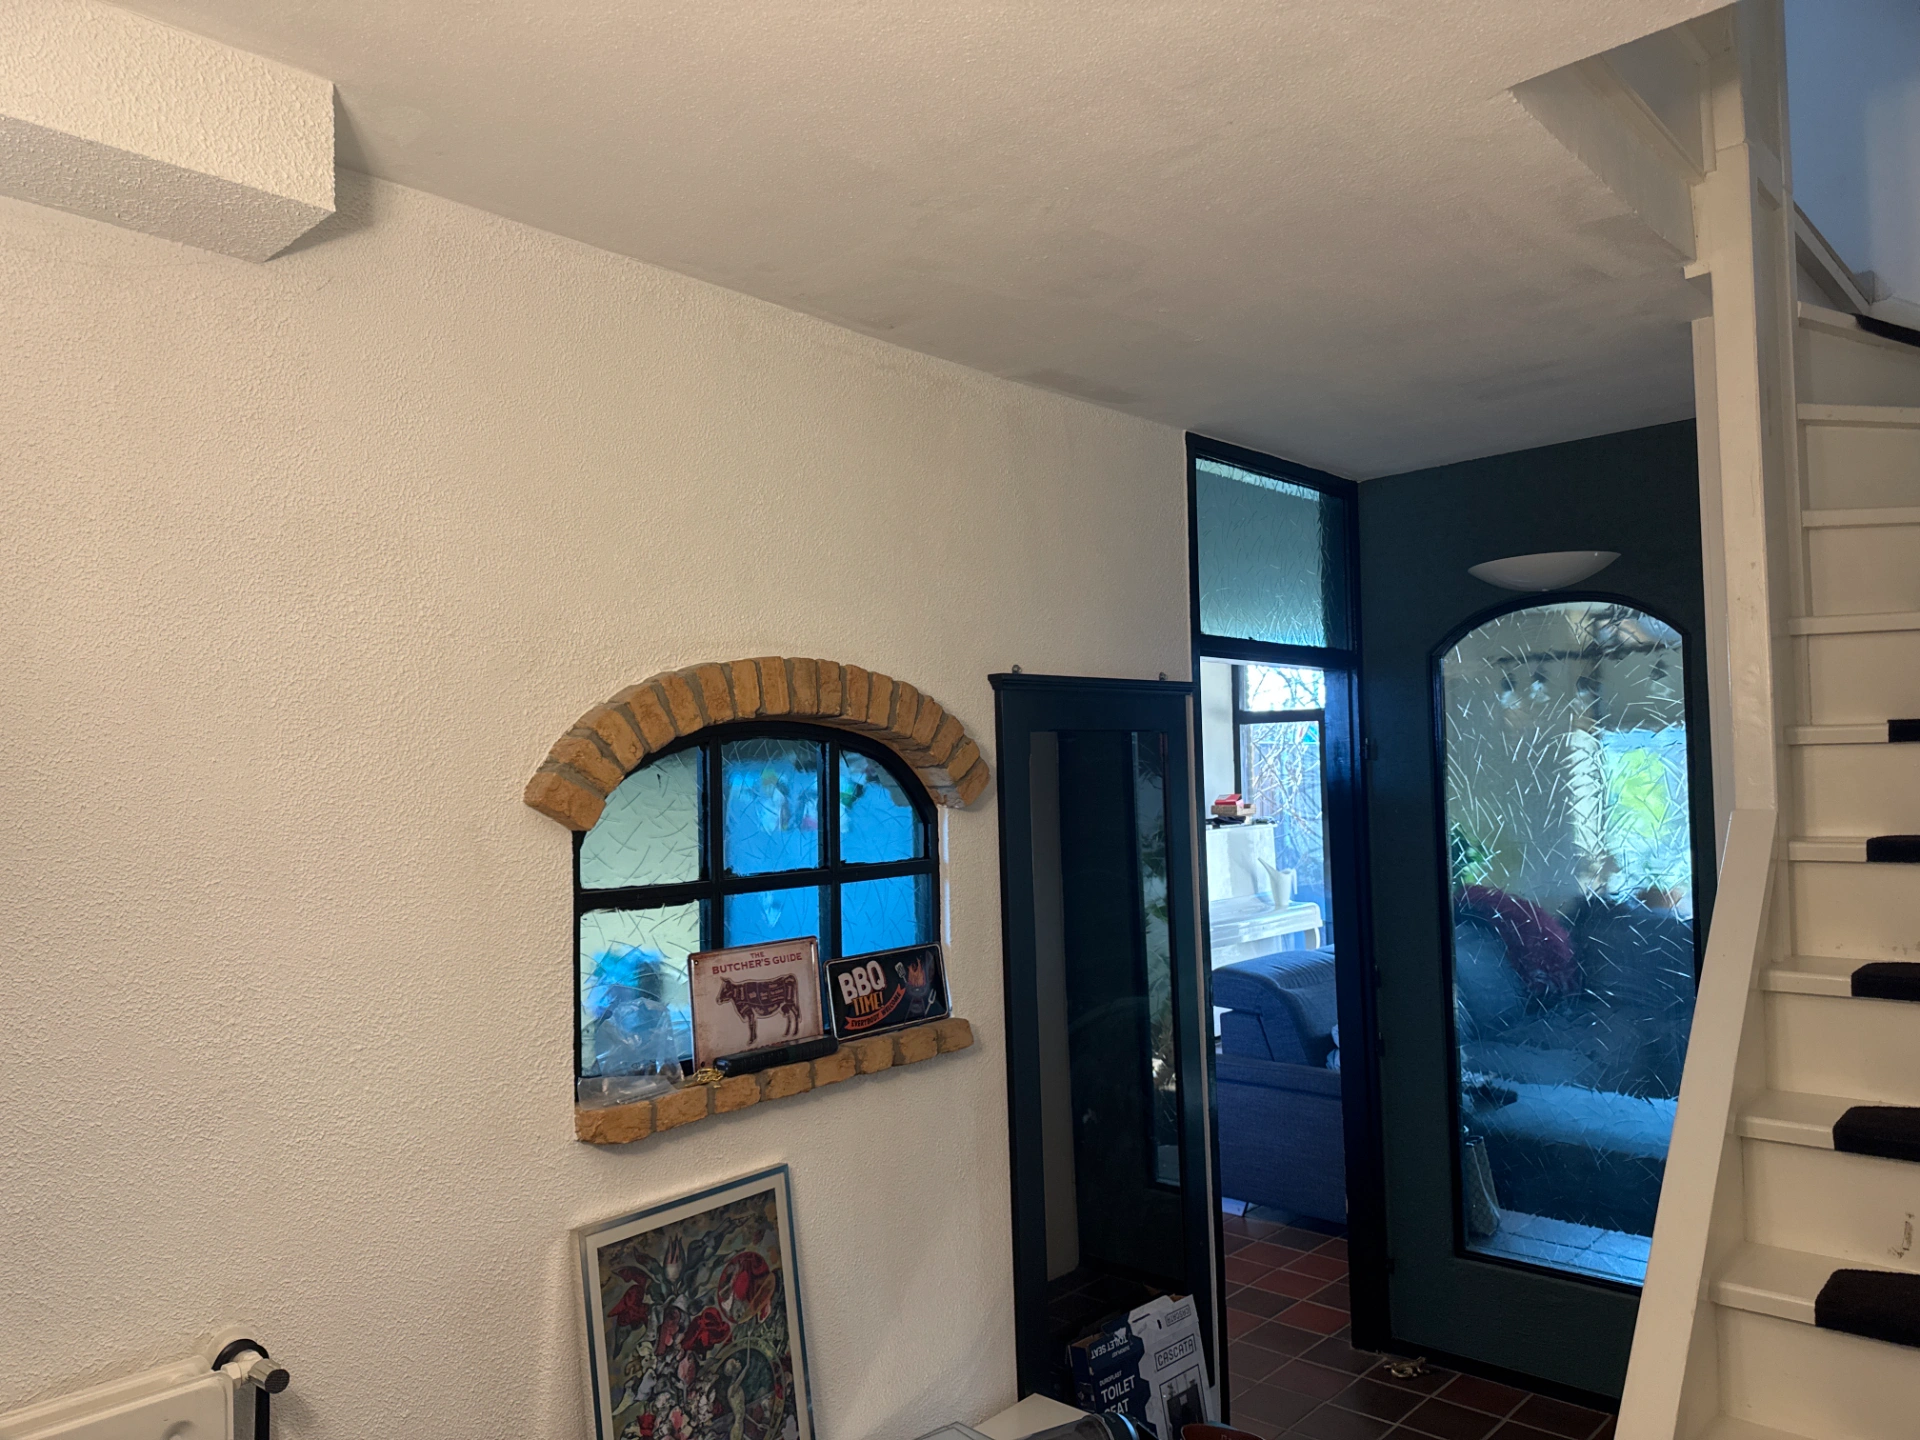
We removed a wall and added a wall by the staircase, changing the ground-floor layout before renewing floors, walls and ceilings.
The ground-floor renovation began with the room arrangement near the stairs. Removing one wall and adding another changed the surfaces and boundaries that the later flooring and wall finishes would meet. This structural sequence came before the decorative media wall.
The project combined a new layout with heating, a tiled floor and integrated lighting, making it a wider renovation than a single feature-wall installation.
Why this matters
Changing the layout first avoids reopening newly finished surfaces later.
Phase 2
Underfloor heating and a continuous tiled floor
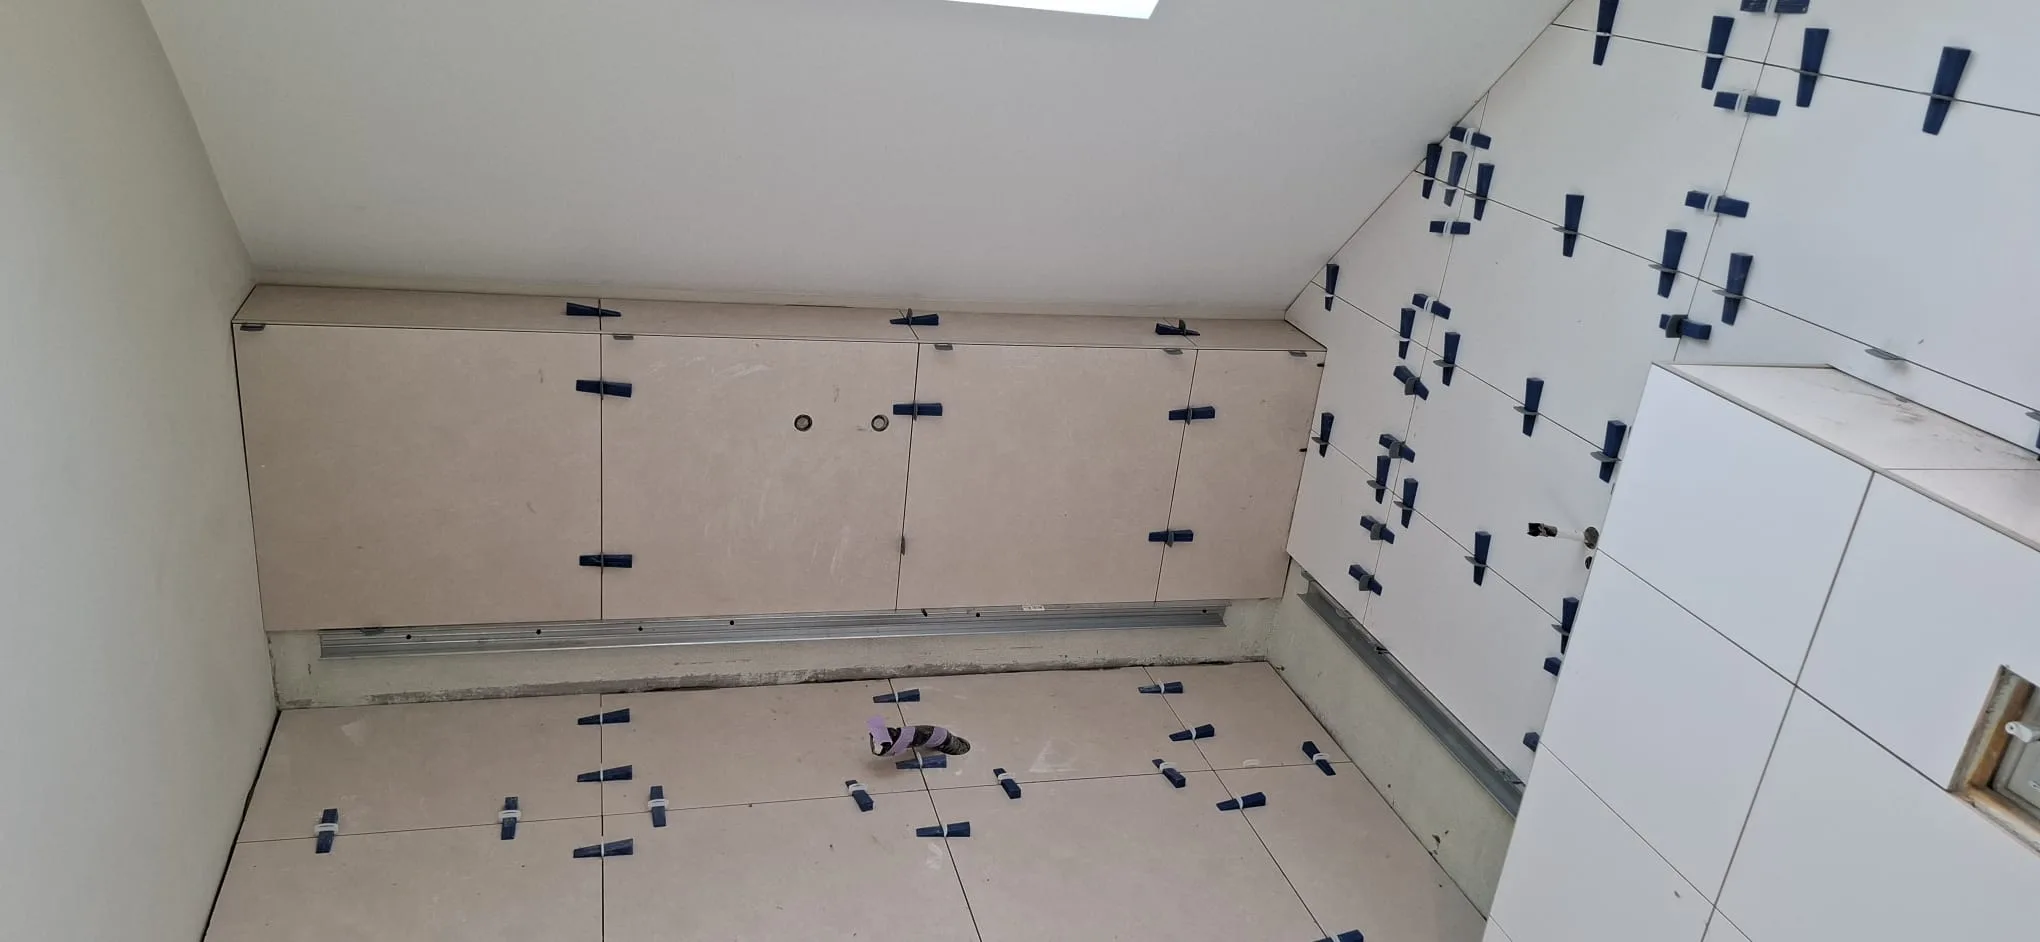
We installed underfloor heating and approximately 5–6 cm of screed. The full floor was tiled, with tile skirting along the walls, carrying the same finish from the main surface to its edges.
The heating pipes were incorporated beneath the approximately 5–6 cm screed, with the tiles forming the final walking surface. Tile skirting carried the material up the room edges, giving the floor a consistent perimeter detail.
The sequence matters: the heating and floor base are concealed by the tiles. Their height and preparation determine how the final floor relates to doors, walls and the staircase.
Why this matters
Heating, screed and the finished surface form one floor build-up.
Phase 3
Preparing the media-wall connections
The feature wall includes power sockets, HDMI and USB connections, and four wireless charging spots. These functions were incorporated into the wall build-up so it serves everyday connection needs as well as the television.
The media wall combines television use with everyday charging and connectivity. Four wireless charging positions sit alongside sockets, HDMI and USB provisions, making the wall a functional installation as well as a visual feature.
These connections were included within the build-up. Their locations need to suit how the wall is used because changing them after the tile finish would involve reopening completed surfaces.
Why this matters
Connections need their positions before the visible wall finish is installed.
Phase 4
Two tile finishes and mitred corners
We combined two tile finishes on the media wall. Corners were mitred at 45 degrees so the tiled faces meet at the outside edges. Nine integrated dimmable spotlights make the lighting part of the wall itself.
Two tile finishes create contrast within the same wall. At the outside corners, 45-degree cuts allow the tiled faces to meet with a mitred edge. That requires attention to the visible cuts and the way the pattern continues around the corner.
Nine integrated dimmable spotlights add another layer to the design. The tile selection, corners and light positions work together, rather than the lighting being an unrelated addition after completion.
Why this matters
Material transitions, corners and lighting are especially visible on a feature wall.
Phase 5
Plaster, paint and wall lighting
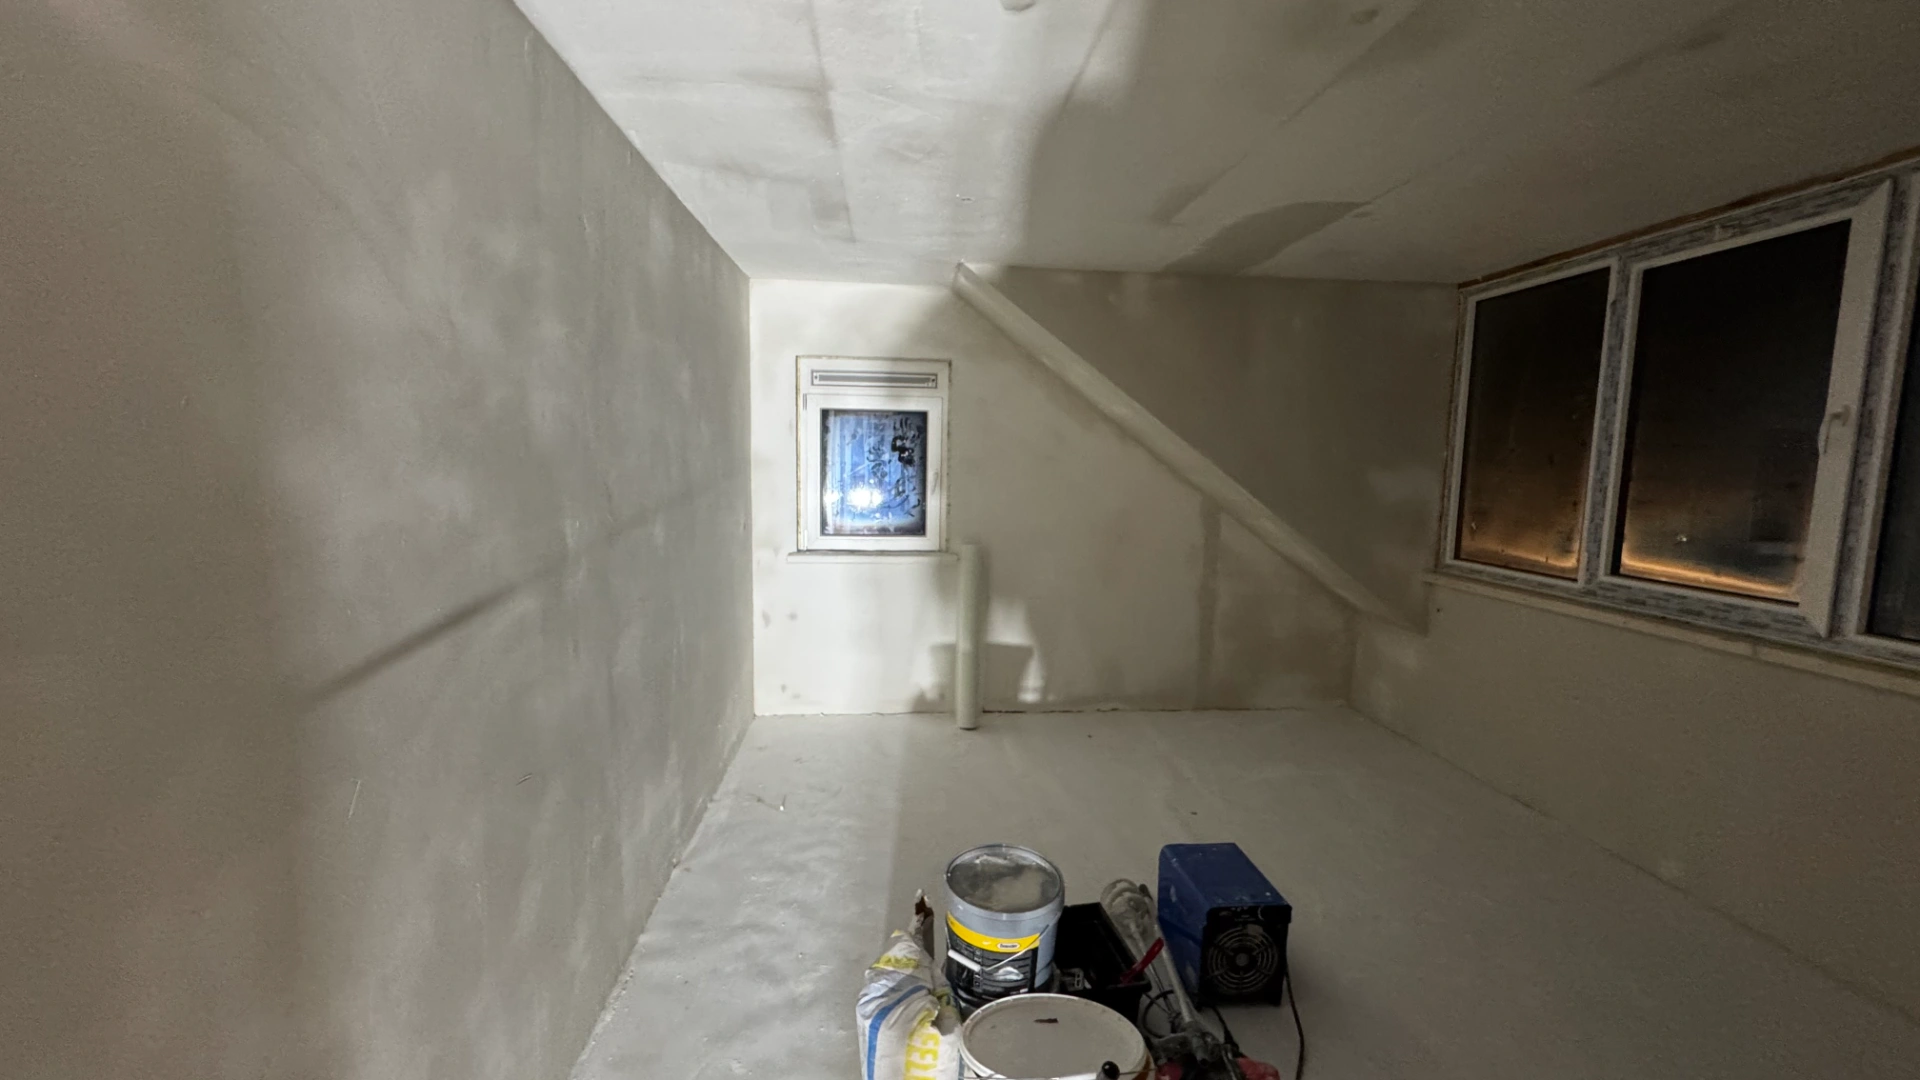
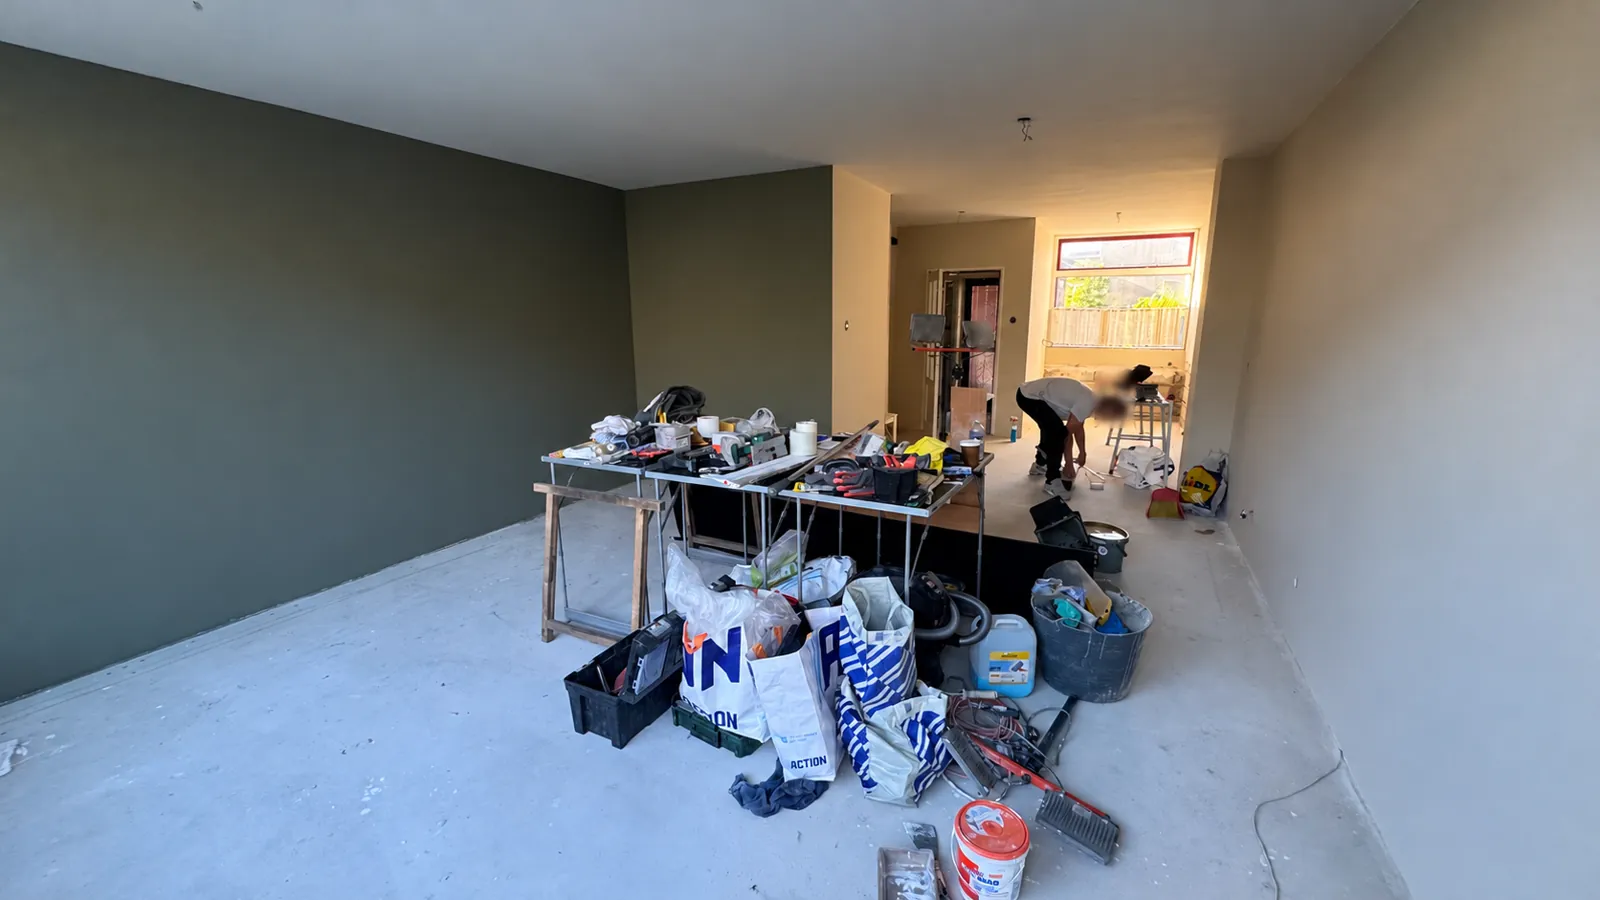
We plastered and painted the ground-floor walls and ceilings. Three wall-light points were added by the stairs and four in the living room. The finished surfaces bring the new layout, tiled floor and media wall together as one interior.
Three wall-light points along the stairs and four in the living room extended the lighting beyond the media wall. Plastering and painting the remaining walls and ceilings connected those installations with the renewed room layout.
The May 2026 result combined practical hidden work with a highly visible finish: floor heating below the tiles, connections within the media wall and lighting integrated throughout the ground floor.
Why this matters
Lighting and finishing work together: light reveals the walls and their details.
THIS PROJECT / THEIR EXPERIENCE
What the client says
Reviews appear here when the client chooses to link their experience to this project.